WebViews in Android are often seen as a lazy programmer’s tool—Don’t have enough time to build a particular screen for your app? Just use a WebView to display a page from your website instead. Users won’t be able to tell the difference…right?
Jokes aside, while you’ll often hear other developers discouraging the use of WebViews, they’re often necessary. For example, if you want to make a transaction with your bank or credit card, that transaction screen is a WebView.
Custom login screen for apps where security is a concern is often a WebView instead of a native widget. Google Mobile Ads (or Admob) also uses a WebView to display Banner and Interstitial ads on your app.
Along similar lines, the team at Vdo.ai, had a similar use-case, in which they wanted to display their proprietary video ads in mobile apps.
This blog post will outline how using a WebView helped them do the same.
WebViews in Android
WebView has been a part of the Android SDK since the very beginning, and it essentially allows you to display web content as part of your Activity layout. While some developers misuse this by essentially making a container app that wraps the company’s website using WebViews, there are some legitimate use cases, as I outlined above.
Apple even rejects uploading apps that simply wrap a website on their app store:
And while Google allows you to upload such apps, it does so only when you are the owner of the website that you’re planning on wrapping in a WebView.
So before you start using WebViews, it’s crucial that you carefully examine your use case to see if any alternatives (like the chrome custom tabs API) might fulfill your needs instead. That being said, let’s see how we can build an app that leverages WebViews effectively.
Step 1: Adding WebView to your app’s layout xml
Before we go ahead and use WebViews, we need to first add it to our Activity/Fragment’s manifest. It’s very simple:
<FrameLayout xmlns:android="http://schemas.android.com/apk/res/android"
    android:layout_width="match_parent"
    android:layout_height="match_parent">

   ...

    <WebView
        android:id="@+id/webView"
        android:layout_width="match_parent"
        android:layout_height="100dp"
        android:layout_gravity="bottom" />

</FrameLayout>
This code will add a WebView at the very bottom of our app’s MainActivity. We’ve also provided an ID to this WebView so that we can refer to it from our Activity later on.
Next up, we also need to add permission to access the internet in our app’s AndroidManifest.xml file. To do so, add this line in your app’s Manifest above the <application> block.
Step 2: Initializing the WebView from the Activity
Once the WebView has been added to the xml, the next step is to configure it from the Activity using Kotlin (or Java). This is how it’s done:
class MainActivity : AppCompatActivity() {

    override fun onCreate(savedInstanceState: Bundle?) {
        super.onCreate(savedInstanceState)
        setContentView(R.layout.activity_main)
        webView.webViewClient = object : WebViewClient() {

            // press ctrl+o (cmd+o) to override more methods

            override fun onReceivedError(view: WebView?, request: WebResourceRequest?, error: WebResourceError?) {
                super.onReceivedError(view, request, error)
                // error, can't connect to the page
                Toast.makeText(baseContext, "Sorry, an error occurred", Toast.LENGTH_SHORT).show()
            }

            override fun onPageStarted(view: WebView?, url: String?, favicon: Bitmap?) {
                super.onPageStarted(view, url, favicon)
                // page loading started
                Toast.makeText(baseContext, "Page Load Started", Toast.LENGTH_SHORT).show()

            }

            override fun onPageFinished(view: WebView, url: String) {
                // page loading finished
                Toast.makeText(baseContext, "Page Load Finished", Toast.LENGTH_SHORT).show()
            }
        }
    }

    ...
}
To initialize the WebView, all we need to do is set a WebViewClient to the WebView we created earlier in the layout.xml file. The client is an abstract class that allows you to implement methods like the ones we have overridden above.
But do note that none of these methods will be called unless we go ahead and load a page, which we’ll be doing in just a moment.
Step 3: Loading the desired URL
To load the desired URL, after initializing the WebViewClient, we can simply call the loadUrl() method on our WebView object, and it’ll handle the rest for us.
However, it’s possible that your website relies on using a custom JavaScript snippet and might not function without it. Android’s WebView by default won’t load any JS snippets. To make it do so, we need to add an additional line of code before we load the URL:
The WebSettings class allows us to modify the behavior of our WebView, including its look and feel. You can find the parameters it supports here:
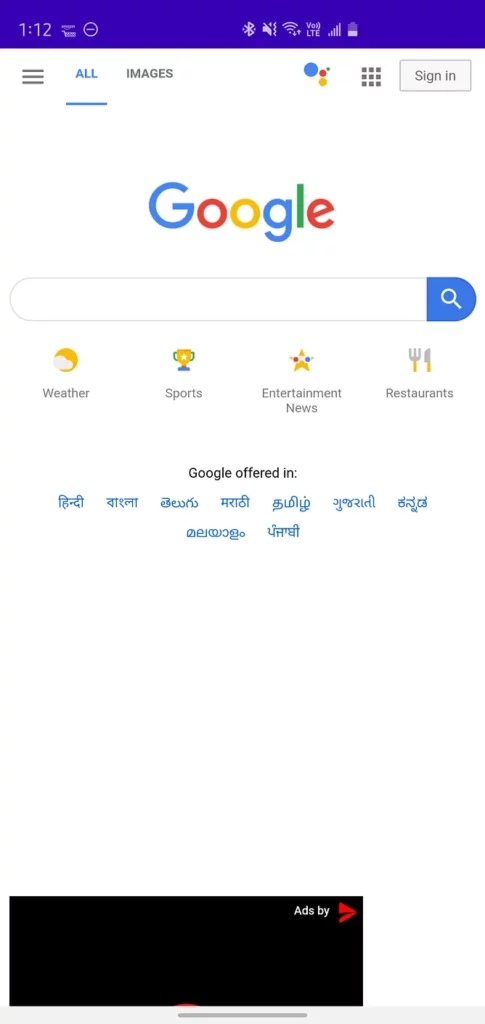
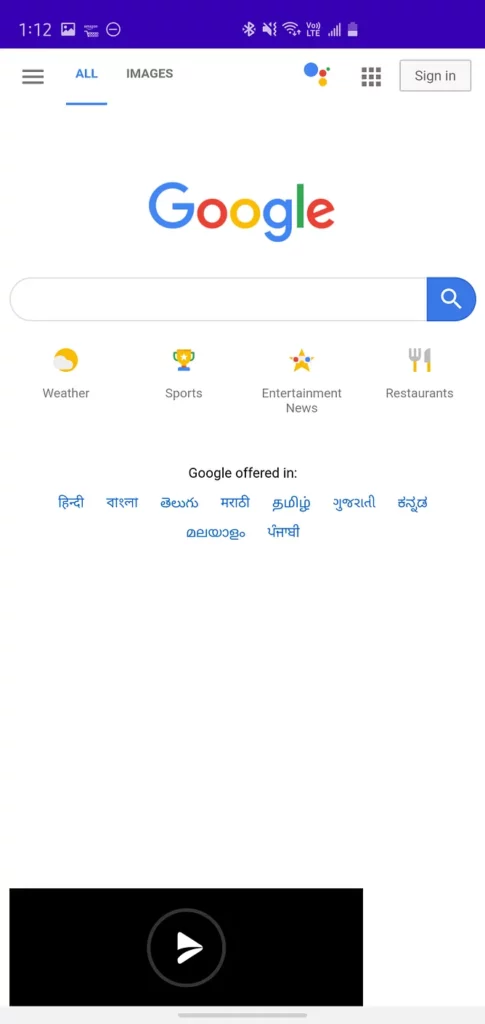
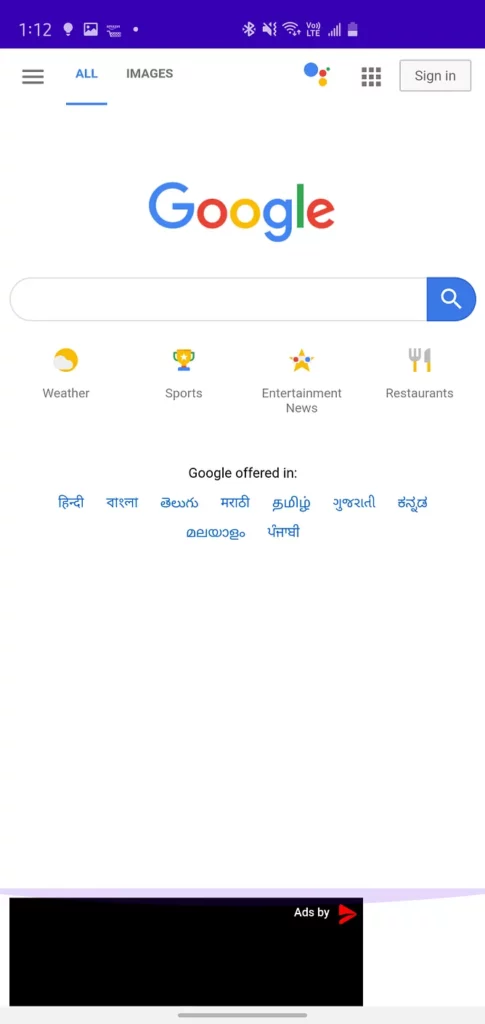
And that’s it! On running the app, this is what we’re presented with:


In the screenshot here, I’m loading 2 WebViews: the parent WebView that loads the Google homepage, and the child WebView that loads the ad snippet at the bottom.
(Optional) Step 4: Loading a local JS snippet
It’s possible that you might also want to load a local JavaScript file stored in the app. To do so, we need to read the .js file stored in the app as text and then instruct our WebView to load a URL containing the .js we parsed above. It might sound complicated, but here’s how it’s done:
class MainActivity : AppCompatActivity() {

    ...

    private fun loadJS() {
        try {
            // this assumes that the js file is loacaled in your app's assets folder
            val inputStream = assets.open("main.js")
            val js = inputStream.bufferedReader().use(BufferedReader::readText)
            webView.loadUrl("javascript:($js)()")
        } catch (e: Exception) {
            Log.e("TAG", "Failed to read js")
        }
    }

}
Once the method’s created, simply call this method once you’re ready to load a URL, and that’s it!
As you can see, the WebView API is not only simple, but it’s quite powerful when used correctly. A lot of banking apps rely on WebViews solely because of the safety and security that they provide.
If you want to see the complete source code for the code covered in this tutorial, you can find it here:
Thanks for reading! If you enjoyed this story, please click the 👏 button and share it to help others find it! Feel free to leave a comment 💬 below.
Have feedback? Let’s connect on Twitter.

Comments 0 Responses