The Model Maker library makes the process of developing TF Lite models quick and easy. It also allows you to adopt different architectures for your models.
The process of exporting the TF Lite models is also straightforward. Let’s take a look at how you can do that for image classification models.
Table of contents
Create a model with default options
The first step is to install TensorFlow Lite Model Maker.
Obtaining the dataset
Let’s use the common cats and dogs dataset to create a TF Lite Model to classify them. The first step is to download the dataset and then create the test and validation set path.
import tensorflow as tf
import os
_URL = 'https://storage.googleapis.com/mledu-datasets/cats_and_dogs_filtered.zip'
path_to_zip = tf.keras.utils.get_file('cats_and_dogs.zip', origin=_URL, extract=True)
PATH = os.path.join(os.path.dirname(path_to_zip), 'cats_and_dogs_filtered')

train_dir = os.path.join(PATH, 'train')
validation_dir = os.path.join(PATH, 'validation')
Split the data
The next step is to load this data and split it into a training and testing set. This is done using the ImageClassifierDataLoader module from tflite_model_maker.
from tflite_model_maker import ImageClassifierDataLoader
data = ImageClassifierDataLoader.from_folder(train_dir)
train_data, test_data = data.split(0.9)
Create the image classifier
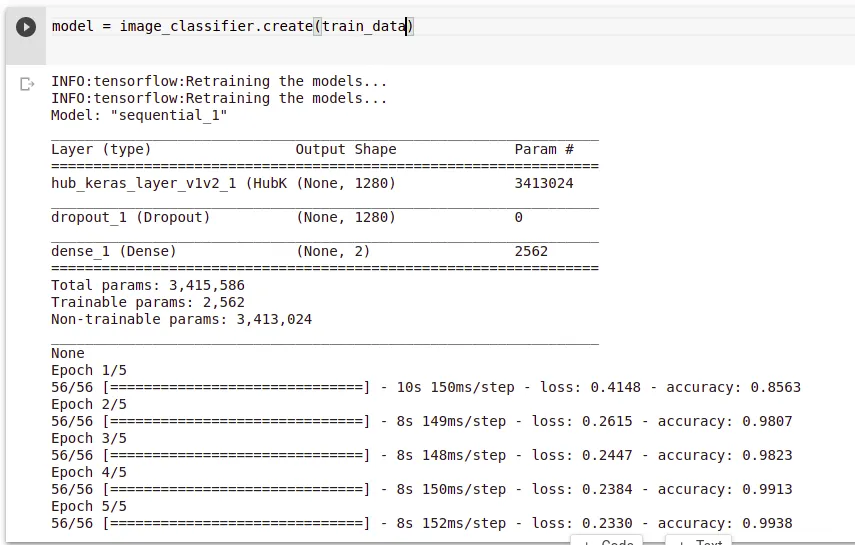
You can now use the model maker to create a new classifier from this dataset. The model maker will then train the model using the default parameters.
from tflite_model_maker import image_classifier
model = image_classifier.create(train_data)

Evaluate the model
When the retraining process is done, you can evaluate the model on the new data. You notice that you get a model with high accuracy in just a couple of steps. The reason behind this that the TensorFlow Lite model maker uses transfer learning with a pre-trained model. This happens in the create step as seen in the last paragraph.
loss, accuracy = model.evaluate(test_data)

Exporting the model
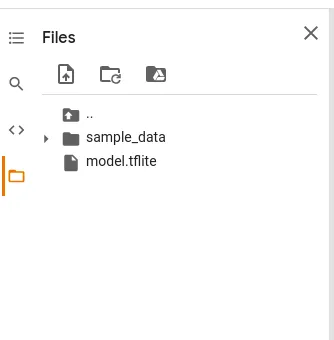
At this point, you can export the model and use it in your application. The export function is responsible for doing that. Let’s export this model to the current working directory.
model.export(export_dir='.')
As expected, you can see the new TensorFlow Lite model.

Quantizing the model
You can also reduce the size of the model and the inference latency after training. This is done via post-training quantization. This happens with little effect on the model’s accuracy. In this case, let’s set the configuration to use the full range integer quantization. You can also set the desired input and output data types. The default type is uint8. Uint8 (unsigned integers of 8 bits) are whole numbers ranging from 0 to 255. You also pass in some representative_data to the config; in this case, that’s the test data.
The next step is to export the quantized TF Lite model.
model.export(export_dir='.', tflite_filename='model_quant.tflite', quantization_config=config)
Use a different pre-trained model
TensorFlow Lite model maker uses the efficientnet_lite pre-trained model by default. However, it also supports MobileNetV2 and ResNet50. Let’s look at how we change the model to ResNet50. This is done by defining a model_spec when creating the classifier. Other parameters that you can change include:
- Validation data.
- Number of training epochs.
- The batch size.
model = image_classifier.create(train_data, model_spec=model_spec.resnet_50_spec, validation_data=test_data)You can also indicate whether the whole model will be retrained. Use the train_whole_model parameter for that.
Conclusion
Hopefully this article has shown you how quickly you can take advantage of TensorLite Model Maker to create TF Lite image classification models. Check out the complete example below.

Comments 0 Responses