Image colorization is an engaging topic in the field of image-to-image translation. Even though color photography was invented in 1907, It didn’t become popular for the average person until the 1960s because of its expensiveness and inaccessibility. All the photography and videography up until then was done on Black & White. Colorizing these images was impossible—until the DeOldify deep learning model came to life.
What is DeOldify?
DeOldify is an open-source deep learning model created by Jason Antic, used to add high-quality colorization to grayscale images with amazing results. Simply put, the goal of this deep learning model is to colorize, restore, and give new life to old images and film footage.
Before we get started on the installation, let’s see an example of how it might look when we use DeOldify to colorize old film footage.
The old version of DeOldify used GANs (Generative Adversarial Networks), a network architecture that includes repetitive interaction between two complementary neural networks: a generator and discriminator. The pre-trained generator model does the task of adding colors to the recognized objects, and the discriminator does the task of “criticizing” the generator’s choice of color.
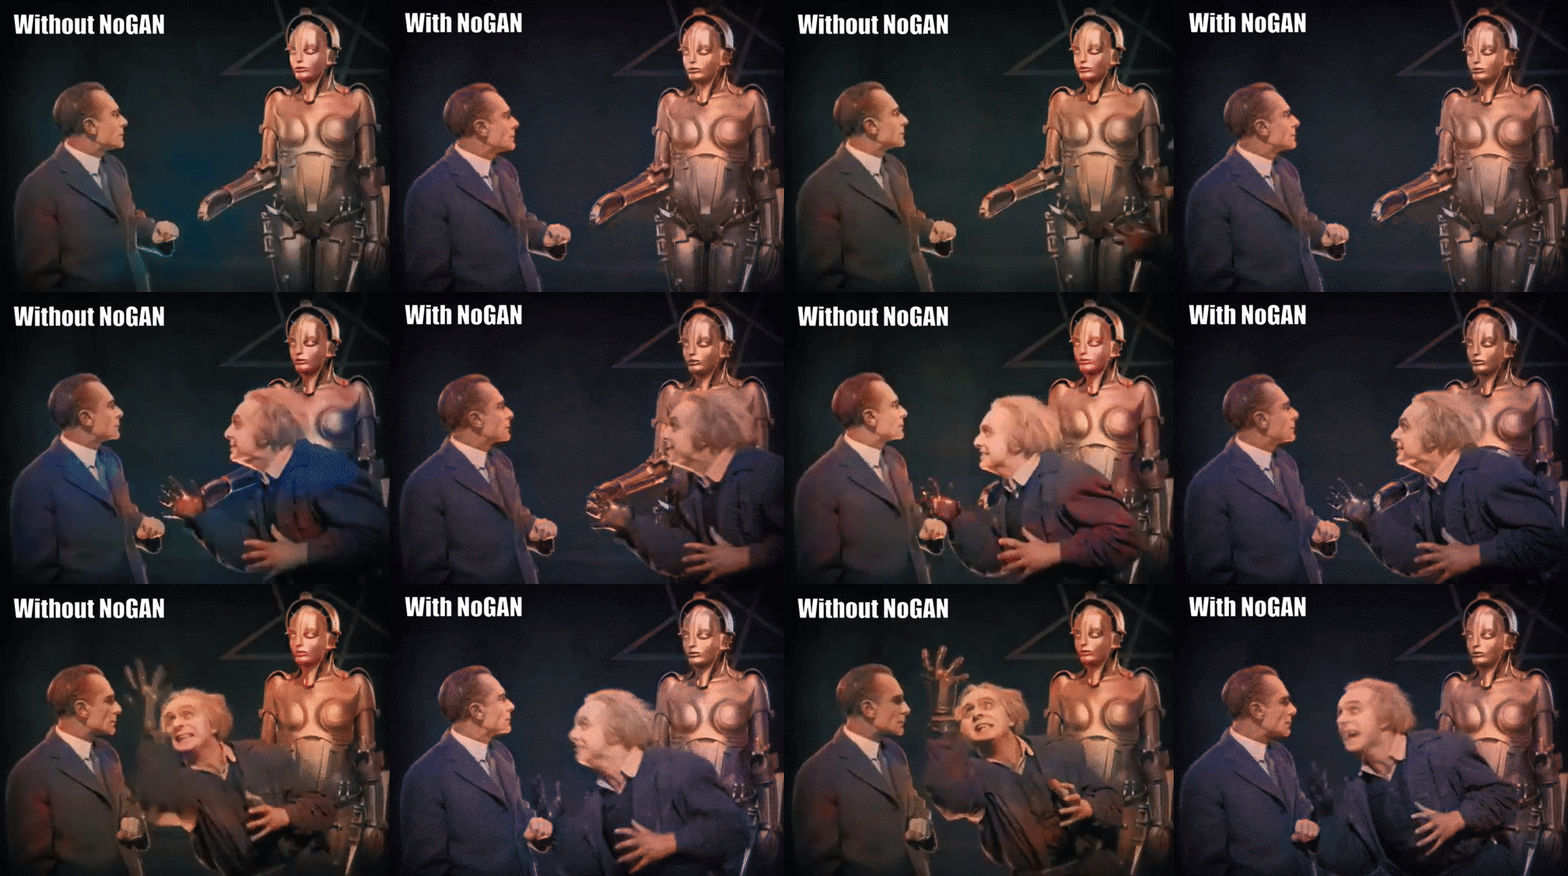
After the introduction of NoGAN training (covered in more details below) and combining it with GAN training, DeOldify was able to produce more stable and colorful images.
What is NoGAN?
To address stabilization problems in the previous DeOldify model, Jason Antic developed this new type of GAN training, which requires less time on GAN training and more time on pre-training the generator and discriminator separately with uncomplicated, fast, and reliable methods.

Now that we’ve taken a quick look at how the inside of DeOldify works, let’s look at how to get it up and running.
Setting Up DeOldify
Method 1: Using Google Colab
The easiest and simplest way of trying out DeOldify is to use the Google Colab versions.
- Image (Artistic)
- Video (Artistic)
- Image (Stable)
Method 2: Using the Jupyter Notebook
To use a Jupyter Notebook, first, you need to clone the DeOldify repository.
Next, create a folder called models inside the DeOldify folder and download the pre-trained weights into that folder.
- For Image Colorizer (Artistic):
- For Video Colorizer (Artistic):
- For Image Colorizer (Stable):
After configuring the pre-trained weights, we need to install the required dependencies:
Once the installation is done, open the project using the Jupyter Notebook. All the necessary steps are commented on the .ipynb file and you can continue from there onwards.
Conclusion
I hope this guide to setting up DeOldify on your system was useful. Below is an example of DeOldify that I particularly like. Have fun colorizing your favorite grayscale content. Thank you and stay safe!

Comments 0 Responses