Apple uses natural language processing techniques in many ways on iOS. Thanks to NLP, iOS can auto-fix typos, and Siri can understand what we’re saying. At WWDC 2018, Apple brought these capabilities to developers via a tool called Create ML. This tool has enabled developers to easily create text classification models (among numerous other kinds of models).
In this tutorial, we’ll dive into these frameworks to train a machine learning model in Create ML and develop a news classifier app.
Text classification helps us to take advantage of NLP techniques to categorize texts. With text classification, we can detect spam messages, analyze the sentiment of the tweets (positive, negative, neutral), and even categorize GitHub issues.
In order to create a classification model with Create ML, the only thing we need the labeled text data. This opens many doors for developers. We can detect the author an article, find a company’s best- and worst-reviewed products, and even detect various entities (person names, locations, organizations, etc.) in a given text. This is only limited by your imagination and data gathering techniques. In other words, the sky is the limit.

In the software and machine learning world, it’s very important to learn and try the latest tools. If you don’t know how to use these productivity tools, you may waste a lot of time.
In this tutorial, we’ll take a look at the power of Create ML. Create ML became available in Xcode Playgrounds with MacOS 10.14.
Getting Started
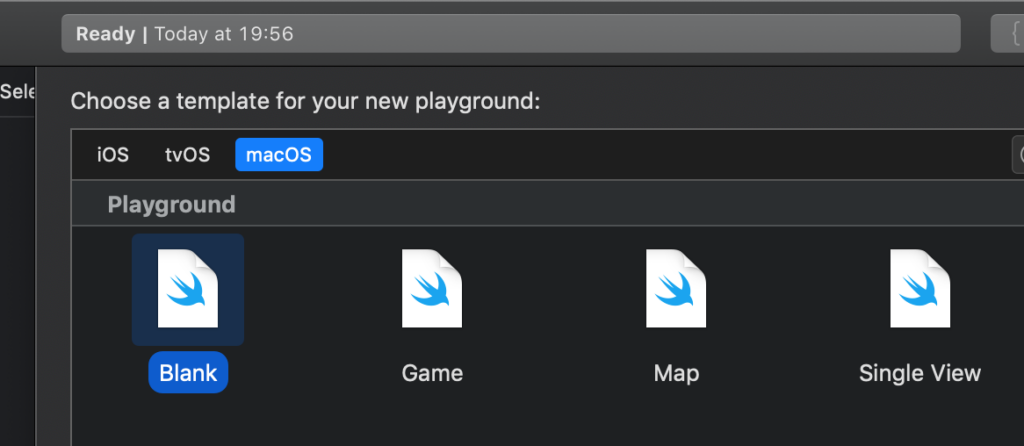
Open Xcode and create a blank macOS playground.
Import the necessary frameworks (CreateML and Foundation).

Gather the Text Data
I will be using the categorized text dataset from BBC news.
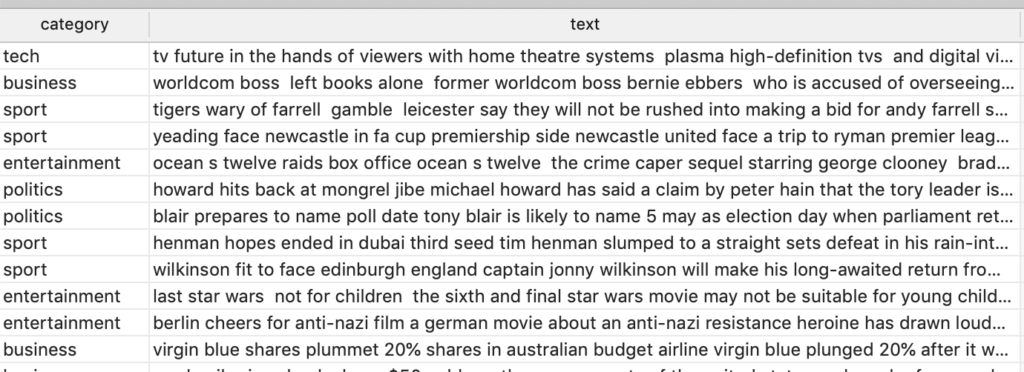
This dataset consists of 2245 news articles, with each article belonging to one of 5 text categories: sport, business, politics, tech, or entertainment.
You can download the dataset in CSV format from this link. After downloading the file, pass the file path as a parameter to the URL object. Instead of writing this code, you can just drag-and-drop the file into the playground to create the file path.
Create ML can read data in two ways: using folders as labels when files are separated in folders, or by reading from a single file (CSV, JSON). Here, we create a URL object to point to the CSV file, as seen below.

To read the data from the file we create an MLDataTable. MLDataTable is a structure in Create ML that simplifies the loading and processing of text and tabular data. If you want to learn more about MLDataTable, check out this tutorial.
Next, we create a model using MLTextClassifier to classify natural language text. We guide the MLTextClassifier by specifying the text column and the label column (the news category).

This model learns to associate labels with features of the input text, which can be sentences, paragraphs, or even entire documents.
MLTextClassifier
Apple provides a model trainer called MLTextClassifier. It supports 57 languages. The model works in a supervised way, which means your training data needs to be labeled (in this case the news text and the category of the news).
The model starts training when you run Create ML by clicking the play button.

It’s enough to run this method to train a simple model, but if you want to customize your models, Apple provides some parameters for this. Let’s say we have text data that’s written in another language. Here, we can specify the language model. If we want to change the algorithm, two algorithms are supported: maximum entropy and conditional random field.

In case these parameters are not enough for your customization needs, Apple suggests using a Python framework called Turi Create. In August 2016, Apple acquired Turi, a machine learning software startup, and open-sourced Turi Create.
Training the Machine Learning Model
After model training is complete, the result can be seen by clicking the show result button.

As a default, Create ML separates 5% of the data for the validation set. This set isn’t included in training data so that we an test the model on data it hasn’t seen before. Training stops automatically when the accuracy is high enough.
While the model is being trained, Create ML shows the current process in the panel below.
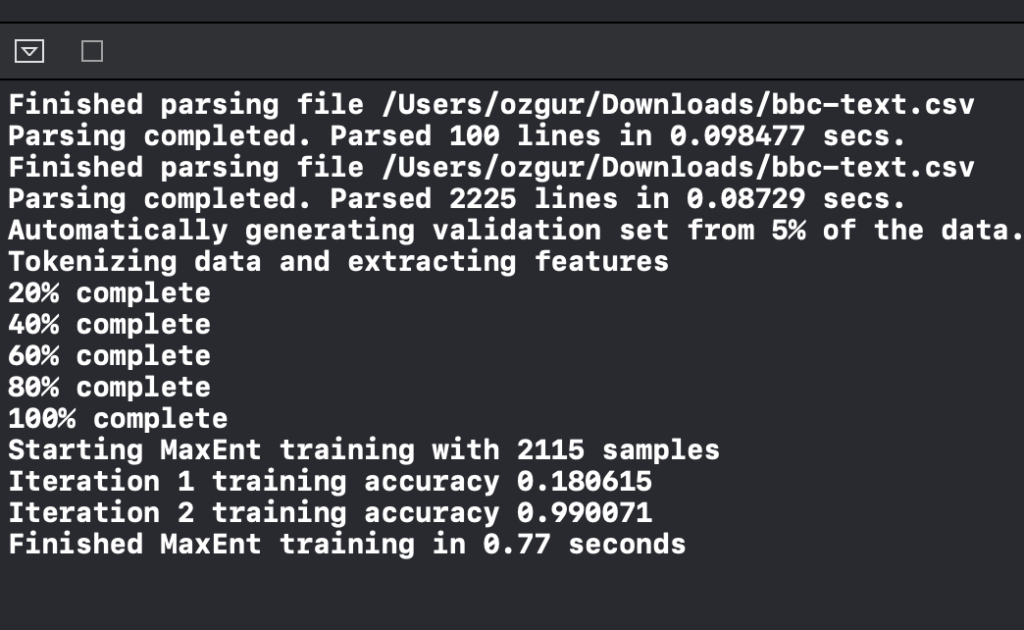
It takes only 0.77 seconds to train for two iterations.
Behind the Scenes of Training the MLTextClassifier
MLTextClassifier automatically pre-processes the text data. In this stage, punctuation is cleared and tokenization is performed.

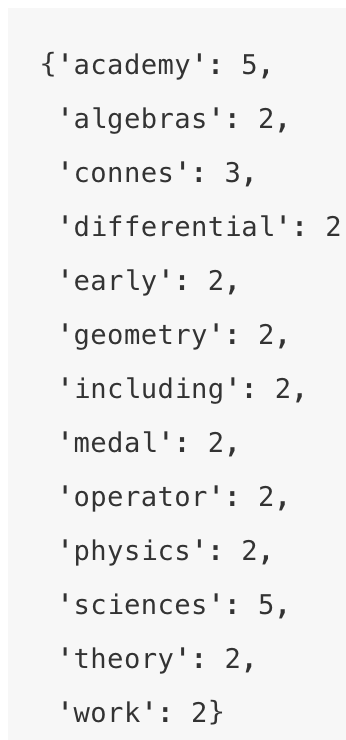
Apple doesn’t provide the details of how features are engineered, but if it uses Turi Create behind the scenes, then it has two stages: feature engineering and statistical modeling. Turi Create’s text classifier is a LogisticClassifier model trained using a bag-of-words representation of the text dataset. In the first stage, it creates this representation, which shows the frequencies of the words.
In the next stage, a logistic regression (multinomial logistic regression) model is trained by using the features. This method calculates the possibilities of classes by creating a linear combination of these features. Basically, the logistic classifier calculates the contribution of each word to the specified classes.
How Good Is Our Model?
To see the details of the trained model, we can print it. This way, we can check its performance on both training and validation datasets. It shows our model has successfully classified all the validation data.

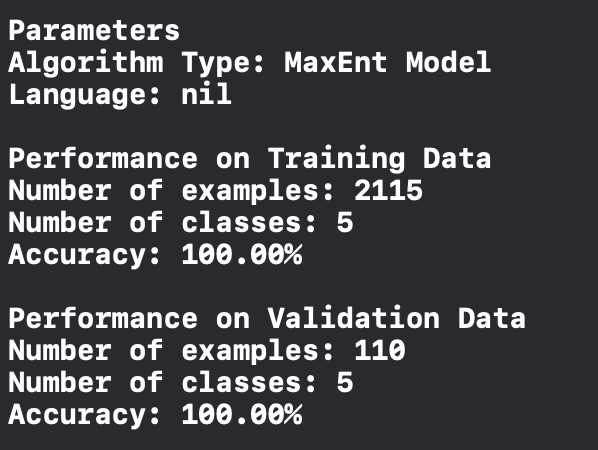
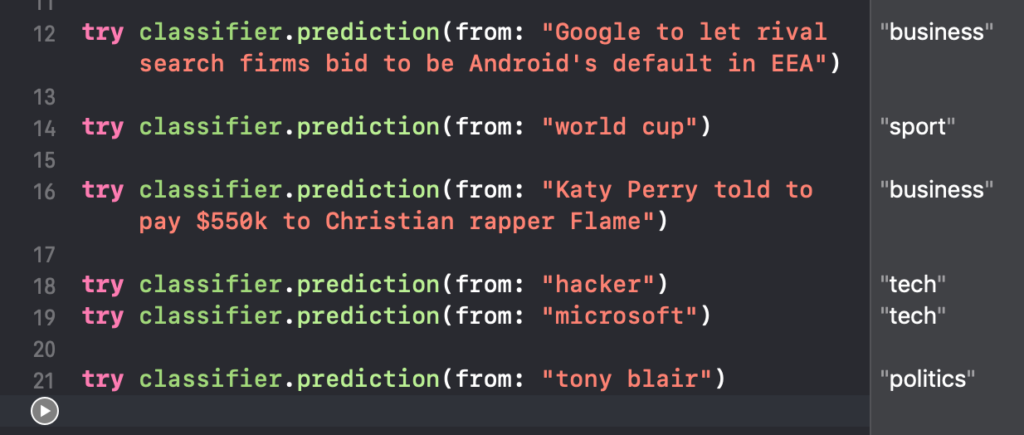
Let’s try the model with arbitrary inputs and examine its performance. The text classifier has a prediction method to make the classification. We can see the prediction result directly in the side panel.
If this model works for us, then we can save it and use it in an iOS app. To provide the model details, we create model metadata. This explanation is shown in Xcode when we open the model.
We save the model by giving the path to the write function.

Since we’ve exported our model, we’re now ready to use it in an iOS app. Create a SingleViewApp and drag-and-drop your Core ML model into your project.
Click on the model and check its details. The model is only 808kb.
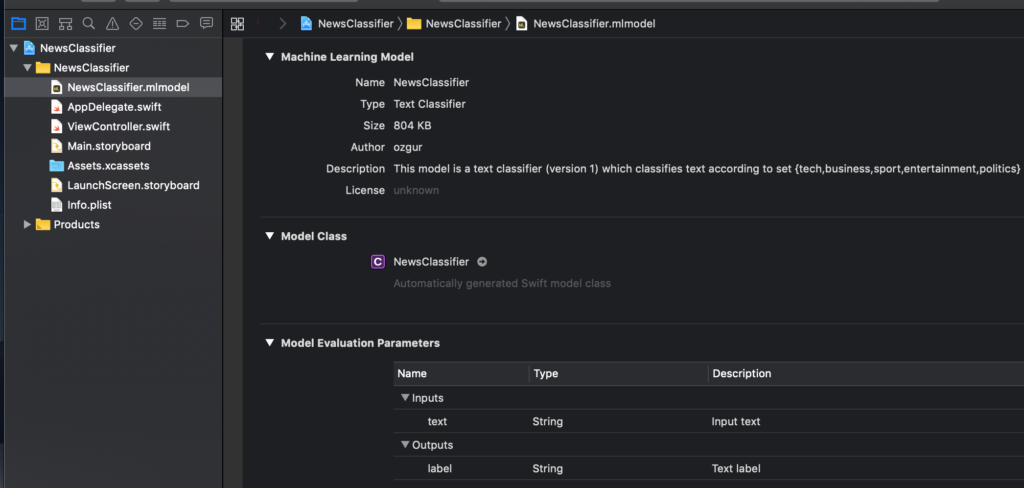
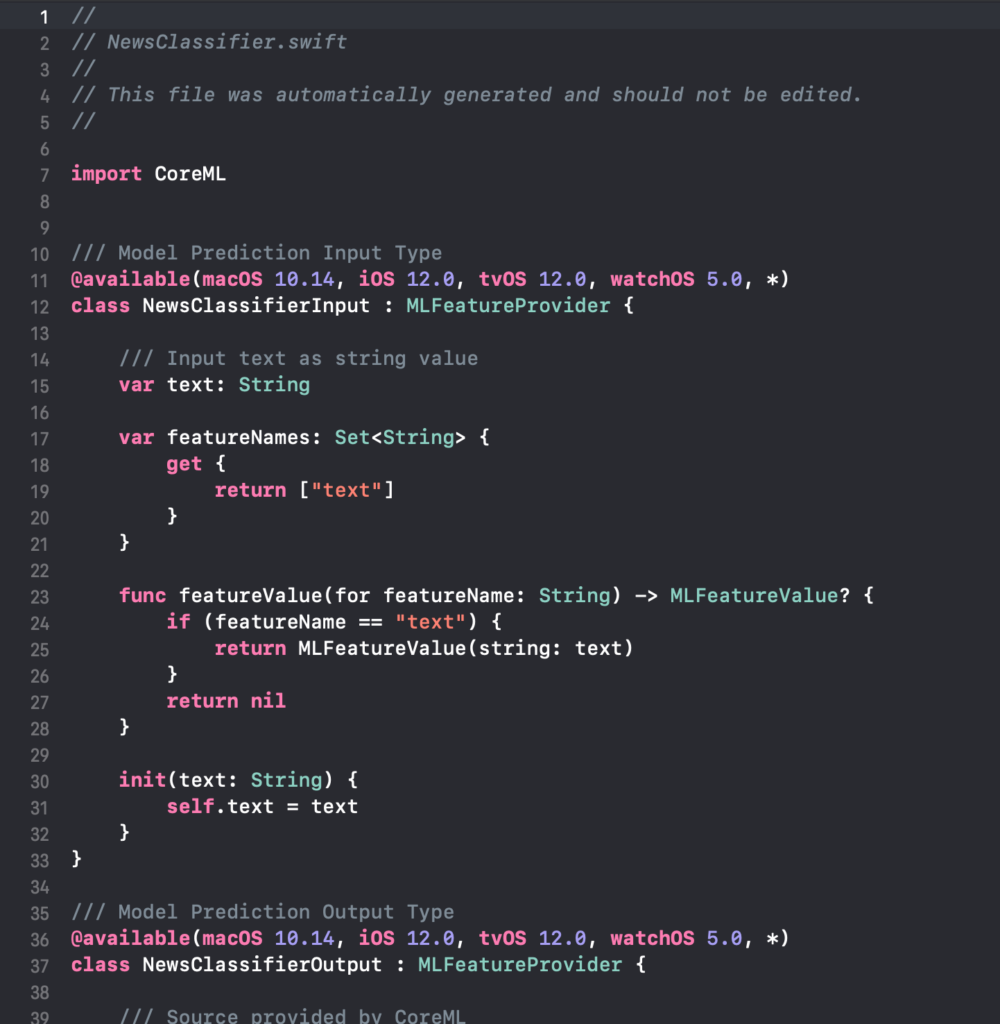
When we drag-and-drop the model into the project, Xcode automatically creates a class for the model. If you want to see the created code, click on the arrow below.

The class is shown below. This class has the functions needed to load the model and make predictions.
To use the model, create an instance of the model class in ViewController.

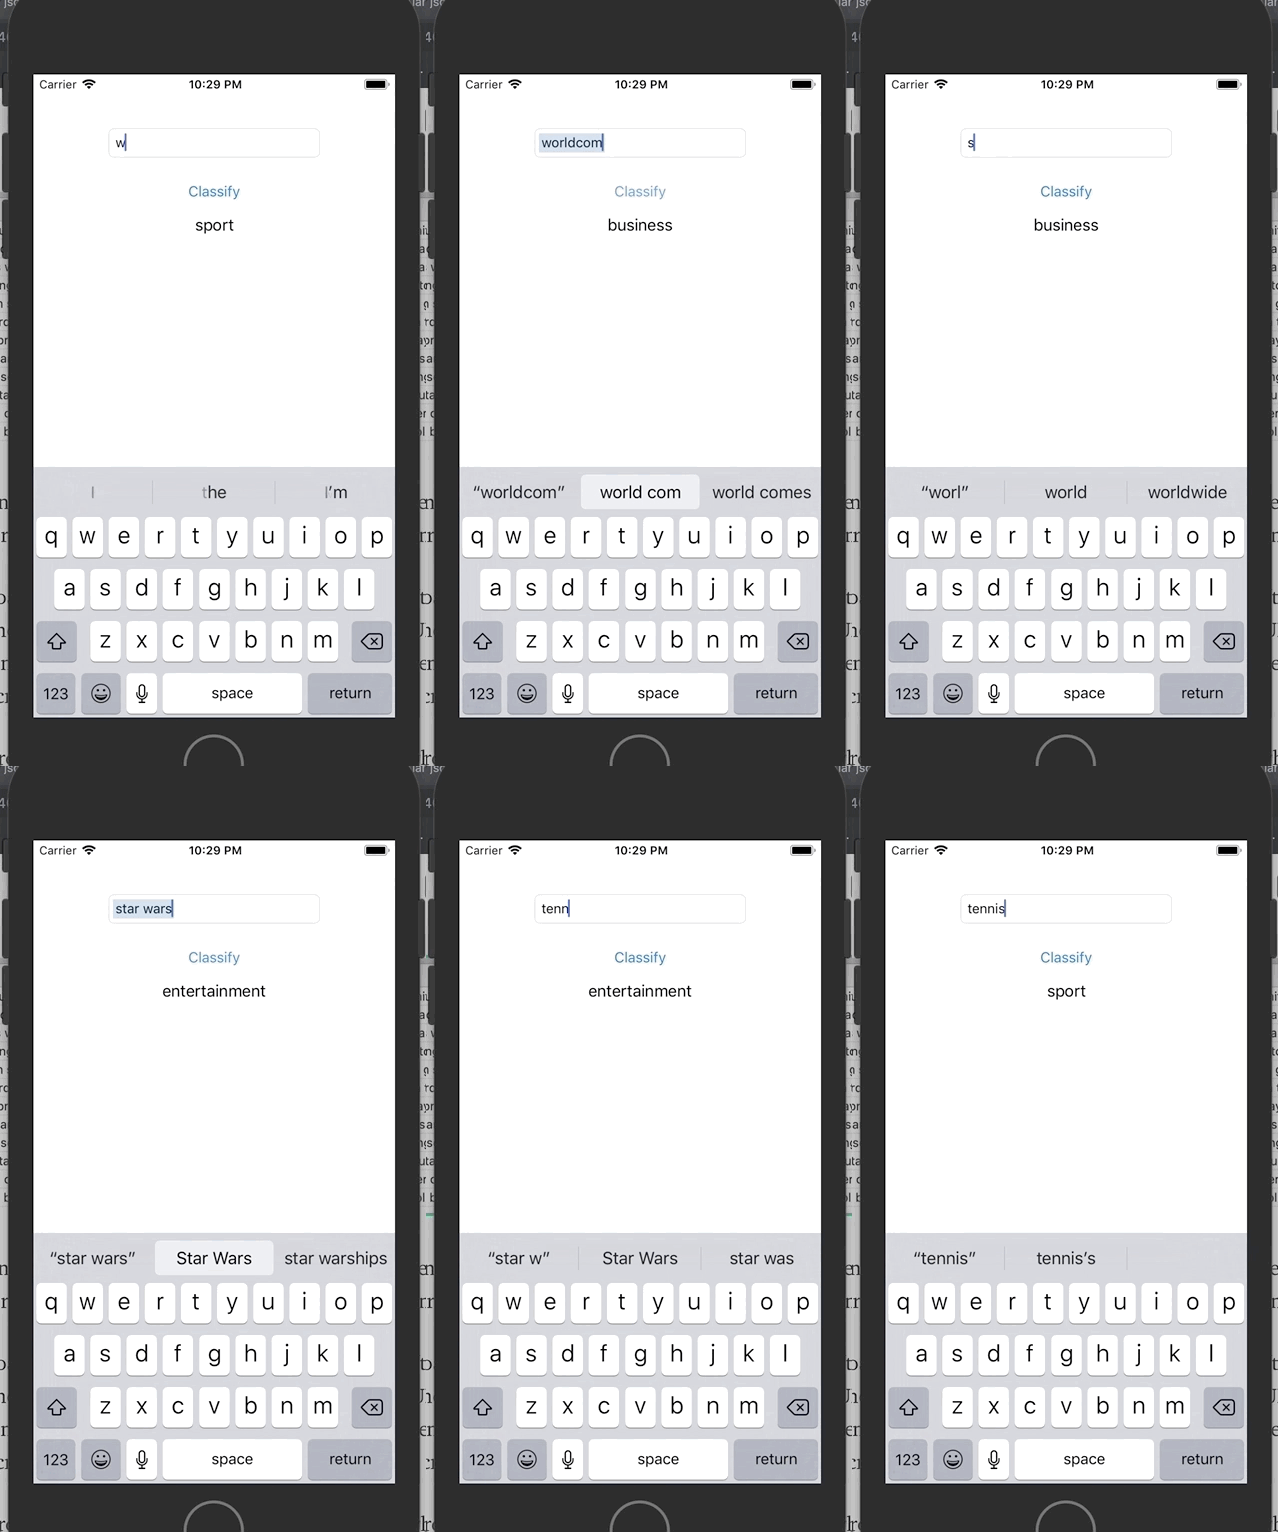
We call the prediction function to run our model with the custom input. To show the result, I created a basic textField and gave its text as a parameter to this function.

I added a simple button to call this prediction function. You can find the whole project on GitHub.
And that’s it! Our news classifier app is ready.
Thanks for reading!
If you liked this story, you can follow me on Medium and Twitter. You can contact me via e-mail.

Comments 0 Responses