Lens Studio enables you to add visible effects such as Analog Tv, Pixelization, and Color Correction Post Effect which improves the nature of your lenses. The Post Effects are built-in Lens Studio and therefore free to use. In this article, we will look at how you can add Post Effects and Color Correction Effects and how they can be modified to achieve the outcome that you want.
Let’s get started!
Table of contents:
Post Effects
Open Lens Studio and go to the objects panel, then click on the Add New button and search for Post Effects.
They are quite a number of them including Analog TV, Zoom blur, Color Gradient, and more. See the rest of them as shown in the image below and try them to see the effect they have. Let’s take a look at some of the Post Effects.
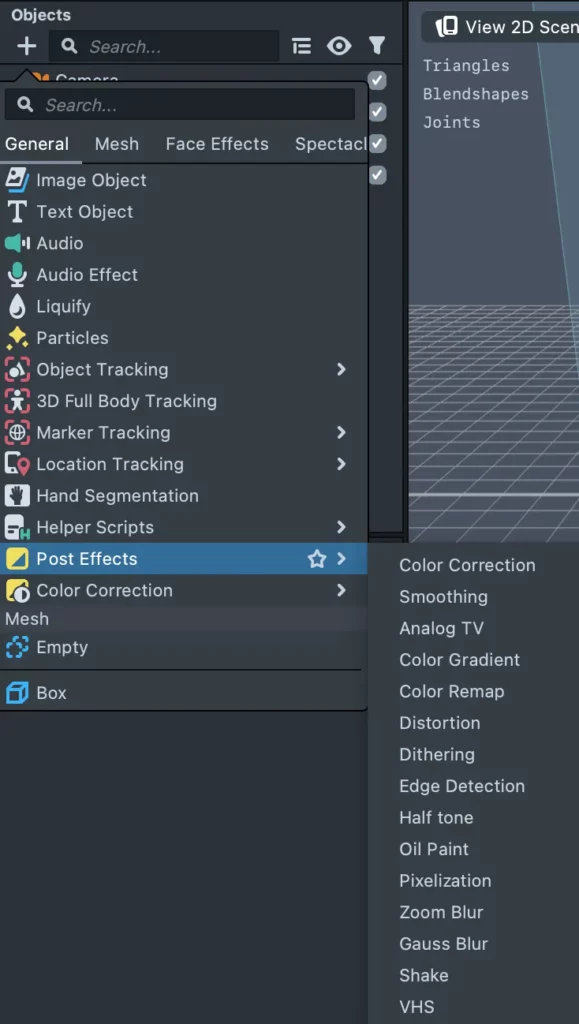
Post Effects Types
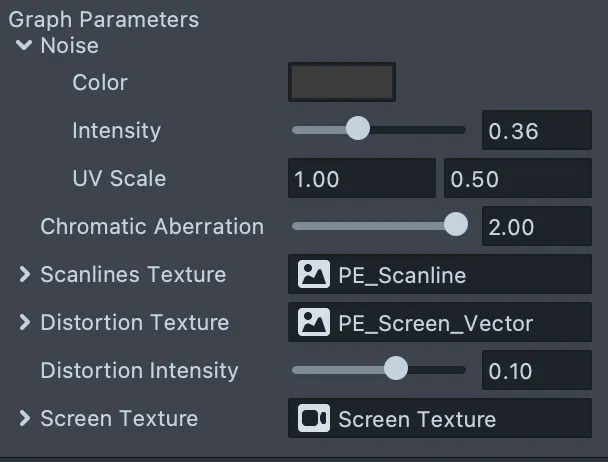
Analog TV
To add the effect you go to Objects>Add new object>Post effects>Analog TV. This gives the screen image an analog impression just like the name suggests.
In the Resources panel, the Analog TV material is added. Once you select this material, you can adjust the parameters in the Inspector panel.
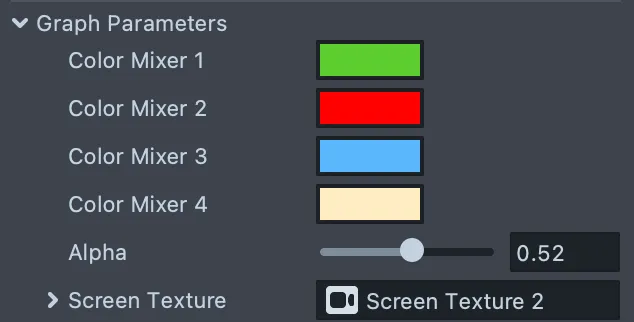
Color Remap
This effect enables the user to reassign colors to the lenses using the color mixes in the graph parameters in the Inspector panel.
Pixelization
This effect results in the camera image being displayed in pixels.

Upon selecting the pixelization material in the resources panel, it displays size in the graph parameters section that allows you to increase or decrease the size of the effect. The lower the number in the size parameter the more the camera is pixelated.

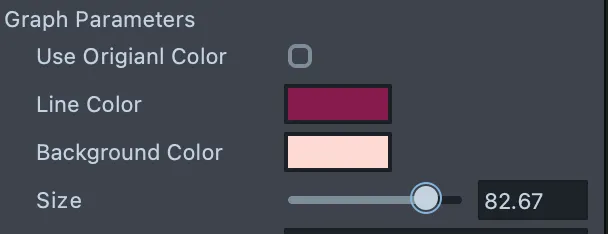
Halftone
This makes the camera have an effect that has lines of dots.

In the Inspector panel, there are line and background color parameters that can be adjusted. There is also a size parameter that one can adjust depending on the result they want.
VHS
This is one of my favorites effects. It creates an analog video recording effect animated from top to bottom. See the image below for the result.
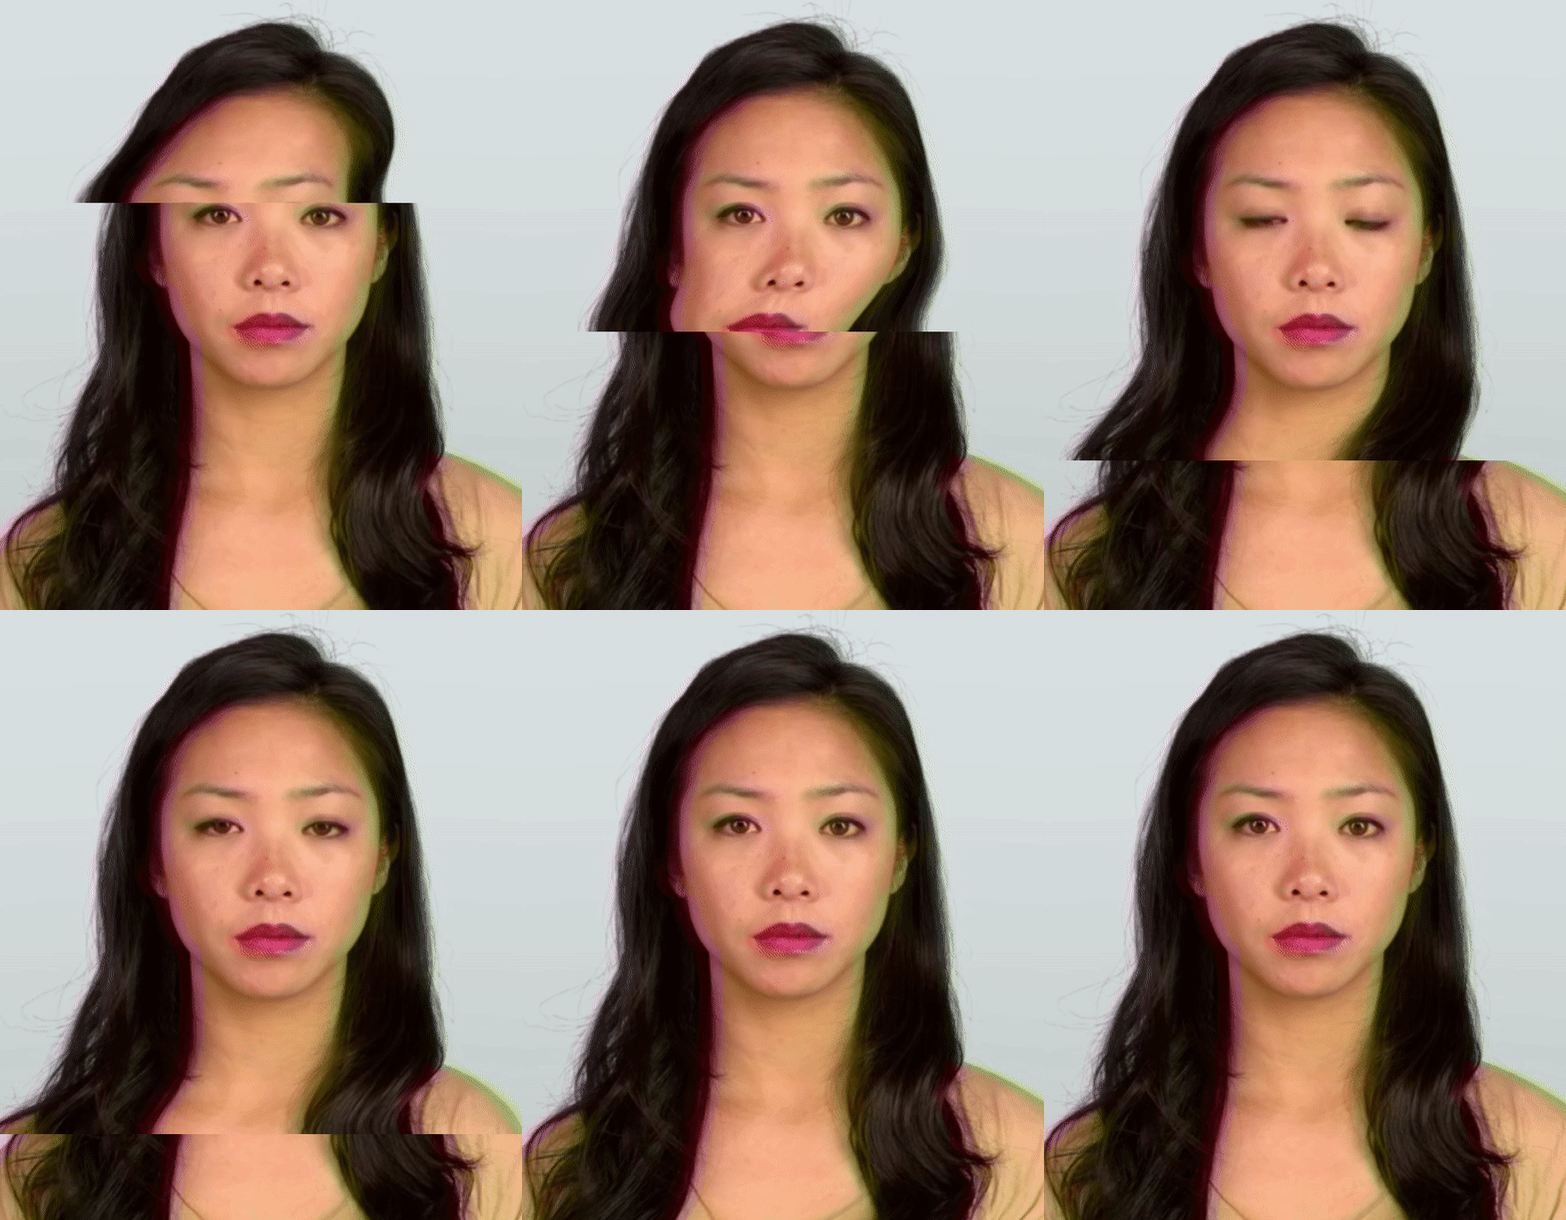
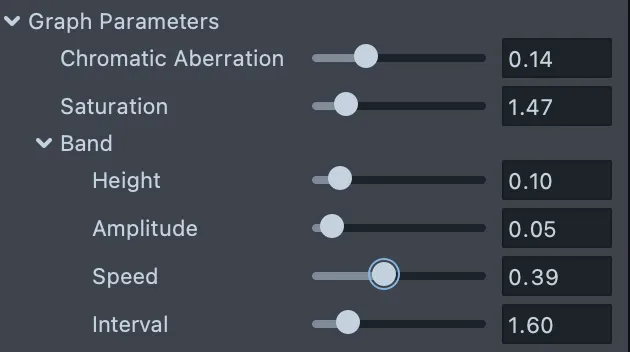
There are graph parameters that include chromatic aberration, saturation, height, speed, and amplitude to mention a few, and you can adjust them to the outcome that you want.
Shake
This results in an effect that shakes the screen. The shake can be adjusted in the Inspector panel by first selecting the Shake material in the Resources panel. Once you select the Shake material, you can adjust the horizontal, vertical, and frequency properties. The horizontal property moves the screen side-to-side while the vertical property moves the screen up and down and frequency is how many times the shake is recurring.

Color Correction Post Effect
The Color Correction Post Effect has built-in color features that can be used to add filters to the lens and a Color Correction Texture table that allows you to modify the colors in an external editor such as Photoshop.
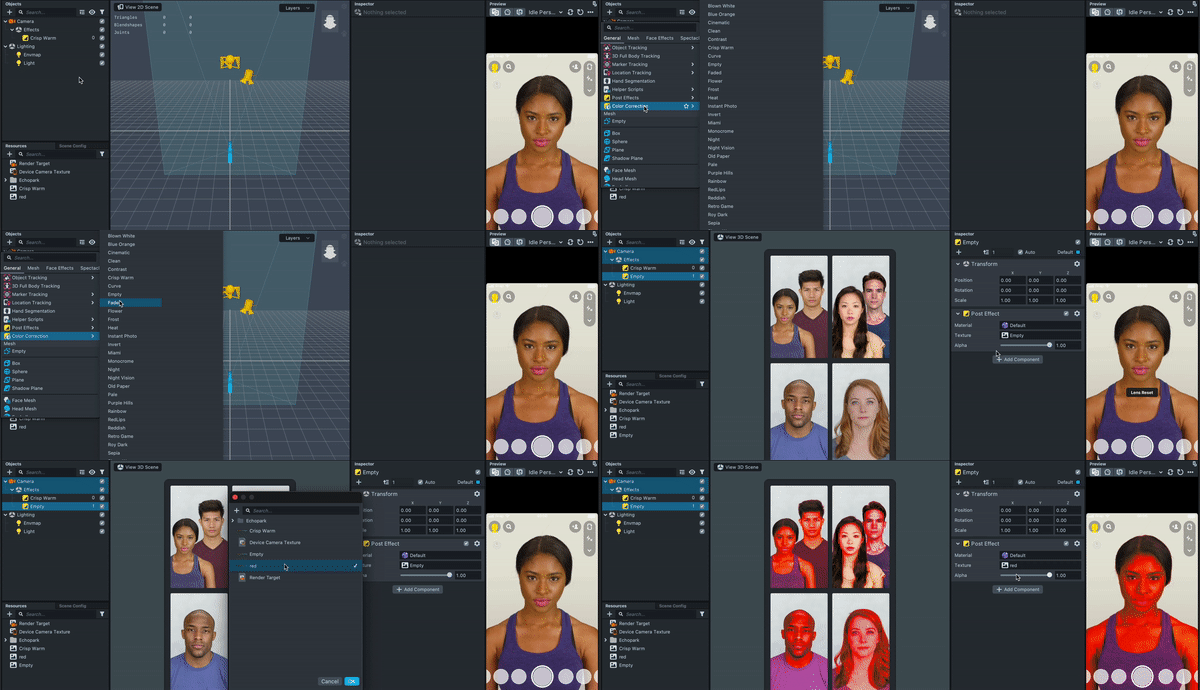
Let’s take a look at the built-in color features in the Color Correction. To add Color Correction object, click + button>Color Correction. This is shown in the image below.
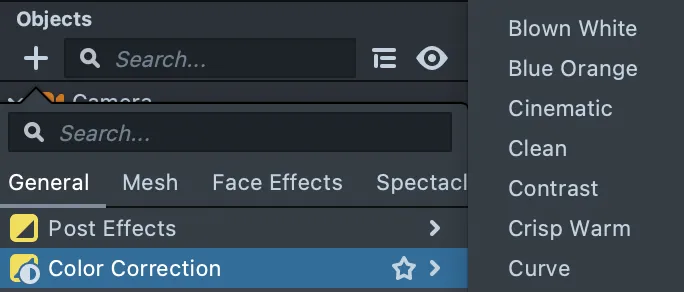
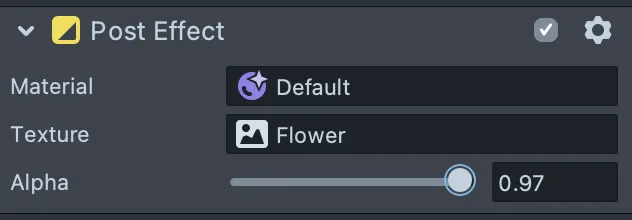
There are a lot of filters to use such as cinematic, contrast, crisp warm, and more. After adding the filter that you want, you can adjust the strength of the effect in the Inspector panel by using the alpha slider.
The Color Correction Texture Table
This table enables you to add colors you want and then import them to Lens Studio to start using them. To add the table, go to Resources panel>+button>Color Correction Texture>Empty.

See it in the Inspector panel as shown in the image below.

Adjusting Color Correction Texture
To make changes to the Color Correction Texture added, you will need an external image editor such as Photoshop. In this case, I will use Gimp.
To do this, you will need to export the Color Correction Texture to the image editor. Once in the image editor, find Color Balance and select it. Adjust color levels depending on which colors you want to dominate. In this case, I increased the red color level in the first bar as shown below.
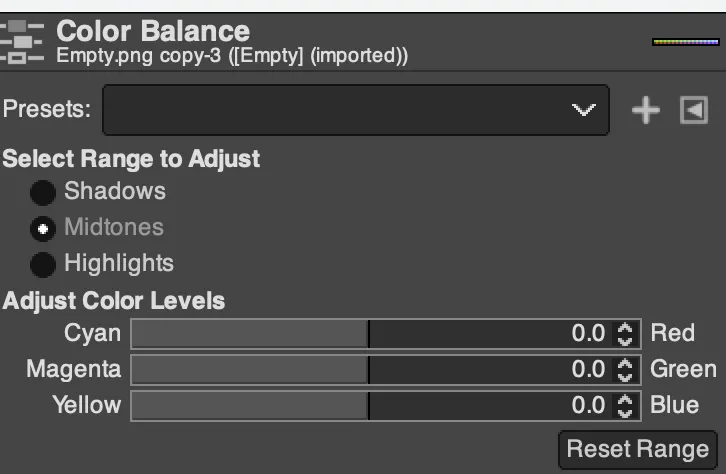
After adjusting, you can now export and save it in one of your computer folders in PNG format. Then import it to the Lens Studio Resources panel by dragging it or clicking +button>+From files(found at the bottom)>select the image.
Create a Post Effect object in the Object panel, in this case, let’s add the one listed as empty. Then replace the texture of the empty object with the Color Correction Texture in the Inspector panel. You can see the change happening to the lens once you change the texture.
Conclusion
Post Effects in Lens Studio enable you to add effects to your lenses thus improving the quality of your lenses. You can use them as they are and even add them to other projects. We have looked at both the Post Effects and Color Correction Post Effects and how they can be adjusted. Moreover, you can add more than one effect to lenses by clicking on their respective checkbox.

Comments 0 Responses