AR camera filters that can be accessed via social media apps like Facebook and Instagram are referred to as “social” applications. Inside the camera feature of these applications, there are a variety of amusing and attractive filters. Facebook and Instagram both have AR capabilities.
Spark AR Studio can be used to modify the appearance of people’s faces. You may also give the face and the whole scene a finishing touch. You will learn how to do some minor face smoothing and lighting effects in this blog.
Let’s Get Started
Open Spark AR Studio and choose Blank Project from the + New Project menu on the left bar. The initialization and loading of your project window will take about half a minute.

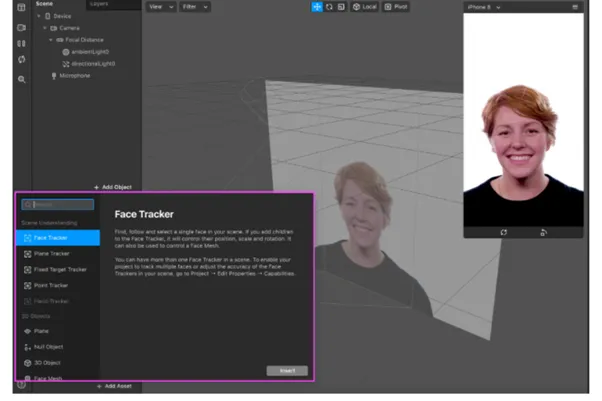
Now, at the bottom of the scene area on the left, click the + Add Object button, select Face Tracker, and click Insert. Make sure the face tracker object is a descendant of the camera object.
By right-clicking the face tracker, choose Face Mesh, and then click Add. Make a new piece of content called “Retouch.” Pick the retouching shader style from the Attributes section on the right. The skin-smoothing parameter should now be set to 60%.
As before, you can add another face mesh to the face tracker and add “light” material. The following are some physical characteristics:
● Set the shader form physically.
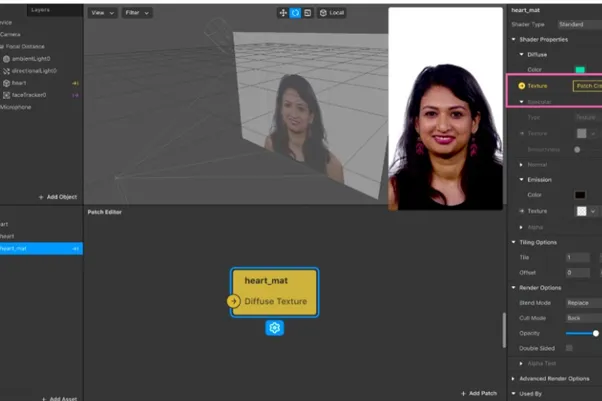
● Choose the FaceMeshMask.png file from the Face Reference Asset folder of the texture.
● Set the metallic and roughness properties to 100 and 25, respectively, in the surface parameters.
● Add Blend Mode to Add and set Opacity to 23 in the Render options section.
You can right-click on the scene of view and right-click on the camera to add a visible light now that the physical properties have been decided. The directional lights can be called Left Light and Right Light.
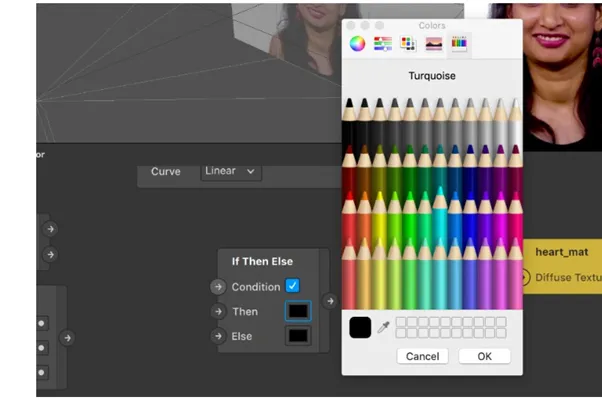
Drag the Left Light to the left of the mobile screen space and the Right Light to the right of the mobile screen space by clicking on the lights in the scene. In Left Light’s and Right Light’s properties section, you can now set the color properties for Blue and Pink, respectively. Set all lights to 100% brightness as well.
Using Patch Editor
The patch editor, which was created to make Spark AR easier to use and more accessible to non-developers, is used to add user interactivity, animation, and logic objects. The patch editor can be found by selecting a view from the top menu bar, then clicking the Show/Hide Patch Editor option.

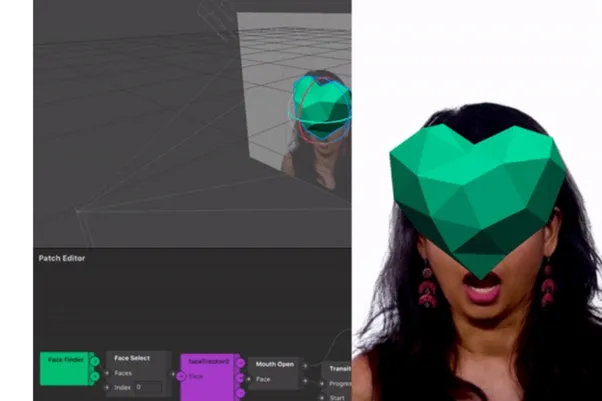
You can now uninstall all of the previous patches from the patch editor and enter the loop animation and two transition patches by clicking on the add patch button. Choose Left Light in the scene in the Attributes section and click the arrow next to the Rotation property. This will allow you to add rotation patches to the editor, allowing us to control the lights’ rotational properties using logic.
Patches are used to include object interaction logic. Make sure the loop animation is turned on in the patch.
Transition patches use three variables — x, y, and z — to convert the input progress value into a value that lies within the defined start and end range.
Since you want the Left Light X and Y-axis, you can set the start and end values (0,0,0) and (360,360,1) for the first transform patch that you’ll use for our Left Light. If you just want the correct light to rotate on the X-axis, you can set the start and end values for the second transition patches to (0,0,0) and (360,1,1).
To generate the effect of random light combinations, different rotational limits have been set — you can use these values to create your own effect!
Connecting Patch
Finally, because you want the rotation to continue throughout the effect, connect the loop animation patch’s progress output to both transition patches’ progress inputs, and then connect the value outputs of the first and second transition patches to the 3D rotation inputs of the Left Light and Right Light rotation patches, respectively.

Impact Test
Connect your mobile device to a PC and open the Spark AR player on your mobile device to see how it functions. Click the test on device option under the left toolbar.

Then send to the connected device choice. Take advantage of the opportunity to share selfies and GIFs made with face filters.
Bottom Line
Spark AR provides different types of face-changing effects for Instagram and Facebook, using various lighting, retouching, and face distortion techniques. It is a great way to produce interactive content to keep you connected with your Instagram and Facebook audiences.

Comments 0 Responses