We’ve seen this feature in countless smartphone ads. The quick scene has someone traveling to a foreign country, having a local say something into their smartphone, and then smile as it provides the translation for them. Usually it takes up just seconds of the ad before they move onto a new camera feature or something.
What they don’t show is the aftermath as that smile turns into panic. For soon after, the user realizes they’re nowhere near their hotel’s free WiFi. They begin to calculate how much their international data charge will be by the time they finally translate the local’s instructions to the best food in town. Who knows if they’ll be able to afford it by then?
While this may be dramatic, it’s nonetheless a reality. As one of the hottest mobile capabilities available for over a decade now, it’s interesting that most people only talk about the required internet connection once they tried without it.
In 2013, Google Translate for iOS began to allow users to download language models for offline text translation, closing the gap a bit. However, translating speech over the microphone still requires an internet connection to this day.
Hacking the Gap
Apple recently updated SFSpeechRecognizer to allow offline speech-to-text transcription for 9 languages (including certain dialects within those languages) on iOS. If we were to take this update and combine it with Firebase ML Kit’s on-device translation, we could finally use the feature just like the folks in the ads—without the hit to our data/wallet.
To follow along, you can grab the code here:
Building the Speech Recognizer
Building out the speech recognizer first is actually pretty simple and will give us the transcript text we’ll need when we implement translation.
Let’s start with a new project in SwiftUI. We’ll build out the UI with a simple Text View to display the transcription and a record Button that will change appearance as it is toggled.
Next, let’s set up the recognition. Let’s create a simple class called ClosedCaptioning that will contain all we need so we don’t clutter our UI code. Essentially, this class will host our SFSpeechRecognizer (and corresponding SFSpeechAudioBufferRecognitionRequest and SFSpeechRecognitionTask) as well as an AVAudioEngine.
We’ll have a function (startRecording) that will set up tapping into the microphone with our engine so it can feed our recognition task. The recognizer is also set up here to listen to that feed and produce transcription results as it detects speech.
//Thanks to https://developer.apple.com/documentation/speech/recognizing_speech_in_live_audio
func startRecording() throws {

        // Cancel the previous task if it's running.
        recognitionTask?.cancel()
        self.recognitionTask = nil

        // Configure the audio session for the app.
        let audioSession = AVAudioSession.sharedInstance()
        try audioSession.setCategory(.record, mode: .measurement, options: .duckOthers)
        try audioSession.setActive(true, options: .notifyOthersOnDeactivation)
        let inputNode = audioEngine.inputNode

        // Create and configure the speech recognition request.
        recognitionRequest = SFSpeechAudioBufferRecognitionRequest()
        guard let recognitionRequest = recognitionRequest else { fatalError("Unable to create a SFSpeechAudioBufferRecognitionRequest object") }
        recognitionRequest.shouldReportPartialResults = true

        // Keep speech recognition data on device
        if #available(iOS 13, *) {
            recognitionRequest.requiresOnDeviceRecognition = false
        }

        // Create a recognition task for the speech recognition session.
        // Keep a reference to the task so that it can be canceled.
        recognitionTask = speechRecognizer.recognitionTask(with: recognitionRequest) { result, error in
            var isFinal = false

            if let result = result {
                // ***We will update State here!***
                // ??? = result.bestTranscription.formattedString
                isFinal = result.isFinal
                print("Text (result.bestTranscription.formattedString)")
            }

            if error != nil || isFinal {
                // Stop recognizing speech if there is a problem.
                self.audioEngine.stop()
                inputNode.removeTap(onBus: 0)

                self.recognitionRequest = nil
                self.recognitionTask = nil
            }
        }

        // Configure the microphone input.
        let recordingFormat = inputNode.outputFormat(forBus: 0)
        inputNode.installTap(onBus: 0, bufferSize: 1024, format: recordingFormat) { (buffer: AVAudioPCMBuffer, when: AVAudioTime) in
            self.recognitionRequest?.append(buffer)
        }

        audioEngine.prepare()
        try audioEngine.start()
    }
We’ll also set up a function called micButtonTapped for our Record Button that will either stop any recording or call startRecording.
Let’s begin to hook it all up to our UI. We need 2 things to feed our UI: the transcription results and whether or not we’re recording so we can update our Record Button. A simple way to do this is to make our class conform to ObservableObject and wrap the two properties as Published. This way they can bind to our UI.
Now in our UI, we can initialize an instance of ClosedCaptioning wrapped with ObservedObject. This way we can use those properties as though they were States.
Setting Permissions
Before we hit run, we need to set up permissions. First, go to the Info.plist file and add asking permission for speech recognition and microphone usage.

We add a Bool State to our UI to toggle whether our Record Button is enabled. Lastly, we add an .onAppear property closure onto our UI’s top level VStack and add the check for permissions there, setting our new State to enabled or disabled.
Run, hit record, and watch your speech being transcribed!
Tradurre!
Now we want to add Firebase into our app so we can use ML Kit Translation. I recommend following Firebase’s own guide to get setup. However, when we reach editing the pod file, we want the following for our project:
Once we’ve done this, we can set up the translation code in our ClosedCaptioning class’s init:
What’s happening here is that we’re setting up the specific translator we want to use (in this case I’m pretending I’m off to Italy). We do this in the init so that we can check and begin to grab the language model right as the app loads. Once we know that it’s available, we then enable our Record Button through another bindable property when it’s available.
Next, we create a new property in our ObservableObject that our translator can set and then bind it to a new TextView that we’ll add just below our transcription. Lastly, we call our translate from within our recognition task callback, feeding it our transcription to make the magic happen.
Risultati
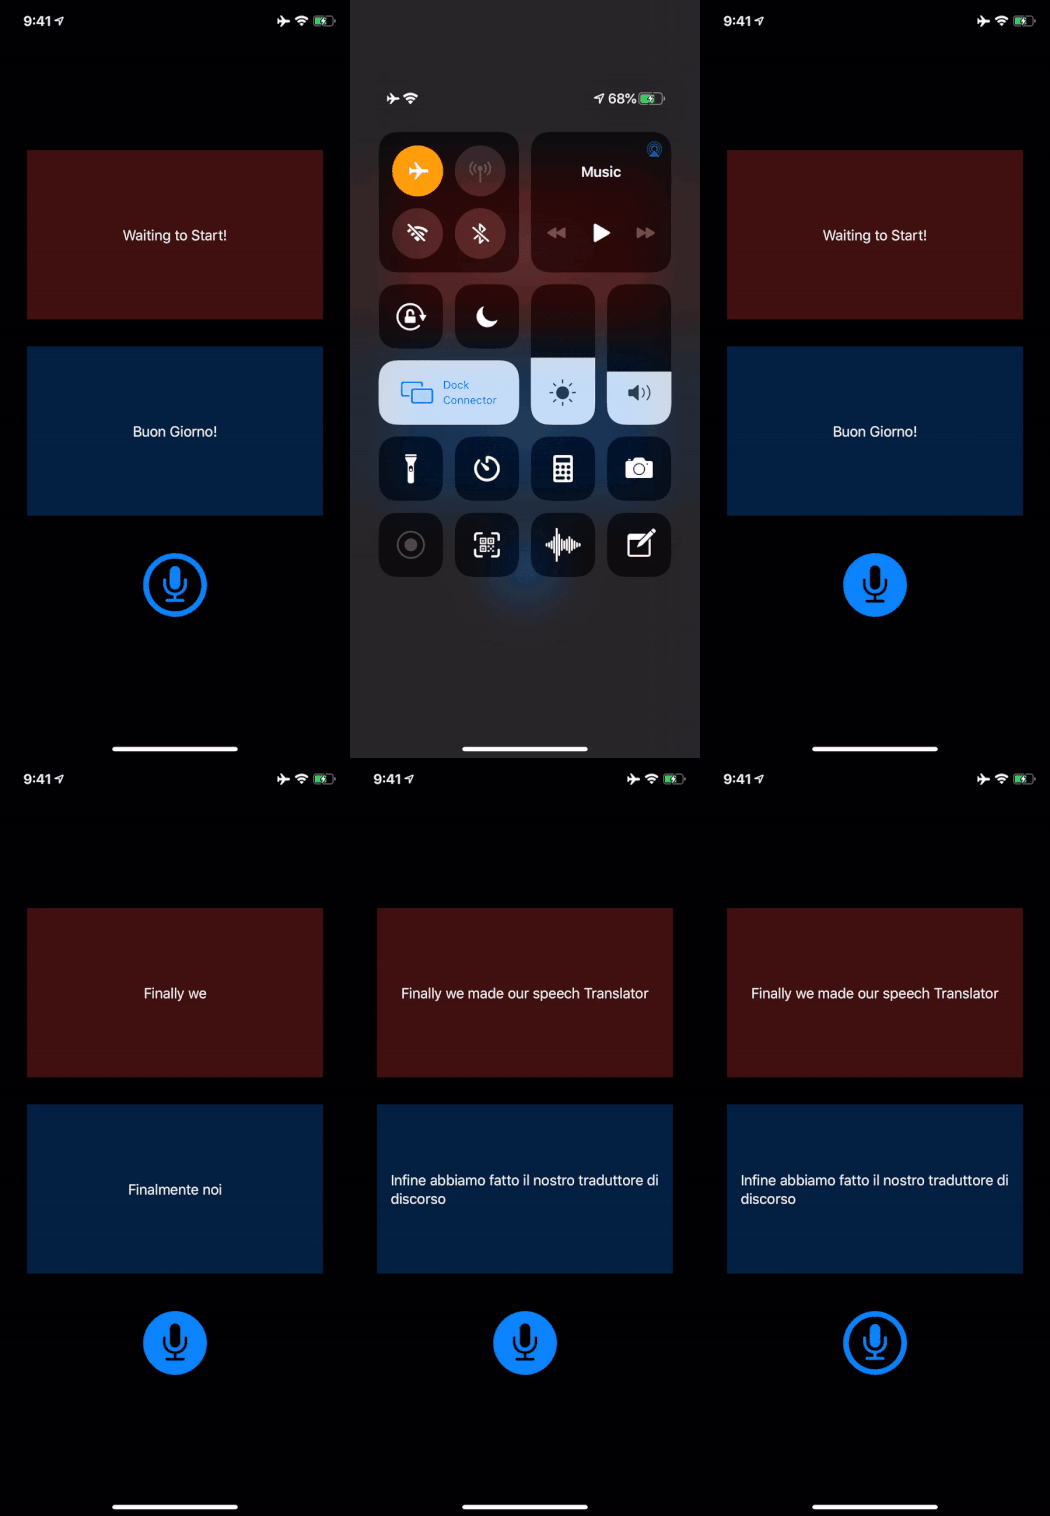
The moment of truth. We hit run on our app and, once our record button is enabled, punch it!

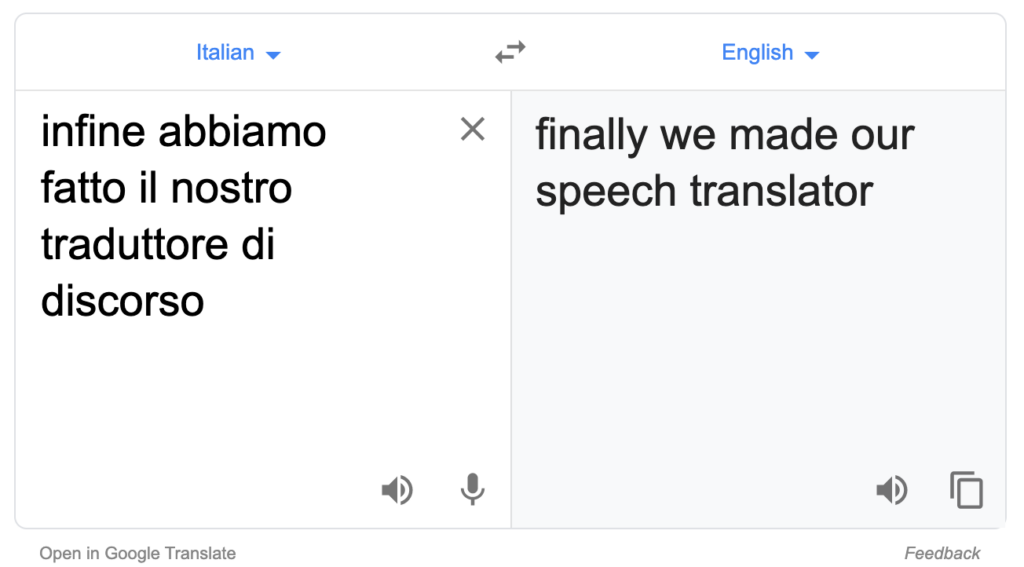
And just to confirm our translation, I checked with Google Translate, itself:

Arrivederci!
Now enjoy yourself as you travel the world, comfortably knowing that language shouldn’t be a barrier! While on your flight, you can easily implement swapping translation back and forth between the two (or more) languages (carefully noting that SFSpeechRecognizer only supports nine languages on-device).

Comments 0 Responses