SnapML provides a way to utilize machine learning to build more immersive Snapchat AR Lenses. Style transfer is a computer vision technology that allows creators and developers to transfer any design from one source image to any targeted image.
Once our style transfer model is ready, we’ll upload and configure the converted ONNX/PB model file in Lens Studio, and from there, upload the resulting to our personal Snapchat app. And, then we can make it public so that others can use our lens.
As this is a deep learning approach, we’ll need a large amount of data. We’ll utilize the COCO dataset to train our model. And for model training, we’ll use Google Colab because it provides us a high-quality free GPU and ML code processing.
What is SnapML?
Using SnapML, we can use our trained style transfer model in the form of the ONNX/PB file and then use this converted model in the ML Component provided by Lens Studio. SnapML helps us build machine learning-based AR Lenses that can be used directly in Snapchat.
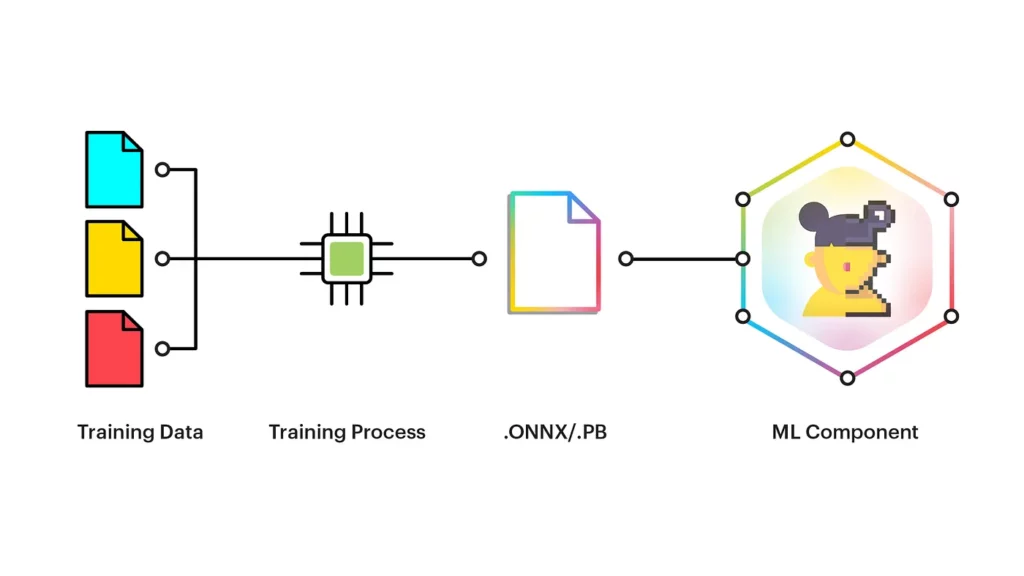
In this article, we’ll build and implement a style transfer Lens using SnapML to create an immersive mobile experience.
Let’s first see our final Lens in action, once published on the Snapchat app. This Lens can be used on Snapchat for both iOS and Android. You can also find and use this Lens here.

Preparing Our Model
We’ll be using the COCO dataset to train our style transfer model. The COCO dataset contains different categories; model training needs to select the class based on our Lens. Here, I am selecting the type as “Person” to help detect human features.
COCO_CATEGORY = 'person'  # target category

WORK_DIR = Path('.')

# Archives to be downloaded
COCO_IMAGES_ARCHIVE = WORK_DIR / 'train2017.zip'
COCO_ANNOTATIONS_ARCHIVE = WORK_DIR / 'annotations_trainval2017.zip'

# Paths where the dataset will be extracted to
COCO_ANNOTATIONS_PATH = WORK_DIR / 'annotations/instances_train2017.json'
COCO_IMAGES_PATH = WORK_DIR / 'train2017'

# How many images use for training
DATASET_SIZE = 32000

# A content and a style images. You can upload your own.
TEST_IMAGE_PATH = WORK_DIR / 'test_image.jpeg'
STYLE_IMAGE_PATH = WORK_DIR / 'style_image.jpg'

NUM_TRAINING_STEPS = 10000  # number of steps for training, longer is better
LOGGING_FREQUENCY = 250     # log validation every N steps
BATCH_SIZE = 16             # number of images per batch
NUM_WORKERS = 4             # number of CPU threads available for image preprocessing

# This controls input and output resolution for the network.
# Lower values lead to worse mask quality, but faster network inference.
# Change carefully.
INPUT_HEIGHT = 512
INPUT_WIDTH = 256

# Base number of channels for model. Higher is stronger effect, but slower model
MODEL_WIDTH = 16
We need to download the COCO dataset. It’s a big dataset, so it might take some time to download the entire set.
download_file('http://images.cocodataset.org/zips/train2017.zip',
              COCO_IMAGES_ARCHIVE)

download_file('http://images.cocodataset.org/annotations/annotations_trainval2017.zip',
              COCO_ANNOTATIONS_ARCHIVE)
with ZipFile(COCO_ANNOTATIONS_ARCHIVE, 'r') as archive:
    archive.extractall()
Defining our Style Image
We can select the style that we want to use in our Lens. Style can be an image with some design. In our case, we will use the below scenery for styling.

Defining Libraries
We will be using PyTorch for creating our model, defining parameters, adding loss function, and finally training the model using the optimizers to update our model weights.
Defining Model
We will build the model from mainly two types of blocks: residual hourglass-like blocks and separable residual ones.
Separable Residual Block
The main idea of separable blocks is splitting a convolution into two parts: a channel-wise and a depth-wise one. They are used widely in architectures like MobileNet and Inception for reducing computational costs. For model building, we use the sequential model with convolutional layers followed by reflection padding, batch normalization, and the Relu activation function.
class ResidualSep(nn.Module):
    def __init__(self, channels, dilation=1):
        super().__init__()

        self.blocks = nn.Sequential(
            nn.ReLU(),
            nn.ReflectionPad2d(dilation),
            nn.Conv2d(channels, channels, kernel_size=3, stride=1,
                      padding=0, dilation=dilation,
                      groups=channels, bias=False),
            nn.BatchNorm2d(channels),
            nn.ReLU(inplace=True),
            nn.Conv2d(channels, channels, kernel_size=1, stride=1,
                      padding=0, bias=False),
            nn.BatchNorm2d(channels)
        )

    def forward(self, x):
        return x + self.blocks(x)
Residual Hourglass-like Block
The residual hourglass-like block is residual blocks with downsampling. For the model building, we start with convolutional and batch normalization layers for the downsampling then we add a set of residual separation models with the Relu activation function, and finally, we do the upsampling.
class ResidualHourglass(nn.Module):
    def __init__(self, channels, mult=0.5):
        super().__init__()

        hidden_channels = int(channels * mult)

        self.blocks = nn.Sequential(
            nn.ReLU(),
            # Downsample
            nn.ReflectionPad2d(1),
            nn.Conv2d(channels, hidden_channels, kernel_size=3, stride=2,
                      padding=0, dilation=1,
                      groups=1, bias=False),
            nn.BatchNorm2d(hidden_channels),
            # Bottleneck
            ResidualSep(channels=hidden_channels, dilation=1),
            ResidualSep(channels=hidden_channels, dilation=2),
            ResidualSep(channels=hidden_channels, dilation=1),
            nn.ReLU(inplace=True),
            nn.ReflectionPad2d(1),
            nn.Conv2d(hidden_channels, channels, kernel_size=3, stride=1,
                      padding=0, dilation=1,
                      groups=1, bias=False),
            nn.BatchNorm2d(channels),
            nn.ReLU(inplace=True),
            # Upsample
            nn.ConvTranspose2d(channels, channels, kernel_size=2, stride=2,
                               padding=0, groups=1, bias=True),
            nn.BatchNorm2d(channels)
        )

    def forward(self, x):
        return x + self.blocks(x)
We have our models ready now we can use those two models as a whole to build the style transfer model.
class TransformerNet(torch.nn.Module):
    def __init__(self, width=8):
        super().__init__()

        self.blocks = nn.Sequential(
            nn.ReflectionPad2d(1),
            nn.Conv2d(3, width, kernel_size=3, stride=1, padding=0, bias=False),
            nn.BatchNorm2d(width, affine=True),
            ResidualHourglass(channels=width),
            ResidualHourglass(channels=width),
            ResidualSep(channels=width, dilation=1),
            nn.ReLU(inplace=True),
            nn.Conv2d(width, 3, kernel_size=3, stride=1, padding=1, bias=True)
        )

        # Normalization
        self.blocks[1].weight.data /= 127.5
        self.blocks[-1].weight.data *= 127.5 / 8
        self.blocks[-1].bias.data.fill_(127.5)

    def forward(self, x):
        return self.blocks(x)
Model Training
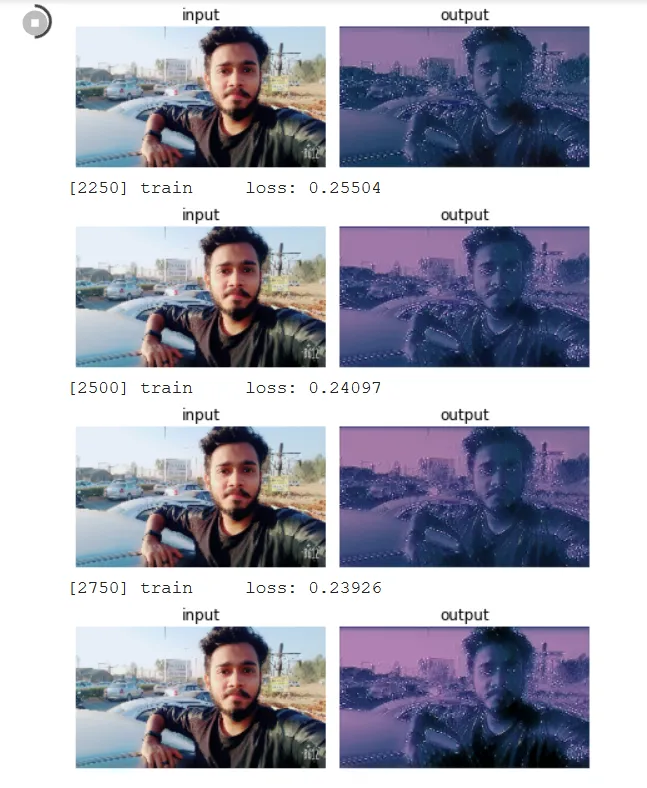
Finally, we can train our style transfer model in a loop, and with each loop step, we can see how style transfer works on our test image.
Saving Trained Model as ONNX
After the model will get trained, we need to save it as an ONNX file to use in Lens Studio.
model.eval()
dummy_input = torch.randn(1, 3, INPUT_HEIGHT, INPUT_WIDTH,
                          dtype=torch.float32, device=DEVICE)

output = model(dummy_input.detach())

input_names = ['data']
output_names = ['output1']

torch.onnx.export(model, dummy_input,
                  ONNX_PATH, verbose=False,
                  input_names=input_names, output_names=output_names)
Loading ONNX Model to Lens Studio
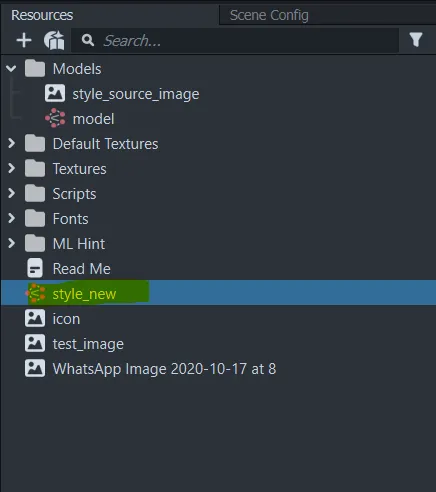
First, you need to download the lens Studio and then Open Lens Studio and select the Style Transfer template project. There you need to drag and drop your trained ONNX model. It will load the ONNX file in SnapML.
Connecting Model to Style Transfer Controller
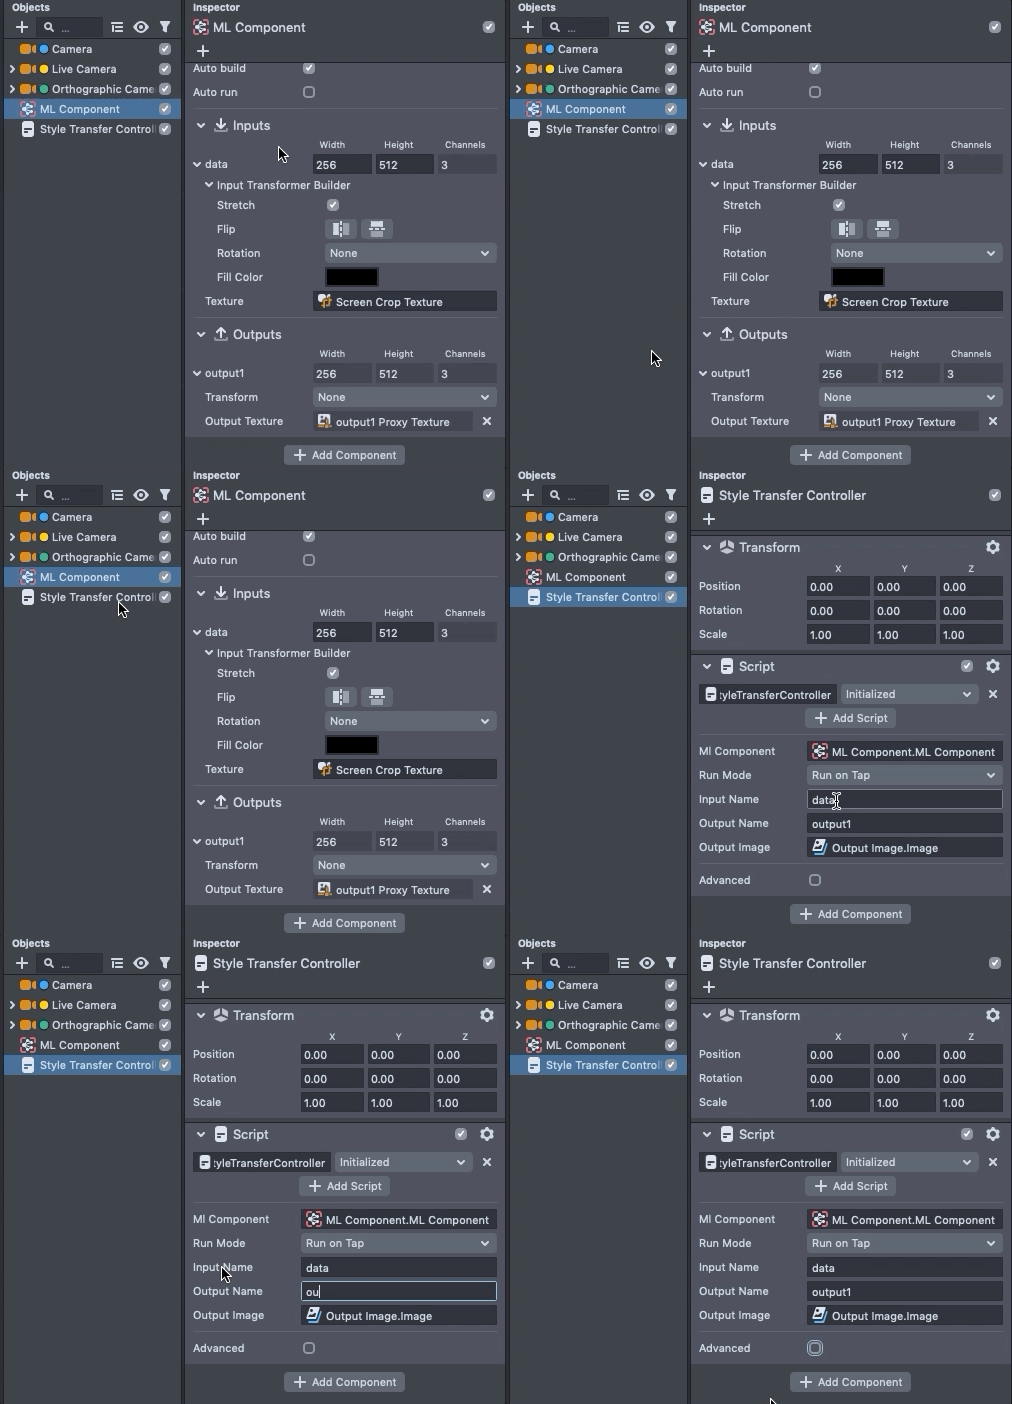
We need to tell the Style Transfer Controller to connect to our Style Transfer model. To do that, First, take note of the input and output parameter in the ML Component. These parameter names should be the same as what the notebook has specified. Now, select the Style Transfer Controller object in the Objects the panel, and in the Inspector the panel, type in Input name and Output name as shown in the ML Component.
Paring Lens and Publish to Public
At the top right of Lens Studio’s, we have an option to pair our lens to our Snapchat app. Both Snapchat & Lens Studio should be updated to the latest version in order to use this feature.

Now, you need to use the Snapchat app to capture the Snapcode. You can now use the “Send Lens to Device” option to run it on your device.
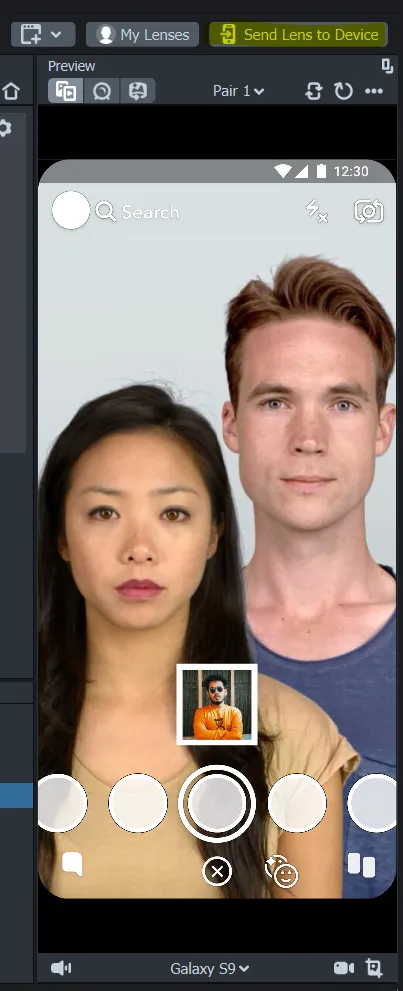
Finally, We can use the “Publish Lens” option on the top left to distribute it publicly. You’ll have to wait for a few minutes for Snapchat to approve it, but overall a pretty seamless process. Snapchat will send you an email with the confirmation once it’s been approved.
Final Points
We have covered the complete process of building a style transfer model on the COCO dataset, where we have seen the different style transfer model components, like separable residual blocks and residual hourglass-like blocks. We combined both of these components to build our style transfer model.
Then, after training the model, we converted it to ONNX format to make it compatible with Lens Studio.
Now it’s time to try this out with your own style image and publish your first Snapchat Lens using Lens Studio.
Hope you like this piece—see you next time!

Comments 0 Responses