In my previous article that examined classification with TensorFlow, I covered the basics details of how to perform linear classification with TensorFlow’s estimator API. You can read that blog post here:
For part two, I’m going to cover how we can tackle classification with a dense neural network. I’ll be using the same dataset and the same amount of input columns to train the model, but instead of using TensorFlow’s LinearClassifier, I’ll instead be using DNNClassifier. We’ll also compare the two methods.
What is a dense neural network?
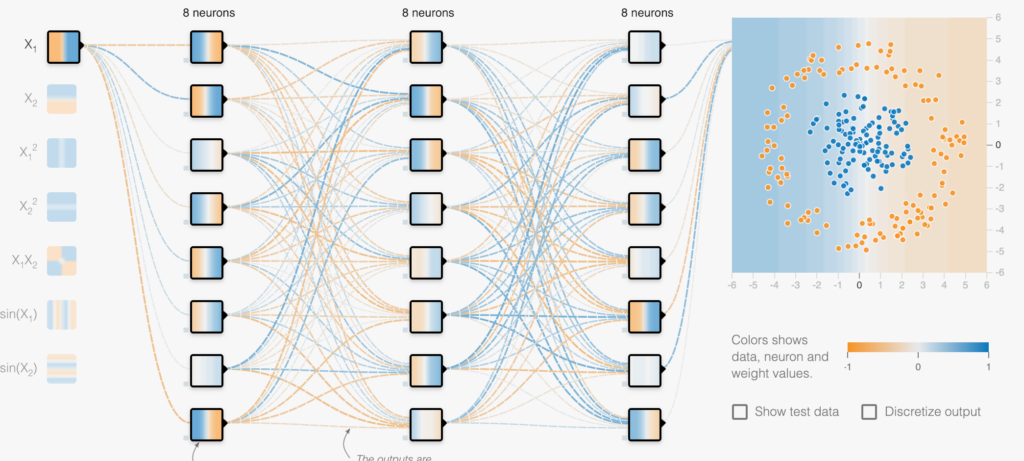
The name suggests that layers are fully connected (dense) by the neurons in a network layer. Each neuron in a layer receives an input from all the neurons present in the previous layer—thus, they’re densely connected.
In other words, the dense layer is a fully connected layer, meaning all the neurons in a layer are connected to those in the next layer.

Why use a dense neural network over linear classification?
A densely connected layer provides learning features from all the combinations of the features of the previous layer, whereas a convolutional layer relies on consistent features with a small repetitive field.
Implementing a dense neural network for classification with TensorFlow
In part one, we used the diabetes dataset. For consistency and to create a useful comparison, we’ll use this dataset again to predict if a patient is diabetic or not (bi-class).
First things first. For our model to work correctly, we need our data to be correct and make sure that features are on a similar scale. Please make sure you have created the diabetes pandas dataframe, because we’ll be using it to create the dense neural model. Link
Apart from data normalization, we also need to perform some feature column refactoring to make it work with our dense neural network classifier.
Lets start coding
We start by training our model. To do this, we’ll use sklearn to split our data into training and test sets so we can later check our predictions with the actual data.
To train the model, we’ll need the data from train_test_split, and we’ll also need to create the input function from TensorFlow’s pandas input function (Pandas specifically because we’re using the pandas data frame).
Use the Input function to train the model on the data we have just created.
Our DNN model will be created with three layers of 16,777,216 i.e; (512 x 256 x 128) neurons with our first layer containing 512 neurons, 256 neurons in the second, and 128 in third neurons — and remember, all these layers will be densely connected. The number of classes is 2, because we’re classifying the result into two categories.
Depending on your machine training the model might take a bit of time. Like with my laptop of 64 bit processor and 8 GB RAM, it took me around 8 seconds and which can vary.
GROUP column is a categorical column with categories as [A,B,C,D] , thus with DNNClassifier otherwise it will give ERROR.
Therefore, to overcome this error we’ll convert the assigned_group categorical column to an embedded_column. This will require some code changes:

After training, we get to the most interesting part—we get to see how well our model performed!

As you can see, there isn’t much difference in our results from using LinearClassifier vs. DNNClassifier. We can also optimize our model by changing the number of neurons, but we need to do it carefully because there’s a chance we could end up overfitting the model.

We performed quite well with Dense neural network. However, we can optimize our model by doing some fine tuning.
Model Optimization Techniques
- Adjusting the learning rate, which will reduce the local minima but should be used with care to avoid conversion.
- Adjusting the batch size, which will allow our model to recognize patterns better. Note: If the batch size is too low, the patterns will repeat less and therefore convergence will be difficult. If batch size is too high, learning will be slow.
- Adjusting the number of epochs, as this plays an important role in how well our model fits on the training data. Try different values based on the time and computational resources you have.
GitHub link: Linear Classification with TensorFlow

Comments 0 Responses