
In this project, we’ll use the react-native-maps and react-native-background-geolocation package, a group of React Native map components for iOS + Android that we’ll use to configure a React Native location tracking application.
Here, we’ll focus on building the tracking app project for iOS. The library ships with platform native code that needs to be compiled together with React Native. This requires you to configure your build tools.
Setting up Google Maps
First, we need to create a new React Native project. Then we can install the react-native-maps package using NPM or yarn.
Using npm:
npm install react-native-maps — save
Here, we install react-native-maps with the following instructions. However, for this tutorial, we’re using Google Maps, so we need to import libraries like react-native-google-maps, GoogleMaps, and Google-Maps-iOS-Utils. This group of libraries will set us up to work with Google Maps.
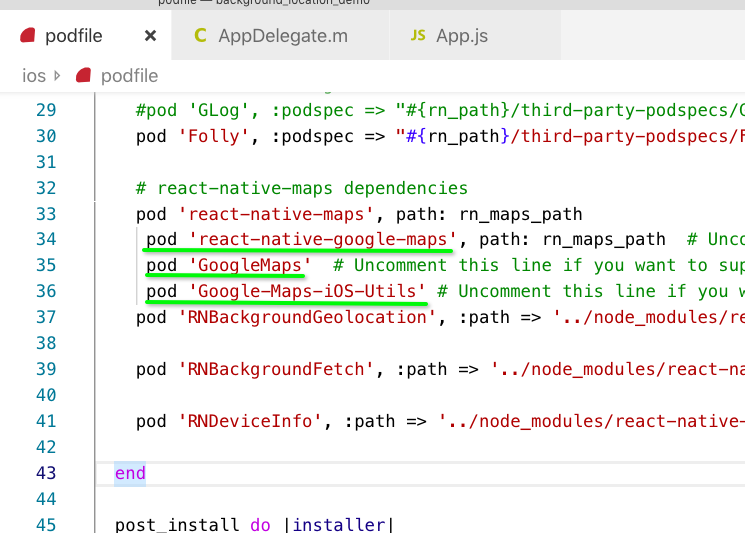
To install the libraries as dependencies you can simply run a pod install command so that each dependency is installed automatically.
Here, run pod install in the iOS folder.
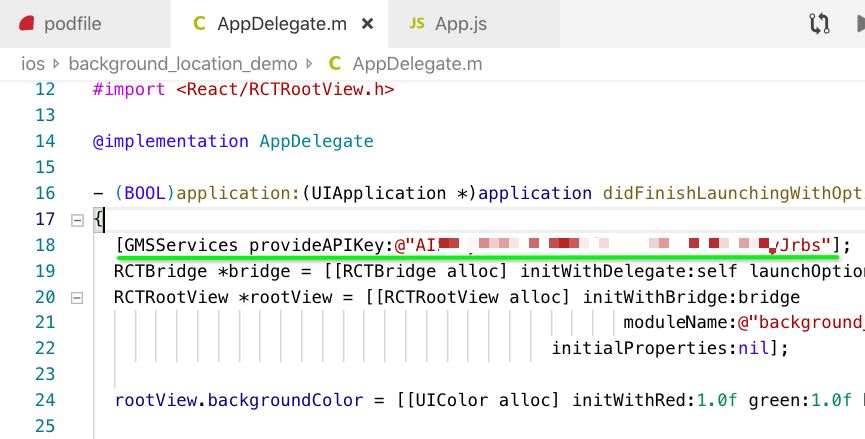
The next step is to open AppDeletagate.m. Then, we’ll import the Google Mapa library. After that, we’ll need to activate it with app_key grabbed from the Google Admin console, as shown in the screenshot below.
Next we need to activate Google Maps on our project file App.jw by importing MapView and PROVIDER_GOOGLE from the react-native-maps library. This can be done using the following piece of code:
Then, we need to replace the old code with the following code snippet:
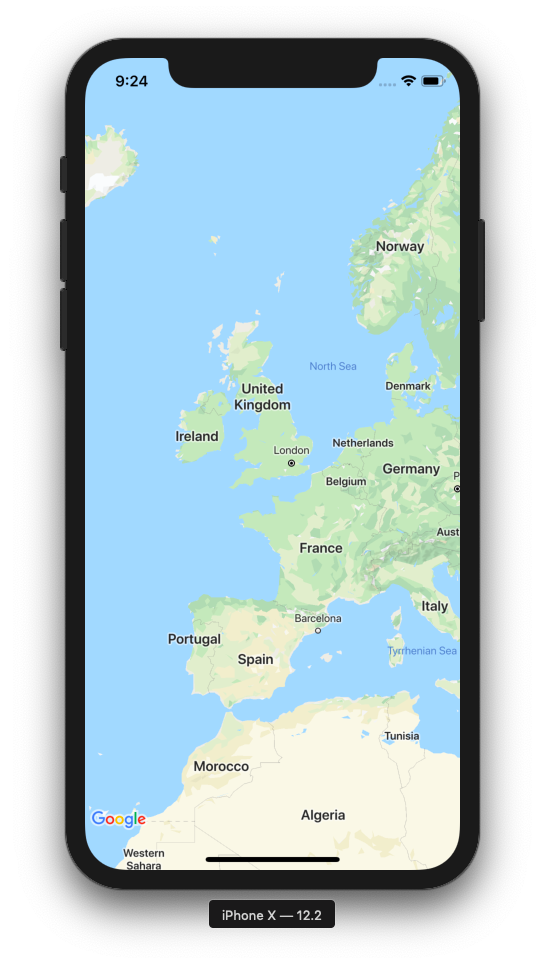
We run the following code in our project console to get the simple map in our simulator:
react-native run-ios
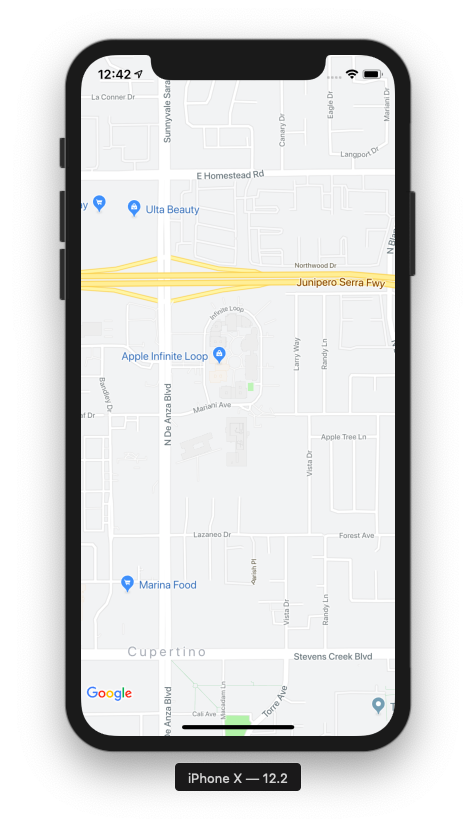
As a result, we get a simple map on our project console where we can see the current device location — somewhere on earth. This is because the simulator doesn’t show reallocation. The result is shown in screenshot below:
The map is working, so now we’ll install react-native-background-location to access a user’s location.
Install BackGround Location package
this package is popular and easy to install and use your can follow along with quick tutorial on Readme but I’ve to try summarize step by step that achieved
and run
lastly with cd ios ; pod install for ensuring every native module has installed
and include package to App.js
for testing
grab this code and paste to App.js
componentWillMount() {
    ////
    // 1.  Wire up event-listeners
    //

    // This handler fires whenever bgGeo receives a location update.
    BackgroundGeolocation.onLocation(this.onLocation, this.onError);

    // This handler fires when movement states changes (stationary->moving; moving->stationary)
    BackgroundGeolocation.onMotionChange(this.onMotionChange);

    // This event fires when a change in motion activity is detected
    BackgroundGeolocation.onActivityChange(this.onActivityChange);

    // This event fires when the user toggles location-services authorization
    BackgroundGeolocation.onProviderChange(this.onProviderChange);

    ////
    // 2.  Execute #ready method (required)
    //
    BackgroundGeolocation.ready({
      // Geolocation Config
      desiredAccuracy: BackgroundGeolocation.DESIRED_ACCURACY_HIGH,
      distanceFilter: 10,
      // Activity Recognition
      stopTimeout: 1,
      // Application config
      debug: true, // <-- enable this hear sounds for background-geolocation life-cycle.
      logLevel: BackgroundGeolocation.LOG_LEVEL_VERBOSE,
      stopOnTerminate: false,   // <-- Allow the background-service to continue tracking when user closes the app.
      startOnBoot: true,        // <-- Auto start tracking when device is powered-up.
      // HTTP / SQLite config
      url: 'http://yourserver.com/locations',
      batchSync: false,       // <-- [Default: false] Set true to sync locations to server in a single HTTP request.
      autoSync: true,         // <-- [Default: true] Set true to sync each location to server as it arrives.
      headers: {              // <-- Optional HTTP headers
        "X-FOO": "bar"
      },
      params: {               // <-- Optional HTTP params
        "auth_token": "maybe_your_server_authenticates_via_token_YES?"
      }
    }, (state) => {
      console.log("- BackgroundGeolocation is configured and ready: ", state.enabled);

      if (!state.enabled) {
        ////
        // 3. Start tracking!
        //
        BackgroundGeolocation.start(function() {
          console.log("- Start success");
        });
      }
    });
  }

  // You must remove listeners when your component unmounts
  componentWillUnmount() {
    BackgroundGeolocation.removeListeners();
  }
  onLocation(location) {
    console.log('[location] -', location);
  }
  onError(error) {
    console.warn('[location] ERROR -', error);
  }
  onActivityChange(event) {
    console.log('[activitychange] -', event);  // eg: 'on_foot', 'still', 'in_vehicle'
  }
  onProviderChange(provider) {
    console.log('[providerchange] -', provider.enabled, provider.status);
  }
  onMotionChange(event) {
    console.log('[motionchange] -', event.isMoving, event.location);
  }
it’s demo code that grabs from the readme
now we can run react-native run-ios for view background location
when the app start listening you’re’ve heard the sound and in iOS your can easily emulate device location with Debug->location -> City run
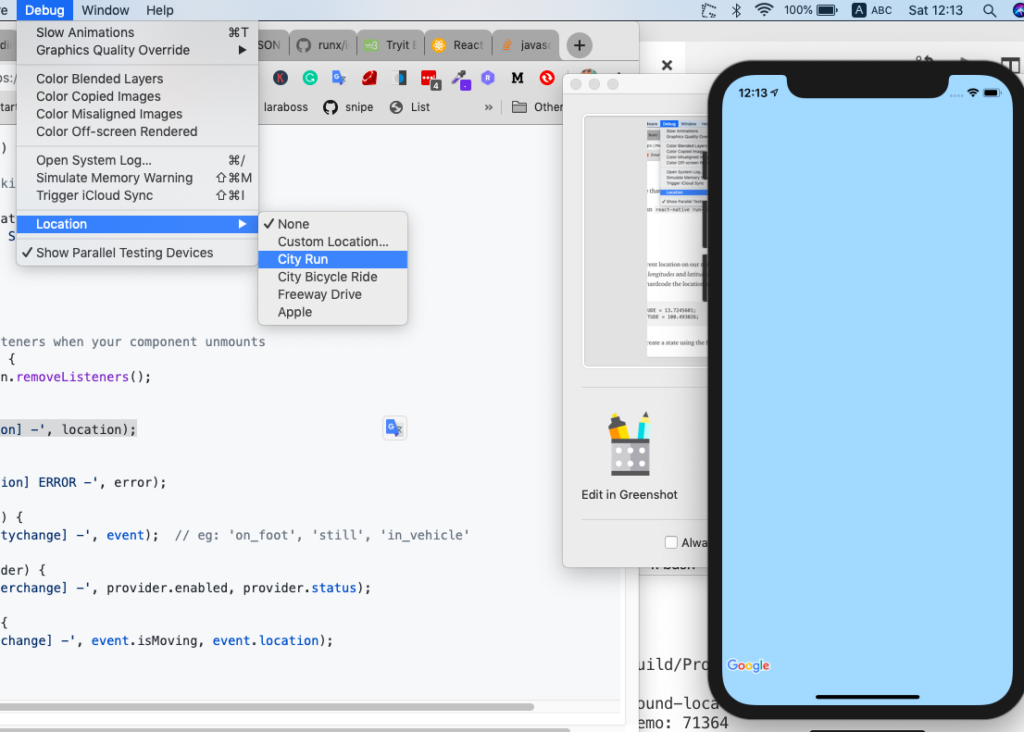
and run debug mode you’ve seen location result

Now we success installed two important packages.
Get current location
To get the current location on our map, we can use BackgroundGeolocation.getCurrentPosition
for using we create a state using the following piece of code:
constructor(props) {
super(props);
this.state = {
   latitude: 0,
   longitude: 0,
   error: null
};
}
and using BackgroundGeolocation.getCurrentPosition on some constructor function
 BackgroundGeolocation.getCurrentPosition({
      timeout: 30, // 30 second timeout to fetch location
      persist: true, // Defaults to state.enabled
      maximumAge: 5000, // Accept the last-known-location if not older than 5000 ms.
      desiredAccuracy: 10, // Try to fetch a location with an accuracy of `10` meters.
      samples: 3, // How many location samples to attempt.
      extras: {
        // Custom meta-data.
        route_id: 123,
      },
    }).then(currentlocation => {
      this.setState({
        latitude: currentlocation["coords"].latitude,
        longitude: currentlocation["coords"].longitude,
      });
    });
After that, we can create a setter function as follows:
setRegion = () => ({
  latitude: this.state.latitude,
  longitude: this.state.longitude,
  latitudeDelta: LATITUDE_DELTA,
  longitudeDelta: LONGITUDE_DELTA
});
In our react component, we can now fill the map region view using the following code in our template:
Then, we can refresh the simulator. As a result, we’ll see the following screen in our project simulator:
Here, we can see an arbitrary location near where this project was created. But we won’t see the current location of the simulator.
Add marker
We can add a Marker property to our React Native project by importing a Marker instance from the react-native-maps library.
Then, add this to MapView, as follows:
When we refresh our project simulator, we should see the current location following simulation screenshot:
Get the current location when moving
In this step, we need to know the user’s location when they move from one place to another.
For that, we need to edit onLocation and set the LatLng value to state
 onLocation = location => {
    this.setState({
      latitude: location["coords"].latitude,
      longitude: location["coords"].longitude,
    });
  };
Here, As a result, we can see the map move in the following simulation and heard about sound :

At long last, we’ve completed the base feature of our project.
Add marker
for last step, we add a marker for seen moving
your we saw marker move along with maps
Recap
In this post, you’ve learned how to use the react-native-maps library package, add a marker , observe the device location with react-native-background-location, and also obtain the current device location.
Comments 0 Responses