Building a machine learning model to identify custom images might require a lot of dataset collection and a lot of time to do it correctly.
This article is not a theoretical one—rather, I’ll walk you through the steps for creating an app that you could distribute amongst your peers to collect, create, and analyze TensorFlow models.
If you want a custom image classifier, but don’t have the right data or the know-how to build it, you’ve come to the right place.
Table of contents
With this tutorial you will be able to create a Flutter app (runs on both iOS and Android) to create datasets, collaborate on the collection of training data, and then trigger the training of custom image classifiers directly from the device.
Once the classifier is ready, you can use it from the same app, and run inference on-device.
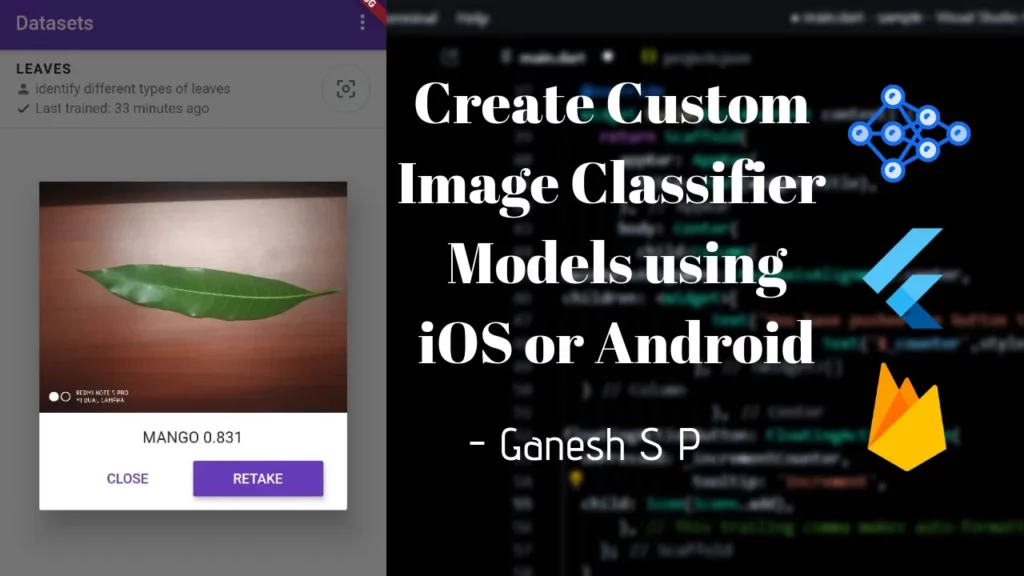
Problem Statement
Let’s assume that I’m a part of a group of international scientists who want to collect data regarding different kinds of leaves and identify particular leaves from an image.
There are a few problems we have to address. For example, while analyzing the data, all my peers are located in different locations around the world and we need to collaborate on a particular model.
Since this would be a closed app to be shared internally, we also have different groups of people (app users), one set of whom would have access to one data model, while the other set will be working on a different model. In this scenario, we don’t want to give access of all our data models to the whole team. Instead, we’d like to split the team and give one set of members access to one data model—let’s say the model for leaves—and the second set of members access to the other model—for flowers.
Long story short, here are our requirements:
- Create a data model to identify different plant leaves.
- Collaborate with other scientists to build the data model.
- Share the work with a specific set of scientists.
- Use the data model locally on the phone.
- All this has to be done using smartphones (both iOS & android).
Proposed Plan
Using ML Kit’s Custom Image Classifier (as shown at Google I/O 2019), we’ll create a Flutter app to create custom models to classify images, while also collaborating with other scientists easily. Then we’ll use Firebase AutoML to create datasets.
Let’s get started
Before going further, I need to highlight a few things:
- As this project requires access to several Google Cloud APIs, your Firebase project will need to be on the Blaze plan.
- This app makes use of several Firebase and Google Cloud resources. You may be charged for any resources consumed. Learn more about pricing here.
- You are responsible for your app and its distribution, and complying with applicable terms and usage policies for Firebase and Google Cloud services.
- You are responsible for taking any necessary steps before distributing your app to third-party users, such as adding a privacy policy.
Getting Started
Prerequisites
Setup Flutter & Node.js/NPM for your system.
Step 1: Clone this repo locally
git clone https://github.com/firebase/mlkit-custom-image-classifier
Step 2: Create a new Firebase project from the console.
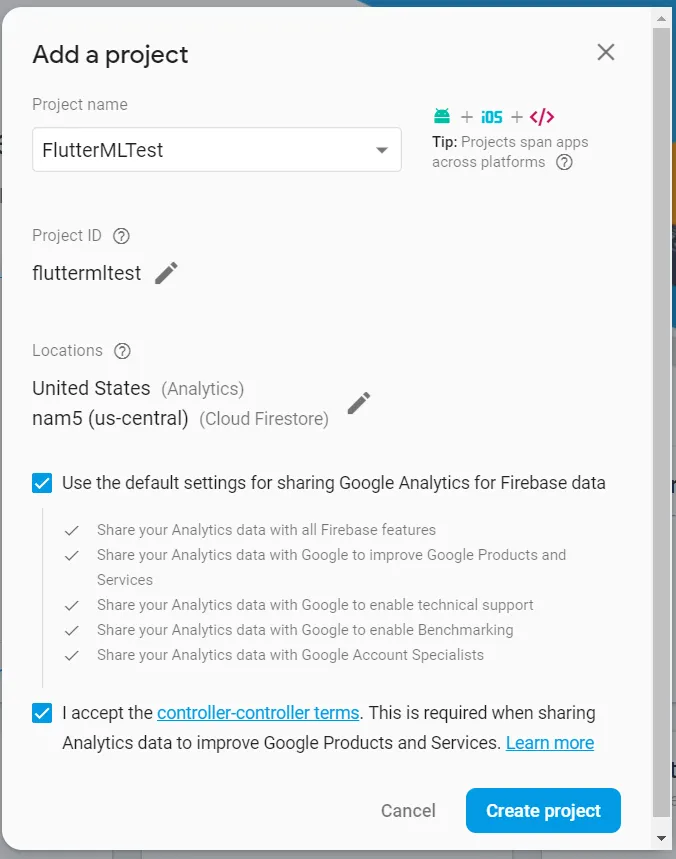
Take note of the Project ID initially or from the Settings page, as we’ll use it later.
Step 3: Upgrading Firebase plan to Blaze
For this project to work, your Firebase plan must be in Blaze. If you’ve initially created a Google project, you’ll get a lot of credits for free to try out, so you should be able to test it out.
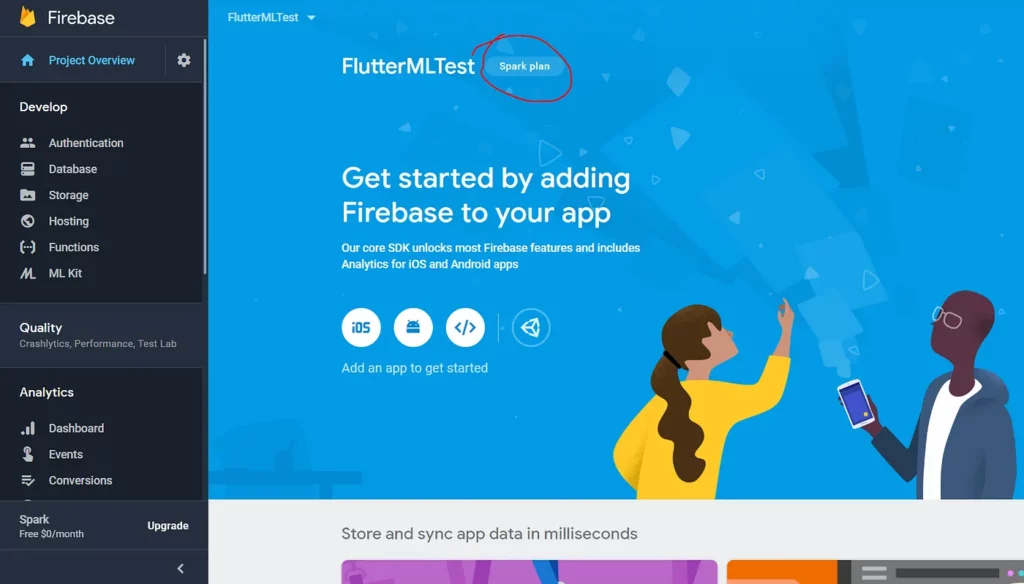
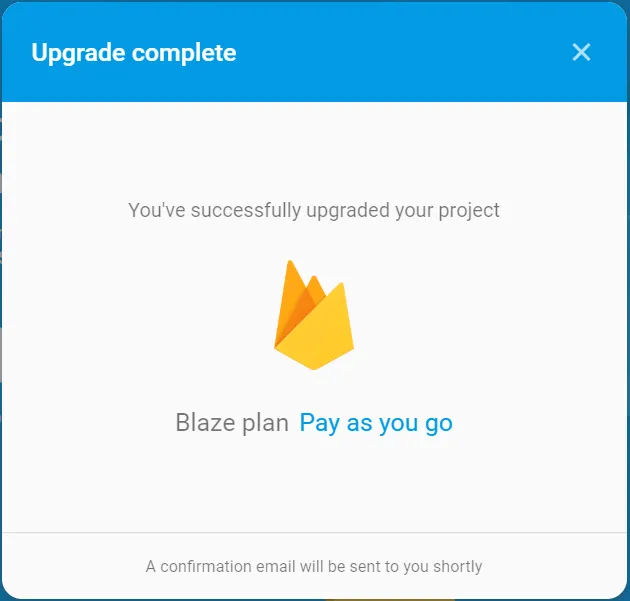
Step 4: Add Firebase to Flutter
Now let’s add Firebase to the Flutter app in this repo. You can follow these steps, work through the instructions below, or skip to Step 5 if you already know how.
For the Android version, use com.example.classifier as the bundle ID, and for iOS use com.example.imageclassifier. If you want to provide your own bundle IDs, remember to replace the pre-filled bundle IDs from the code in flutter/
For this example, we’ll be creating an Android app.
4.a) Enter your app’s application ID as com.example.classifier in the Android package name field.
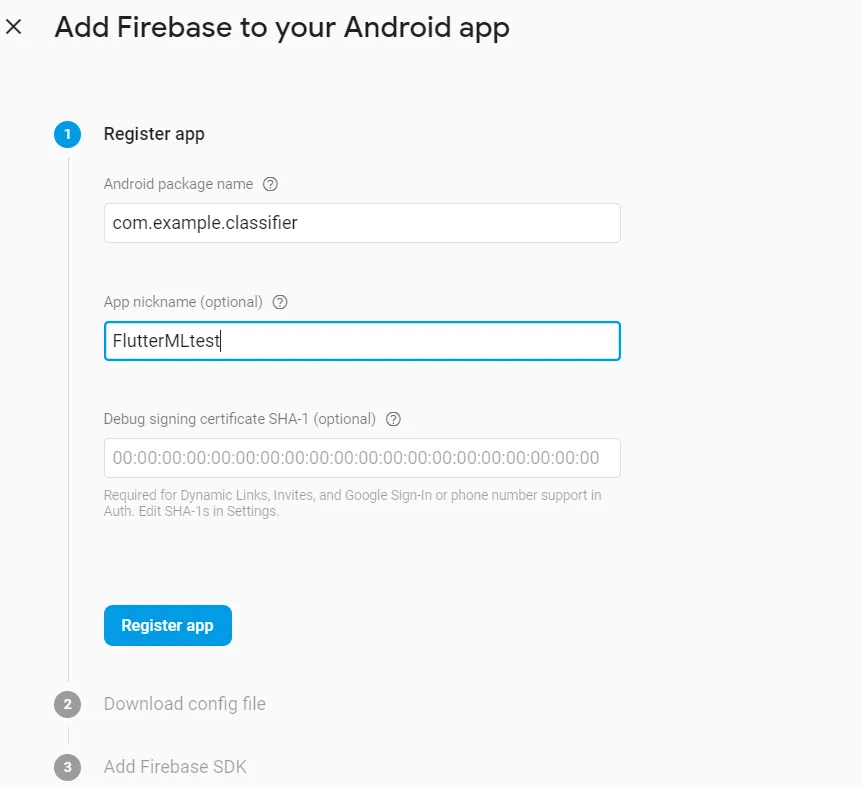
4.b) Use the following command to obtain the SHA1 & SHA 256 debug keys:
Use android as password (default). The SHA1 debug key is required for Google Sign-in to work, which is an integral part of this project.
4.c) Click Download google-services.json and place it in the flutter-app/android/app directory
4.d) Click Next, again Next, and then click Skip this step.
4.e) Click on gear image > project settings. Here, scroll down and under the Android App you’ll find your app. Click Add fingerprint, add the SHA 256 key, and click Save.

Step 5 : Enable Services
5.a) Enable Firestore by going to the Database tab in the Firebase console, click on Create Database, select “Start in locked mode”, and click Enable.
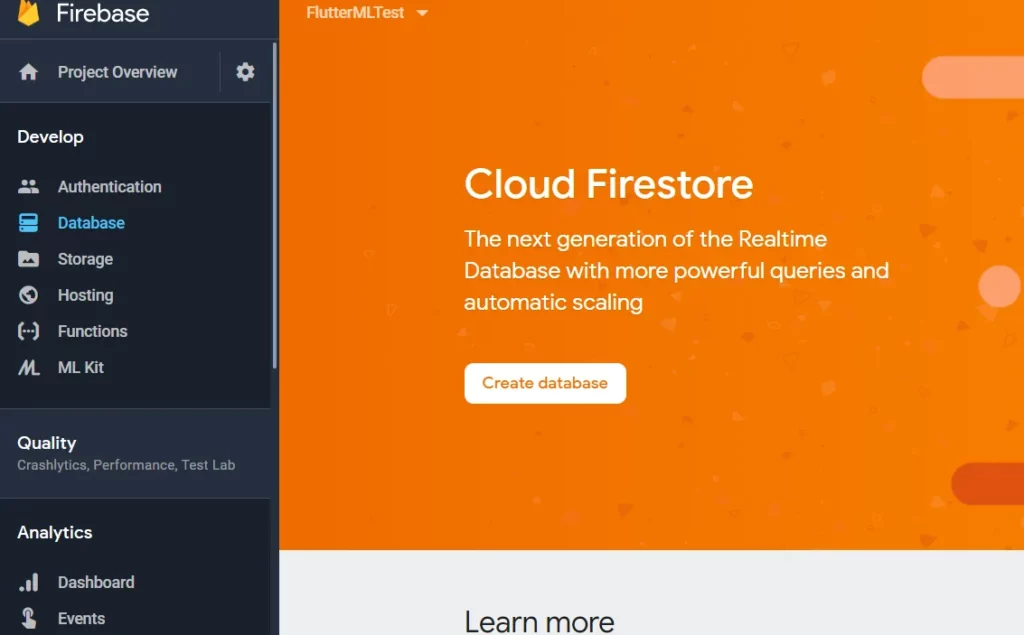
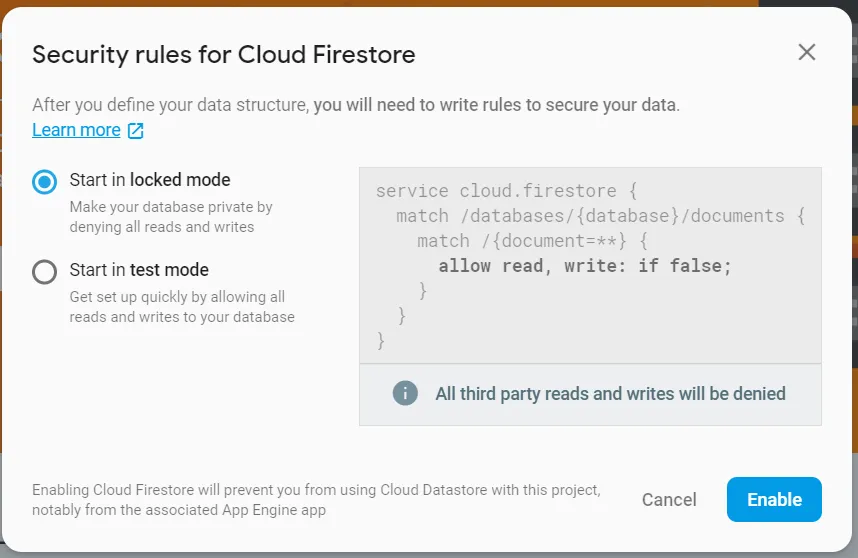
5.b) Next, head to the Sign-In Method tab under the Authentication tab in the Firebase console and enable the Google Sign-in provider.

5.c) Next up, we need to enable ML Kit by going to ML Kit and click on Getting Started.

5.d) Follow that by clicking on the AutoML tab and click on Getting Started. It should take a few minutes to provision AutoML.
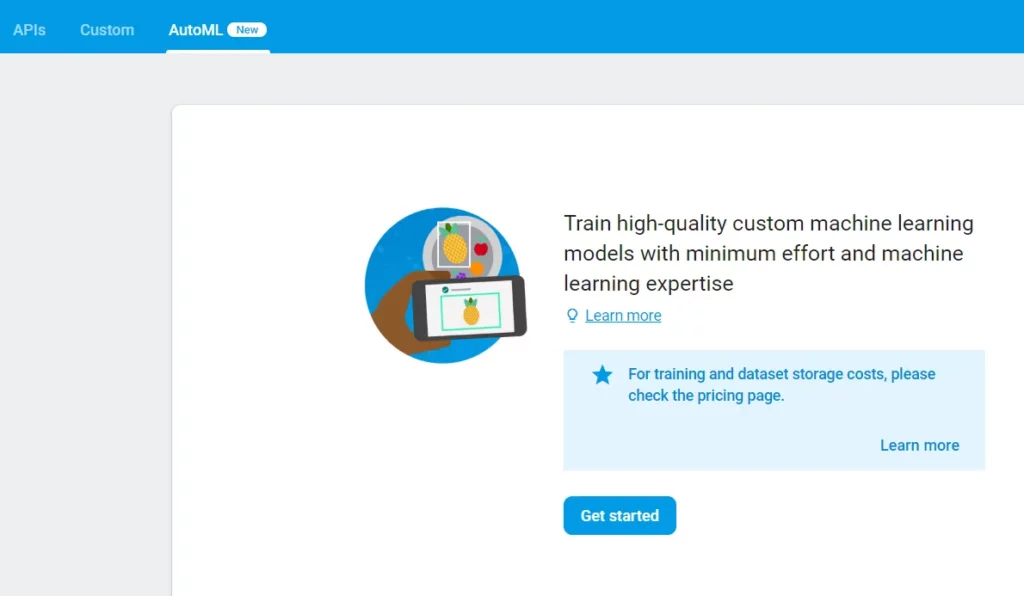
5.e) Once that’s done, we’d need to head to Storage and enable Storage.
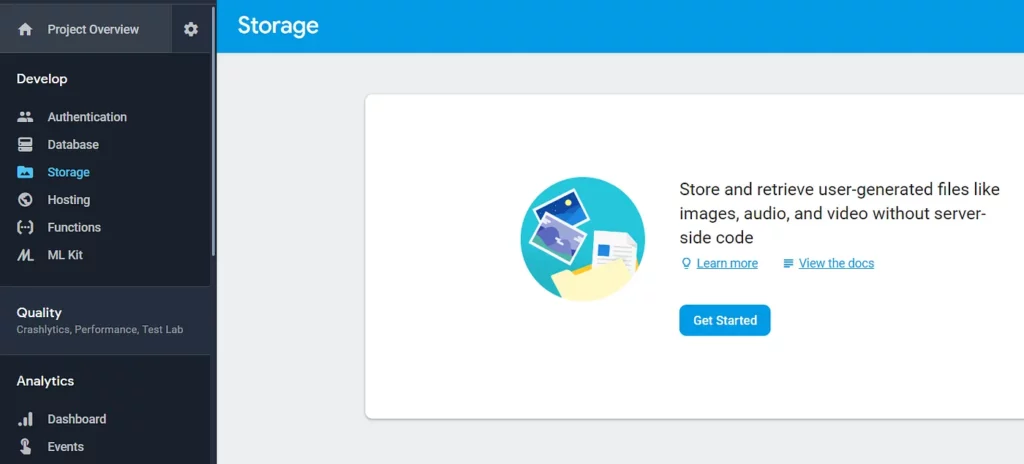
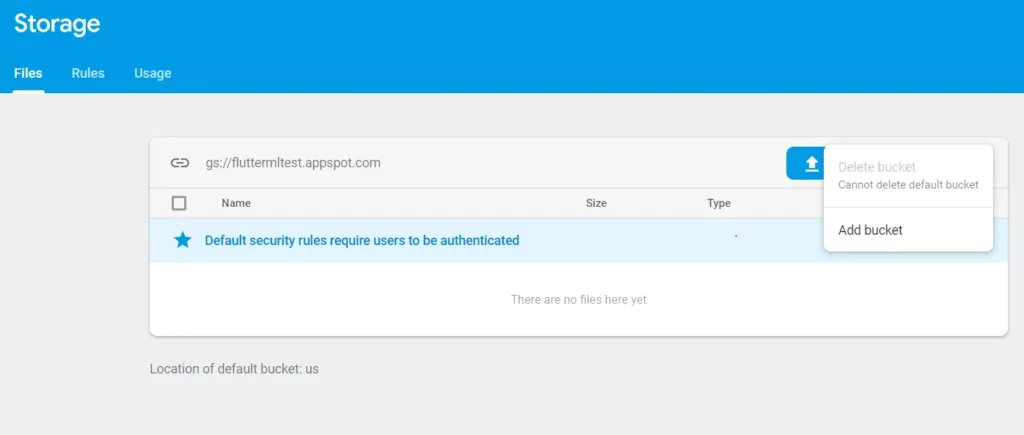
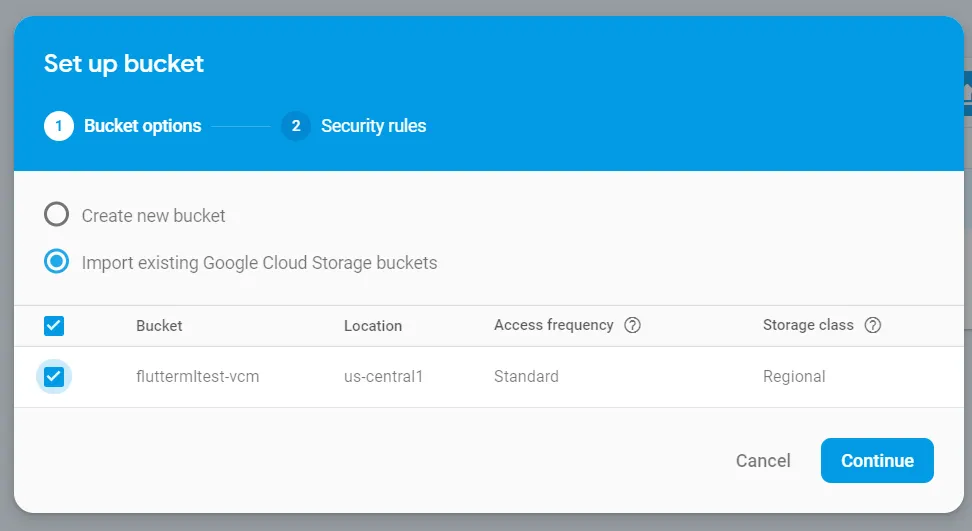
5.f) Finally, we’ll need to add the pre-generated AutoML bucket (named: ${PROJECT_ID}-vcm) by doing the following:
- Click on Add bucket in the overflow menu
- In the “Set up bucket” dialog, choose Import existing Google Cloud Storage buckets and here you’ll see a bucket name ${PROJECT_ID}-vcm. Select this bucket and click on continue.
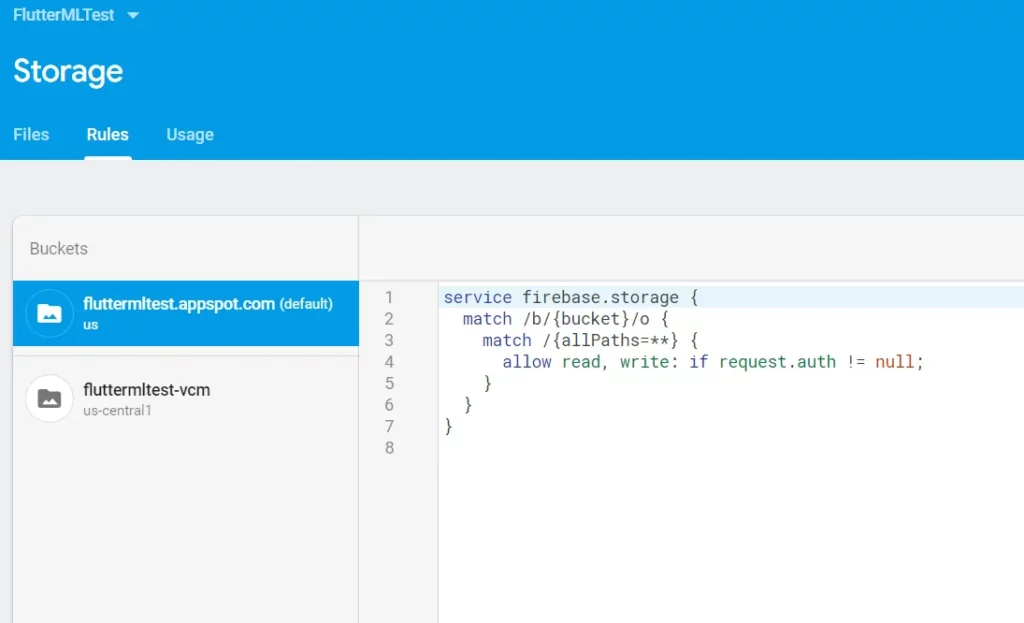
- Finally, head to the rules tab and copy the rules from storage.rules & automlstorage.rules to the ${PROJECT_ID}.appspot.com & ${PROJECT_ID}-vcm buckets respectively.
Step 6 : Firebase setup
6.a) You must have the Firebase CLI installed. If you don’t have it or have older version, install or upgrade it with npm install -g firebase-tools and then configure it with firebase login.
6.b) Configure the CLI locally by using firebase use –add, select your project in the list, and give it an alias.
6.c) Go to the folder where you have locally pulled the repo and install dependencies locally by running: cd functions&&npm install&&cd..
6.d) For sending emails via your Firebase functions, you’ll need to set your api_key for the service you’re using. In this case, we’re using Sendgrid. Register in Sendgrid, and once you have an API key, run the following command to configure it:
6.e) Next, set the FROM_EMAIL constant in this file (mlkit-custom-image-classifierfunctionssrcconstants.ts) to be the email ID from which emails will be sent.
6.f) Follow that up with setting the APP_NAME that you’ve decided on for your app.
6.g) Go to the Firebase Console, select the gear image > project settings > Service Accounts and click Generate New Private Key to download a Service Account Key JSON document.
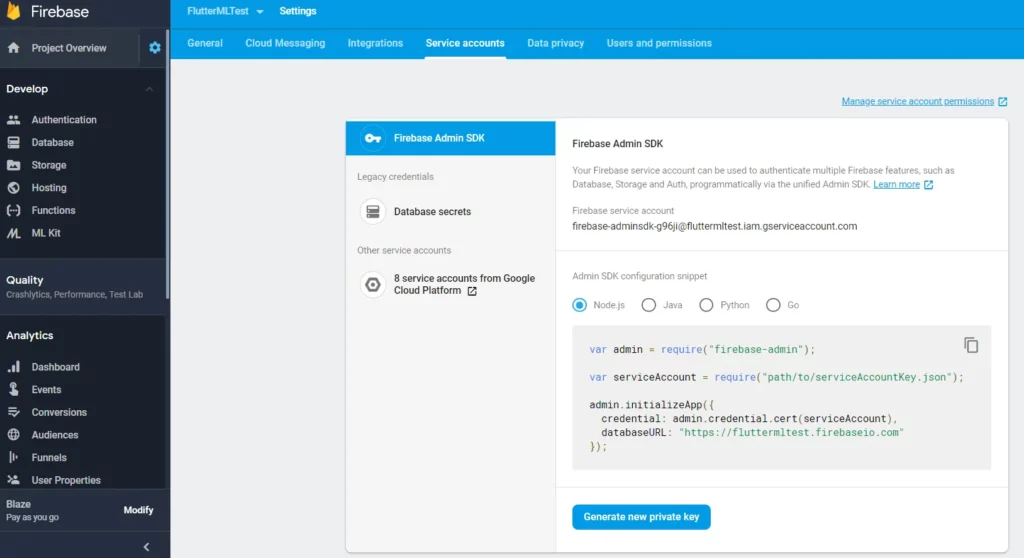
6.h) Add the JSON service account credentials file to the Functions directory as functions/lib/service-account-key.json (create a new directory and file under functions).
6.i) Now run firebase deploy from the main folder to deploy the functions, Firestore, & storage configuration.
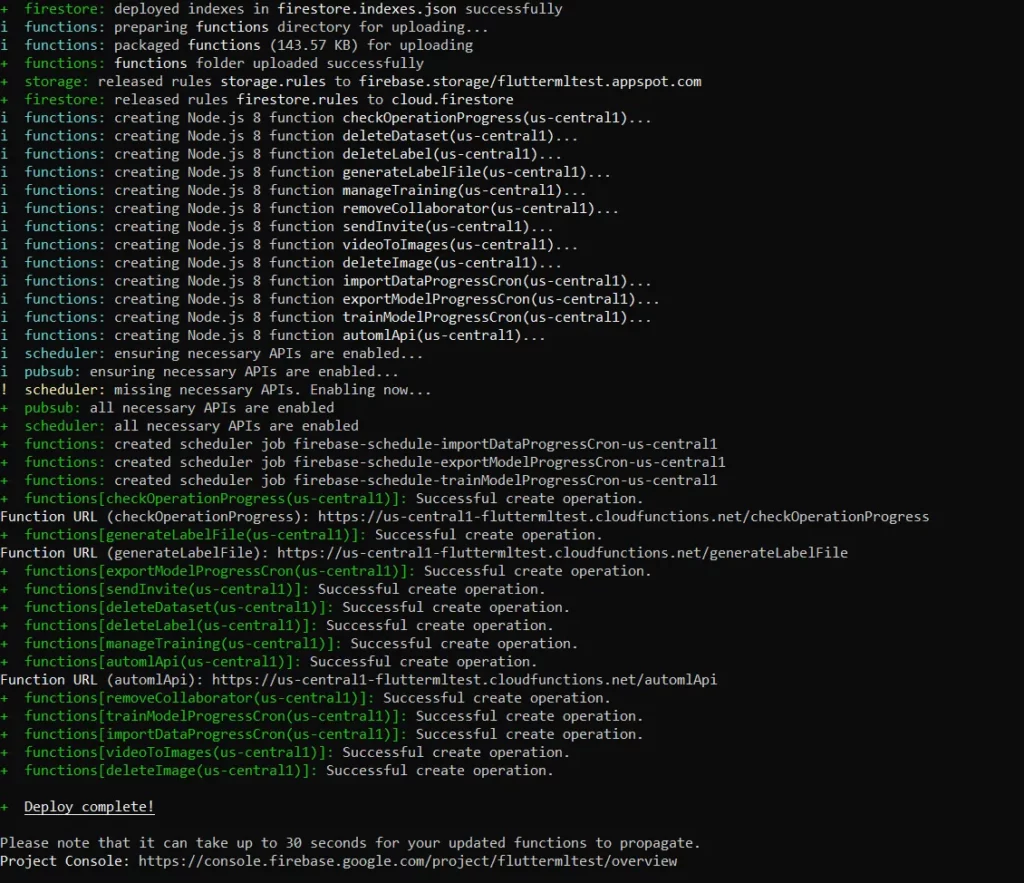
Step 7 : Flutter app setup
7.a) Set the PROJECT_ID constant in the flutter app in this file (mlkit-custom-image-classifierflutter-applibconstants.dart).
7.b) If you’re using iOS, you’;; need to follow these steps for Google Sign-in to work.
7.c) You can now run the app locally. I’ll be using Android Studio as my IDE to demonstrate it’s working.
7.d) Open the folder mlkit-custom-image-classifierflutter-app in Android Studio (or any other IDE of your choice).
7.e) Run flutter packages get to get all the required packages.
7.f) If you want to deploy the app, make sure to read the Android and iOS instructions to finalize the app name, icon, etc.
Using the app
To create your own datasets, manage datasets or add data to existing datasets, log into the app.
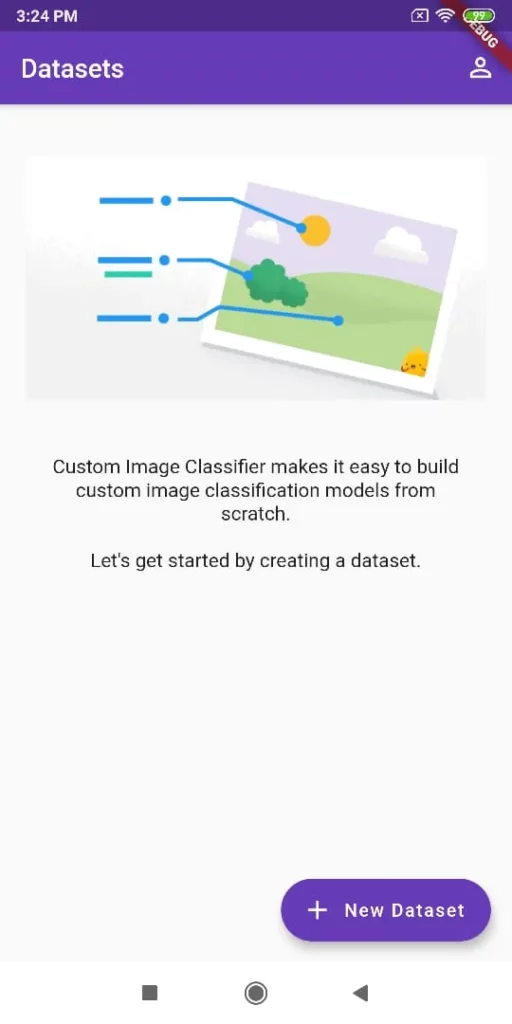
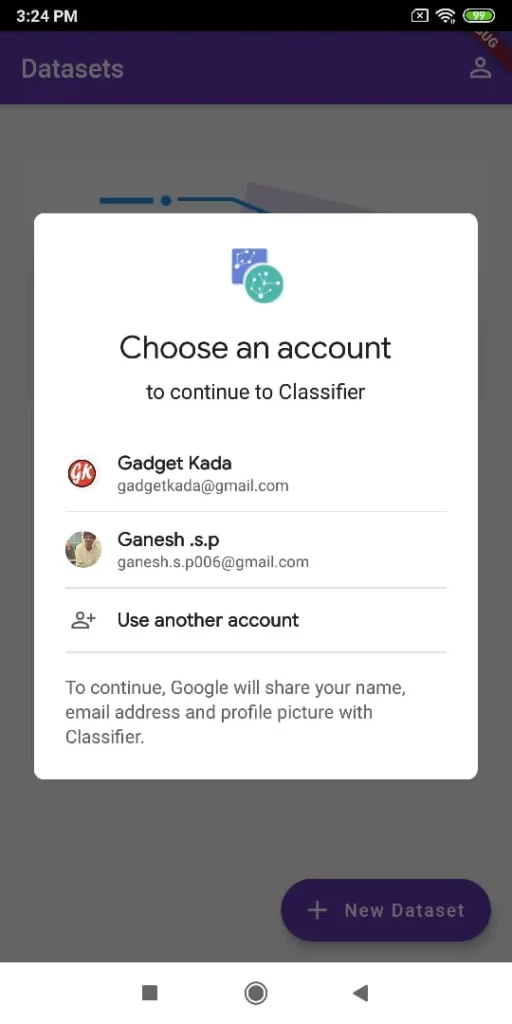
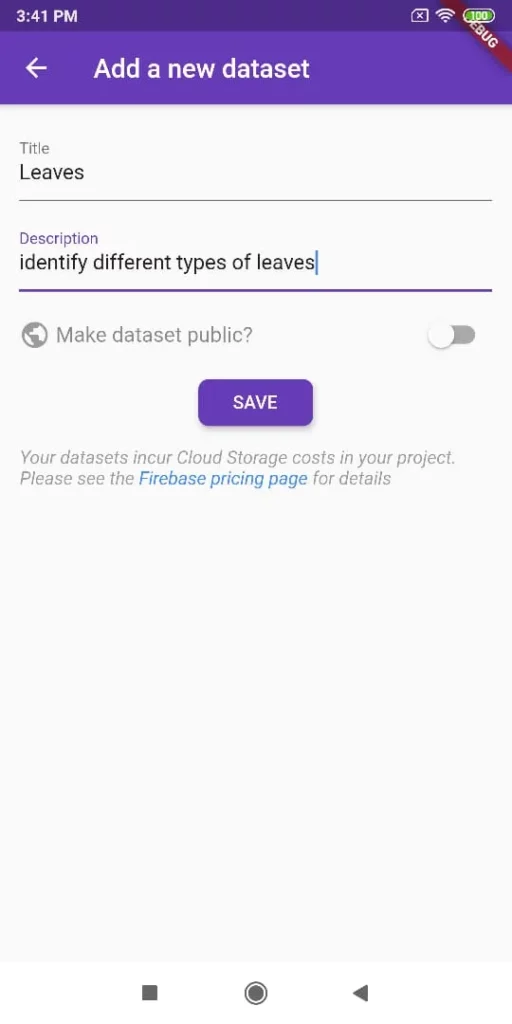
Add a new dataset
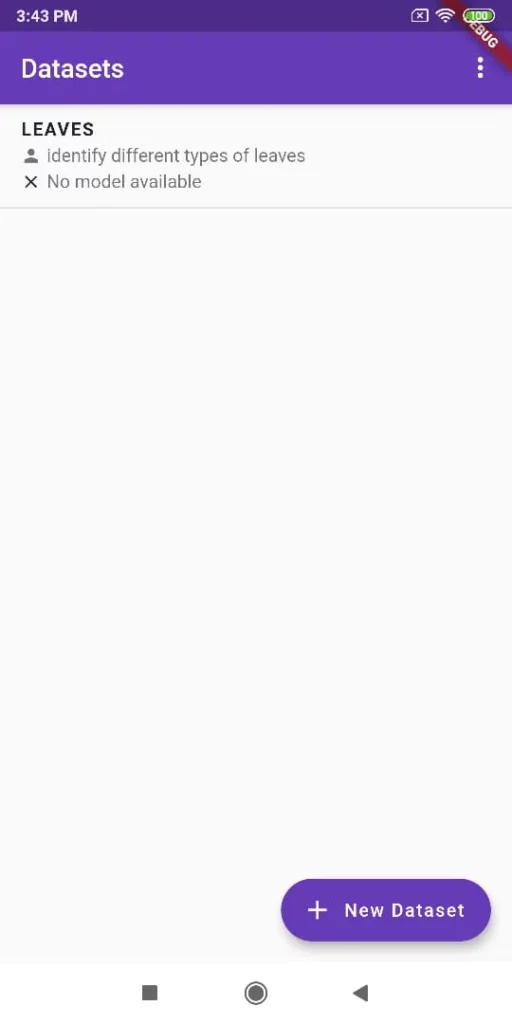
Let’s add a dataset named Leaves .
Add a new Label
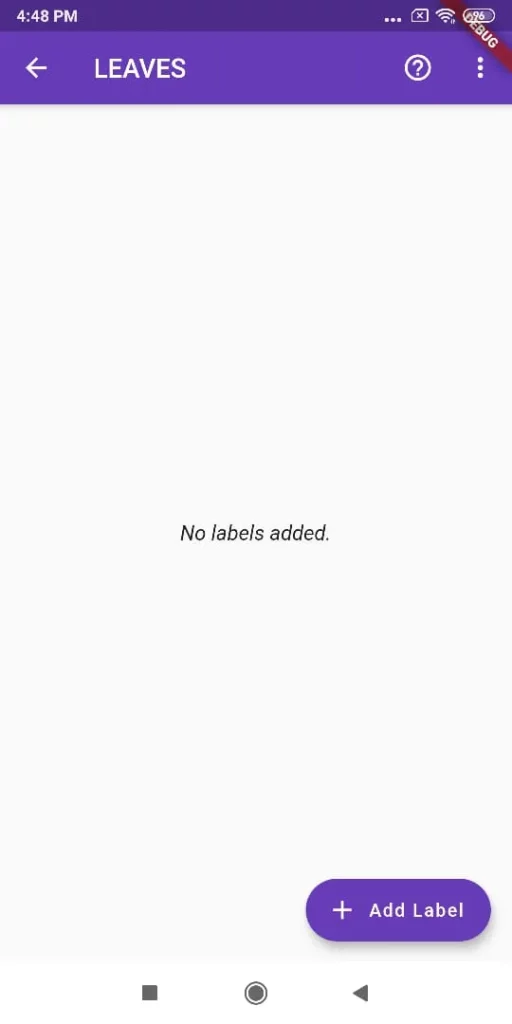
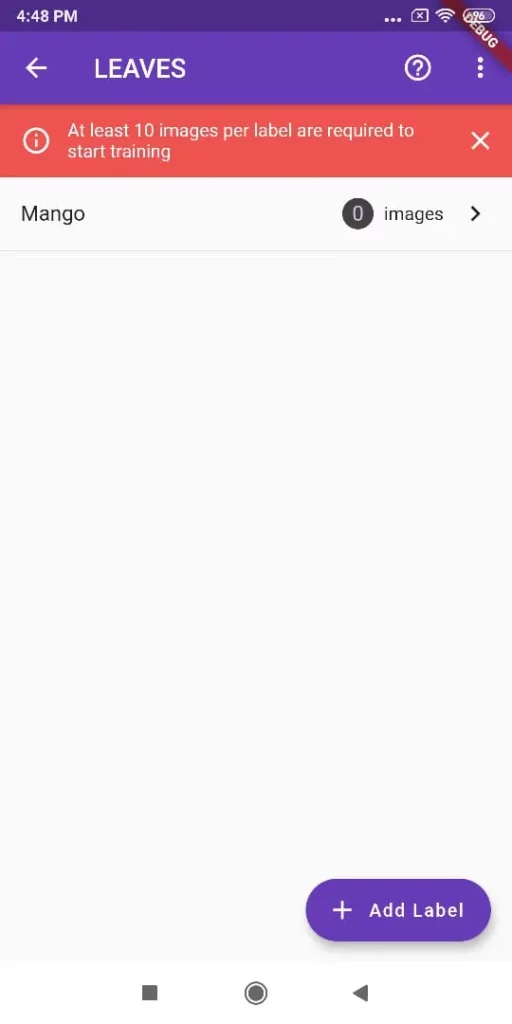
Click on the dataset and then add label.
Add data for the label
Click on add images to capture images and add it to the label
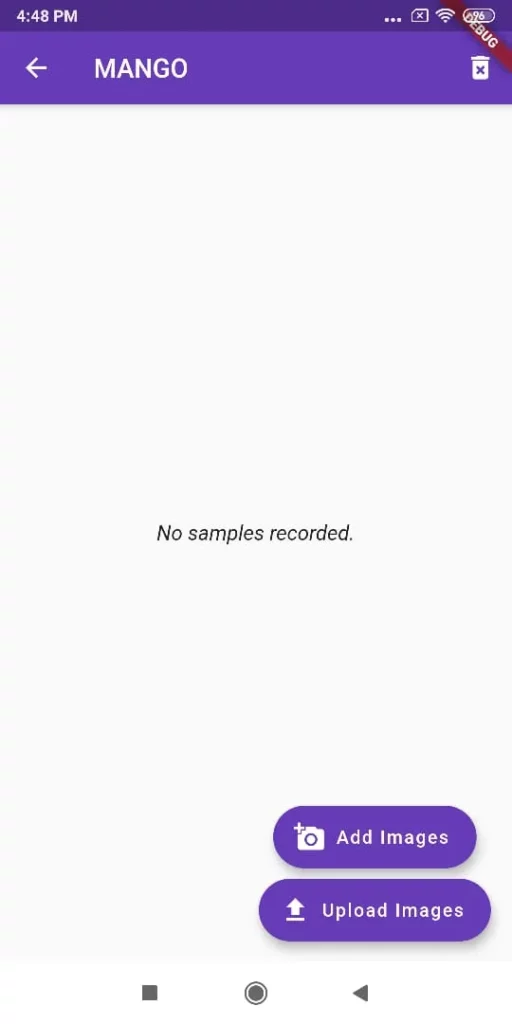
At this point, you might be wondering from where that Upload Images button came from. I have to tell you, before writing this article I did extensive research and found it would be much easier to capture images beforehand and upload them in bulk. Thus I submitted a pull request with this advanced feature along with a few other bug fixes. You can clone this repo if you want the upload images feature.
Start collecting data for the label and add images or recorded videos. It might take some time for the images to upload and also for images to be converted from the video.
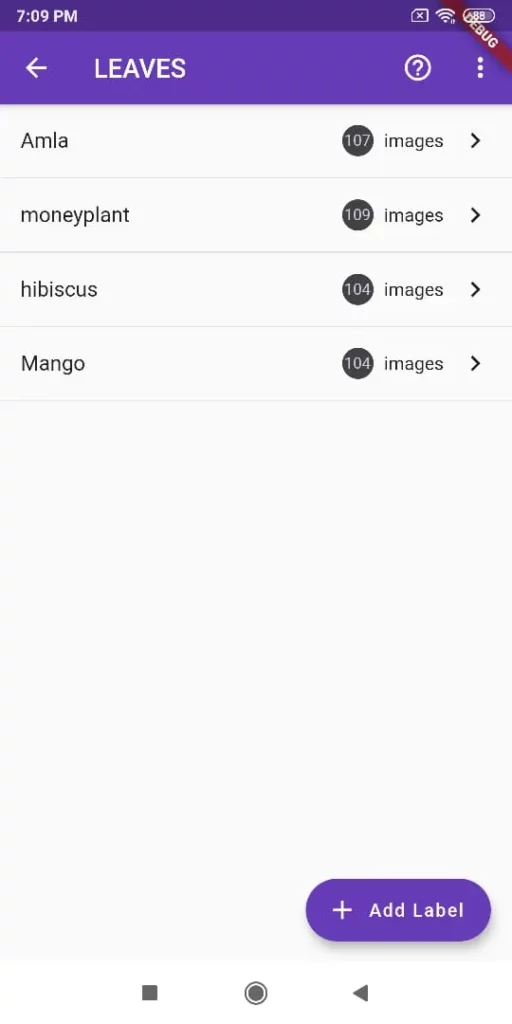
Once a dataset has enough labeled images, the owner can initiate training of a new model on AutoML.
If you want to view a dataset and start model training from the console, click “Export to Firebase” from the overflow menu, then go to ML Kit -> AutoML in the Firebase console.
Otherwise you can train directly from the app by clicking “Train Model” under a dataset, and you can choose the duration to train the model. You will be notified when the model training is complete.
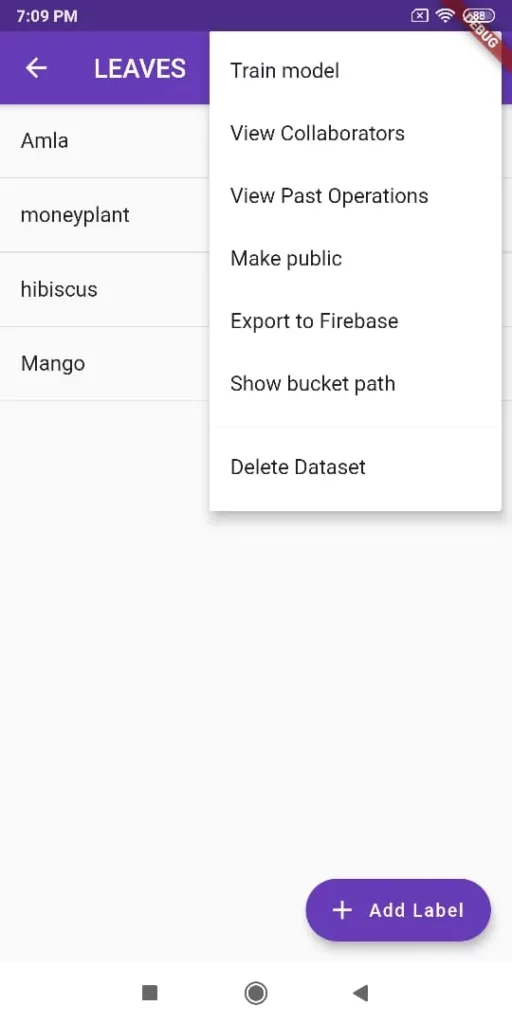
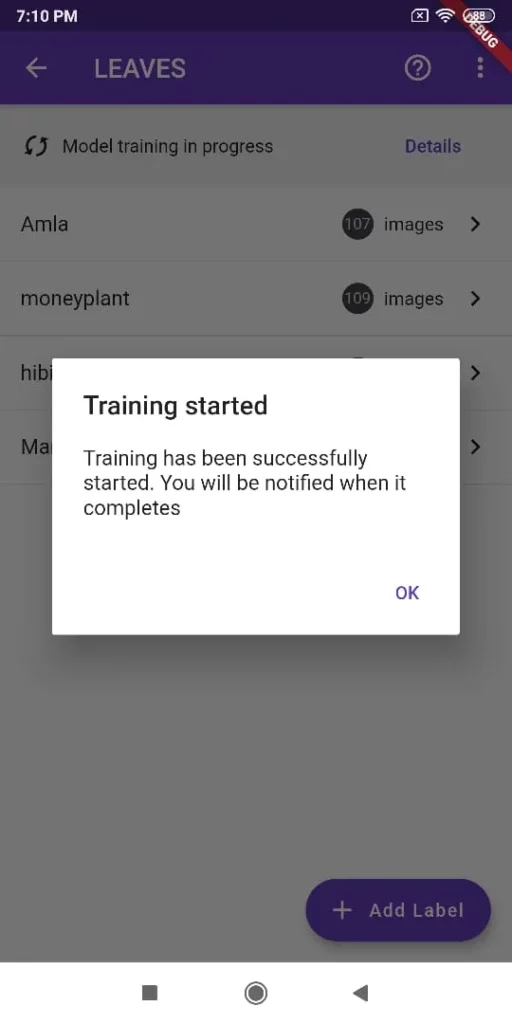
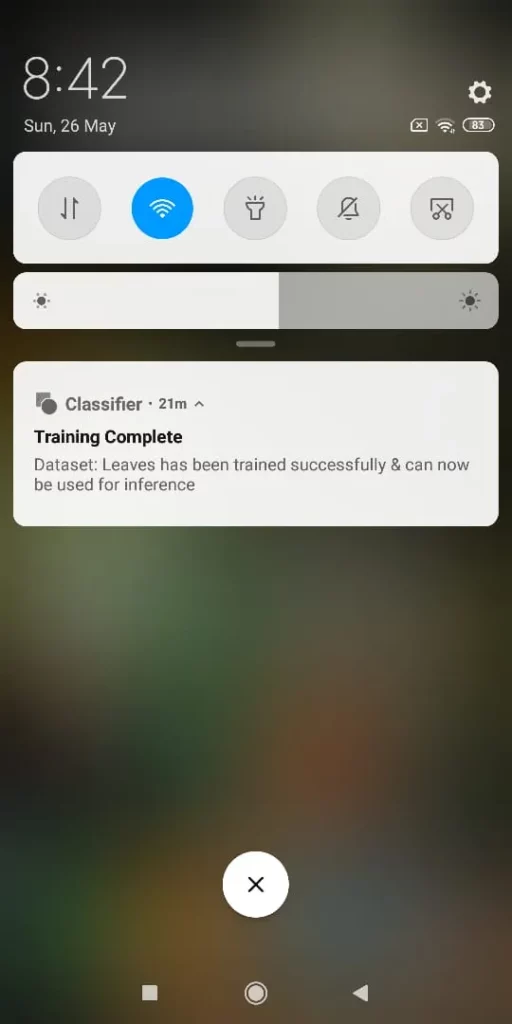
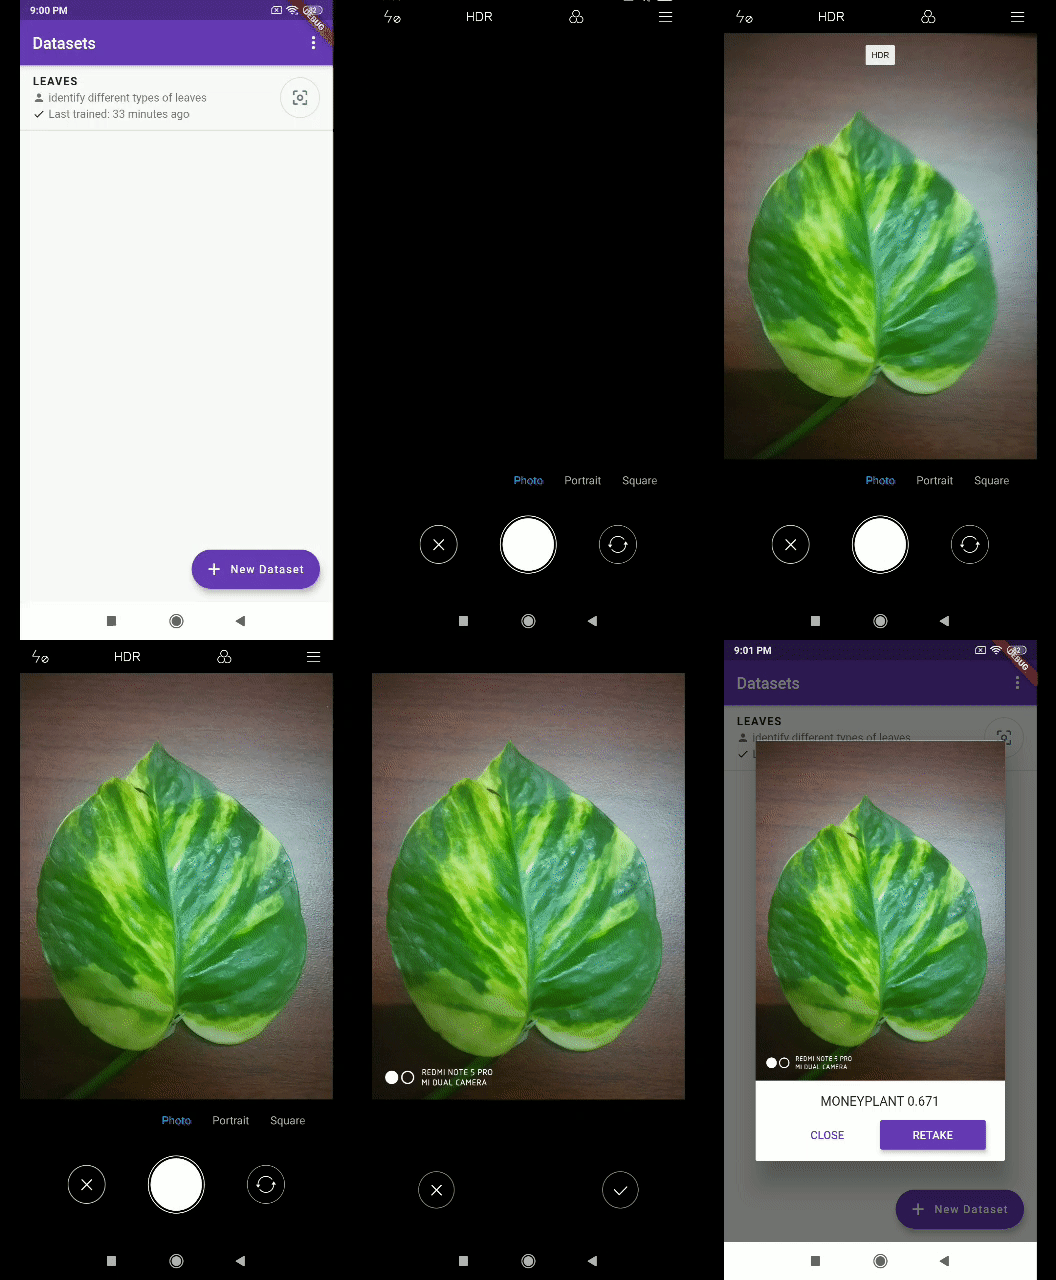
Once the model has been trained, use the camera button to take a picture and run inference with the latest model available for a dataset.
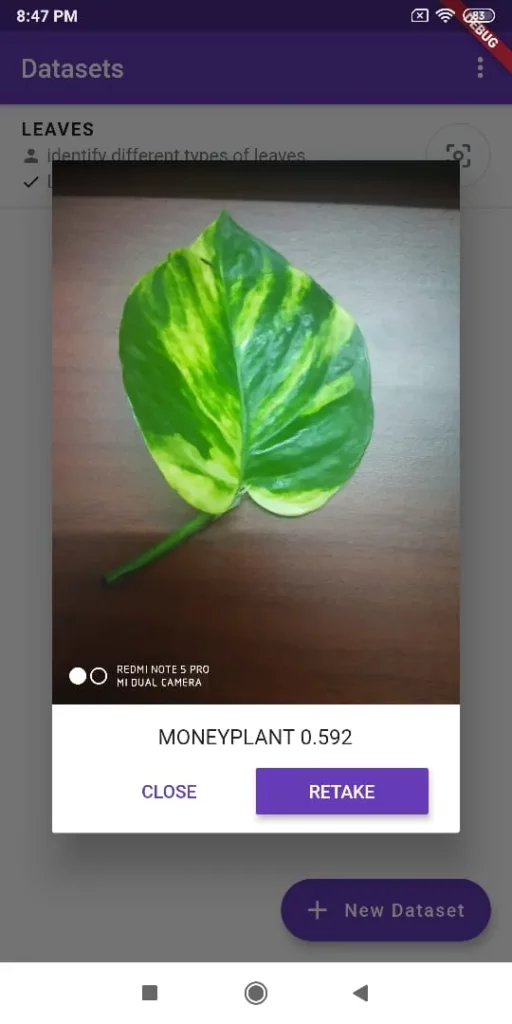
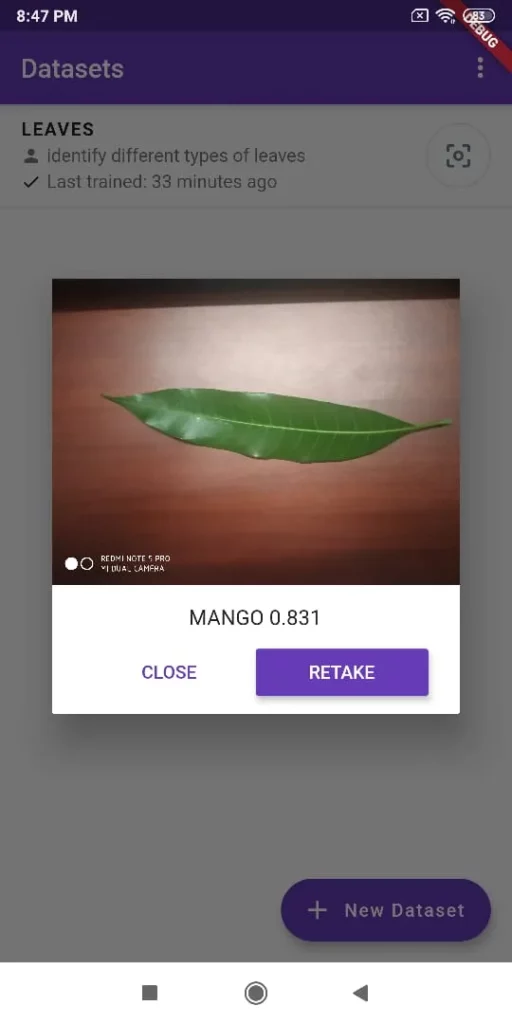
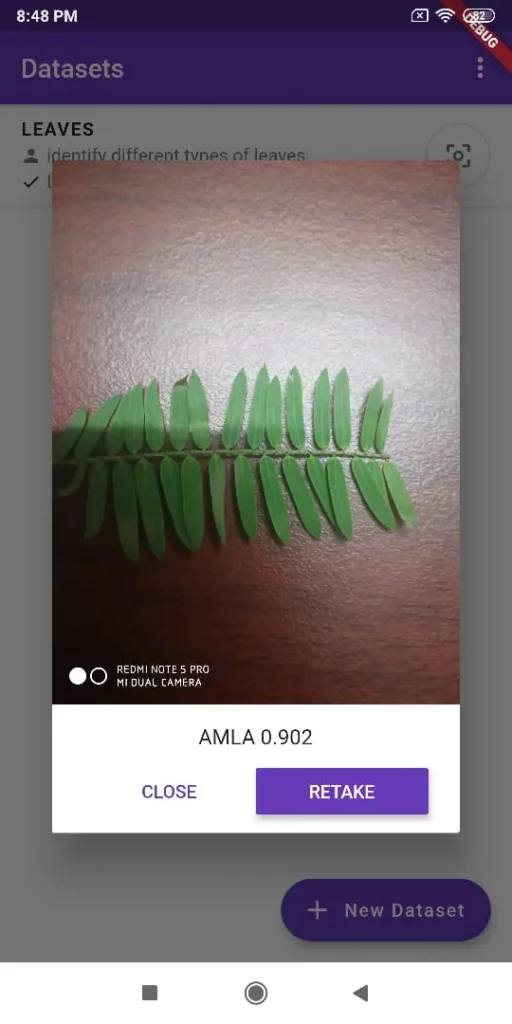
The model should now work on the phone itself and shouldn’t require and Internet connection. To test this, let’s try it in Airplane Mode.
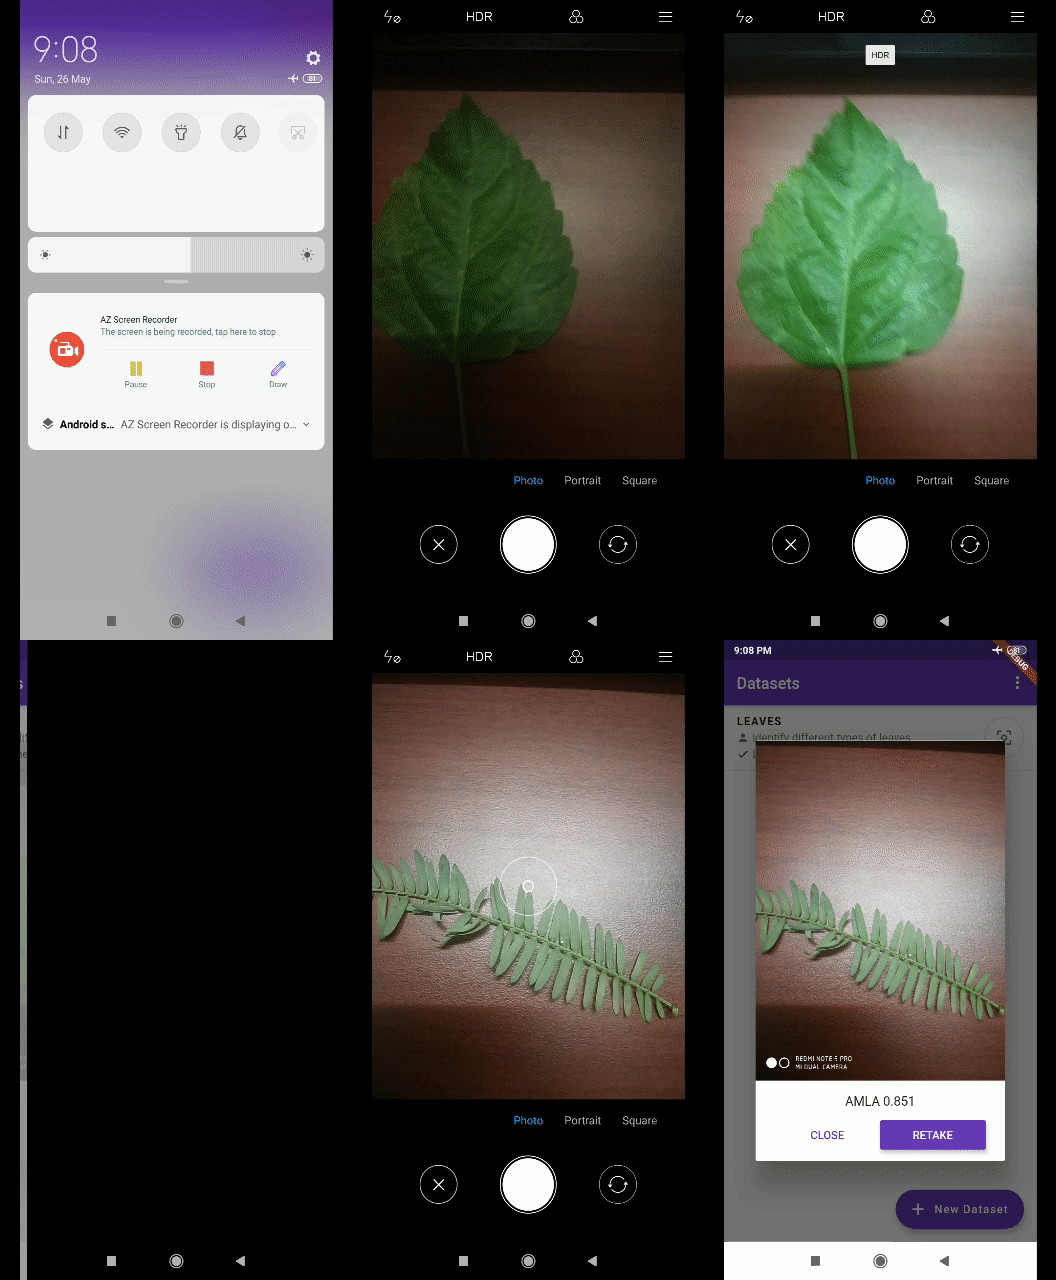
As you may have noticed, it works flawlessly, and this proves that the AutoML image classifier works on-device and does not require any Internet connection—however, all the other features of the app require Internet.
Additionally, you can add collaborators, who will get email notifications to join the data training process. These collaborators can then add to the data and also use the model for on-device inference.
Thus, many different peers at different locations can access this dataset and add to the same, and since the app is built using Flutter, you can implement on iOS, as well.
I hope I’ve helped you setup an app to create and train custom image classifier models, and I hope this article will serve as a guide to creating amazing machine learning based apps in the future.
If you have any other doubts or suggestions, feel free to comment below and let me know.
If you liked this article, please support me by clapping your hands👏 as many times as you can. Psst… you can go up to 50 times and I would be more motivated to bring more such articles in the future.
Hi, I am Ganesh S P. An experienced Java developer, extensive creative thinker and an entrepreneur and a speaker, now venturing into the world of Flutter. You can find me on LinkedIn or in github or follow me in twitter. In my free time I am a content creator at GadgetKada. You could also mail me at [email protected] to talk anything about tech.

Comments 0 Responses