SwiftUI is defined as being declarative and reactive. The former is what allows us to write out our UI, which we can do in a very clean and organized fashion. The latter is what brings our UI and data closer together than ever.
We’ve been working on an app that allows us to view our team and dive into the profile pages of each member.
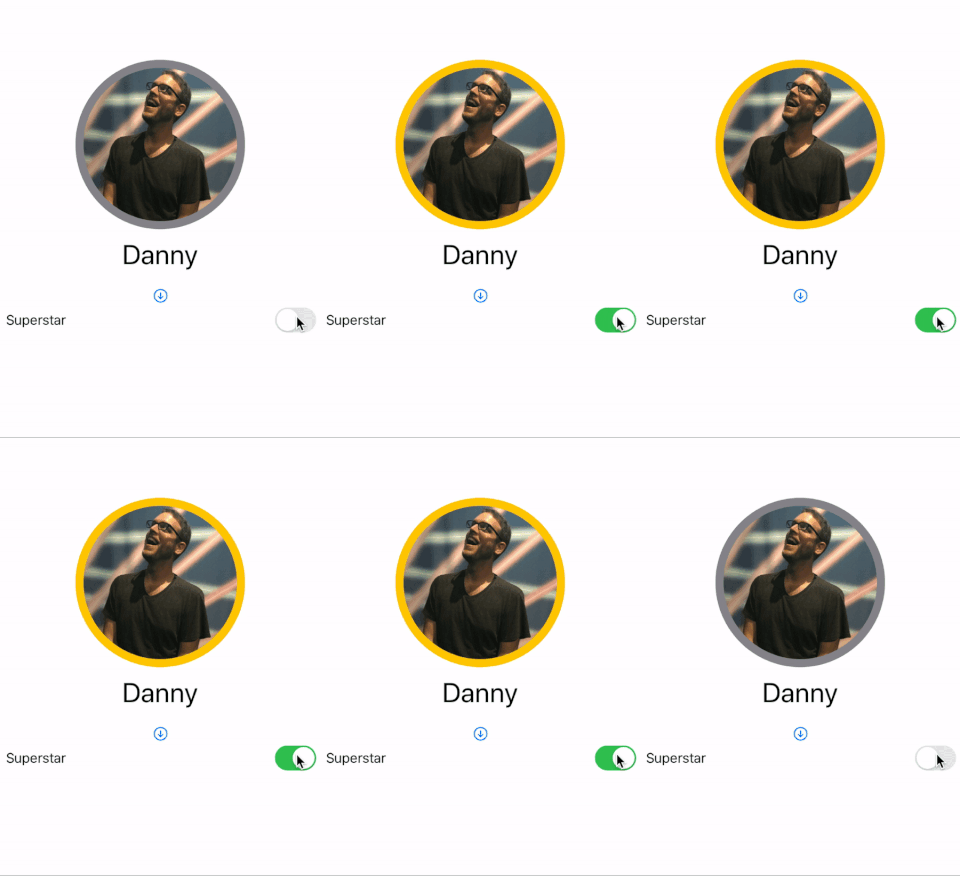
The last features we implemented were the ability to expand/collapse profile details, as well as toggle whether or not the team member is a superstar.

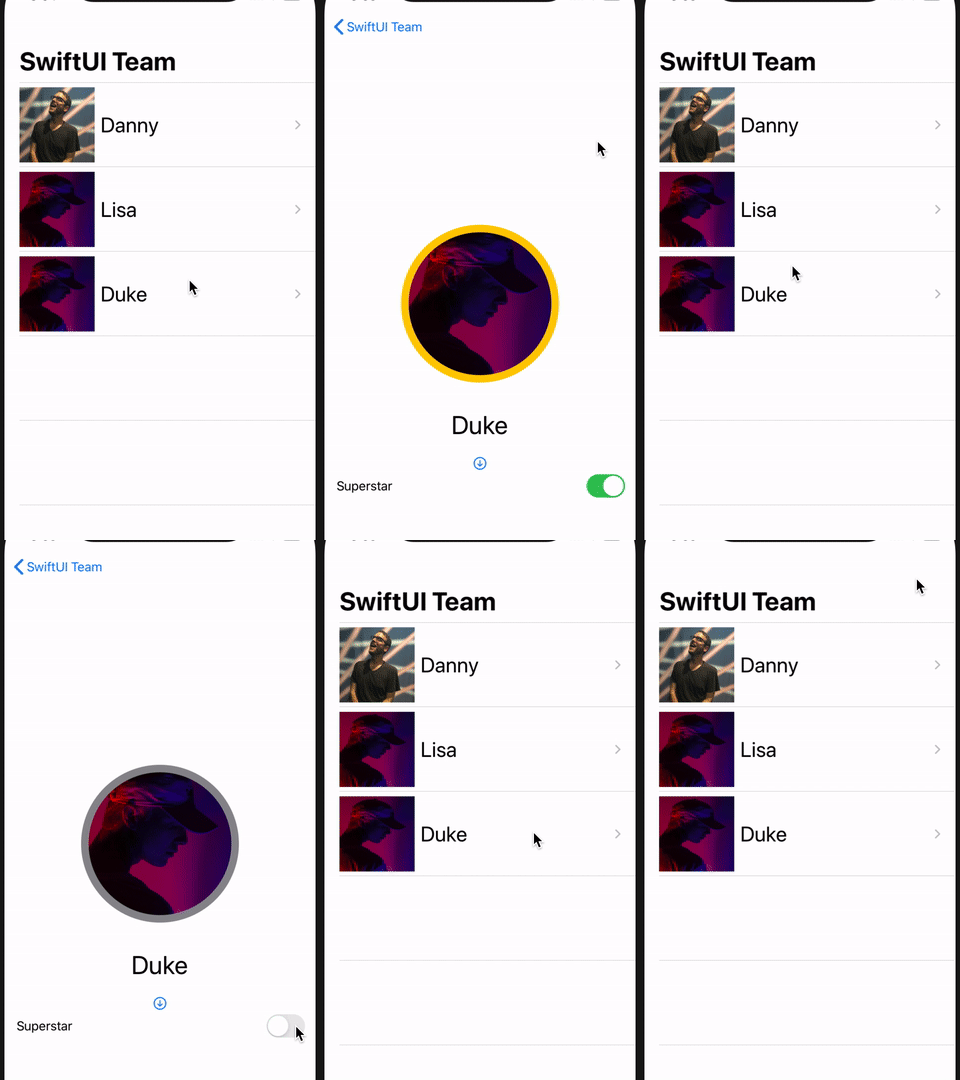
However, since we were only storing superstar status to a view instance’s State, we lost track of that value once we navigated away from that view.
What would be great is if we could keep that value alongside the profile—that way, we could navigate to and from different Views and our app would remember who the superstars were.
Custom ObservableObjects
One way we can accomplish our goal is to make our Profile class an ObservableObject. This conformity gives our class the ability to have properties that can be observed (or watched) by subscribers.
These properties would then be tagged with the Published property wrapper, indicating that it is bindable and will publish changes to subscribers as they occur.
Normally, this would be as simple as having Profile inherit ObservableObject, adding Published before our properties, and adding a new Bool property for superStar. However, because our class is also Codable, we do have a few extra steps.
We’ll go through them here, but if you would like to understand more of the reasoning behind the steps, check out this great article by Paul Hudson here.
First, let’s work through the steps I mentioned earlier, since they’re still relevant to us:
As I said, normally this would be enough. By now, though, you probably see Xcode giving us errors about Profile not conforming to Codable anymore.
Because our properties are wrapped, we’ll need to provide encoding and decoding guides for Codable. First, let’s add aCodingKeys enum to our Profile class that will name our expected data:
Next, let’s add our Decoder helper. This comes in the form of an init that takes in a Decoder:
Lastly, let’s provide an Encoder helper:
That’s it! Give your app a test run and make sure everything works exactly as it had been before. Looking over the changes, even though we had to account for Codable, it’s doesn’t turn out to be that much extra work. And now, we have a class that can automatically be decoded and observed!
Connecting to Our UI
Now that we’ve made Profile observable, we’ll make a few changes to our Views so we can utilize our new capability.
ContentView
The first thing to do is wrap our Profile array with @State. This may seem trivial (and exciting), but it’s important to note that this now makes a Stateful array that holds observable elements.
The reason for the extra explanation is that our List does not take bindings, which means that each element will be just a Profile, not a Binding<Profile>. We want the latter if we ever hope to accomplish our goals. What we can do instead, then, is change List to iterate through profiles.indices, and then use each index to pull the bindable profile:
This seems like unnecessary work, but it preserves a List’s purpose to iterate through values, not bindings.
ProfileCell
Just below ContentView, our cell needs to catch the Binding<Profile>. We simply add @Binding to our profile property. We also want to add $ where we pass profile as a parameter in ProfilePage, sending in the binding instead of just the value: ProfilePage(profile: $profile)
ProfilePage
Finally, we’ll need to head over to ProfilePage. First, simply add @Binding to our profile property. We then can also remove our superStar property since we’ll be replacing it in our view with profile.superStar:
- self.profile.superStar ? Color.yellow
- Toggle(isOn: self.$profile.superStar)
Run
We’ve successfully passed our Profile down the View hierarchy! It’s now time to test our app. When the app runs, go into a profile, toggle Superstar, go back to the list, re-enter the profile, and check to see that the toggle state has been preserved. If it has, then we’ve succeeded!

Proving Binding Up and Down the Hierarchy
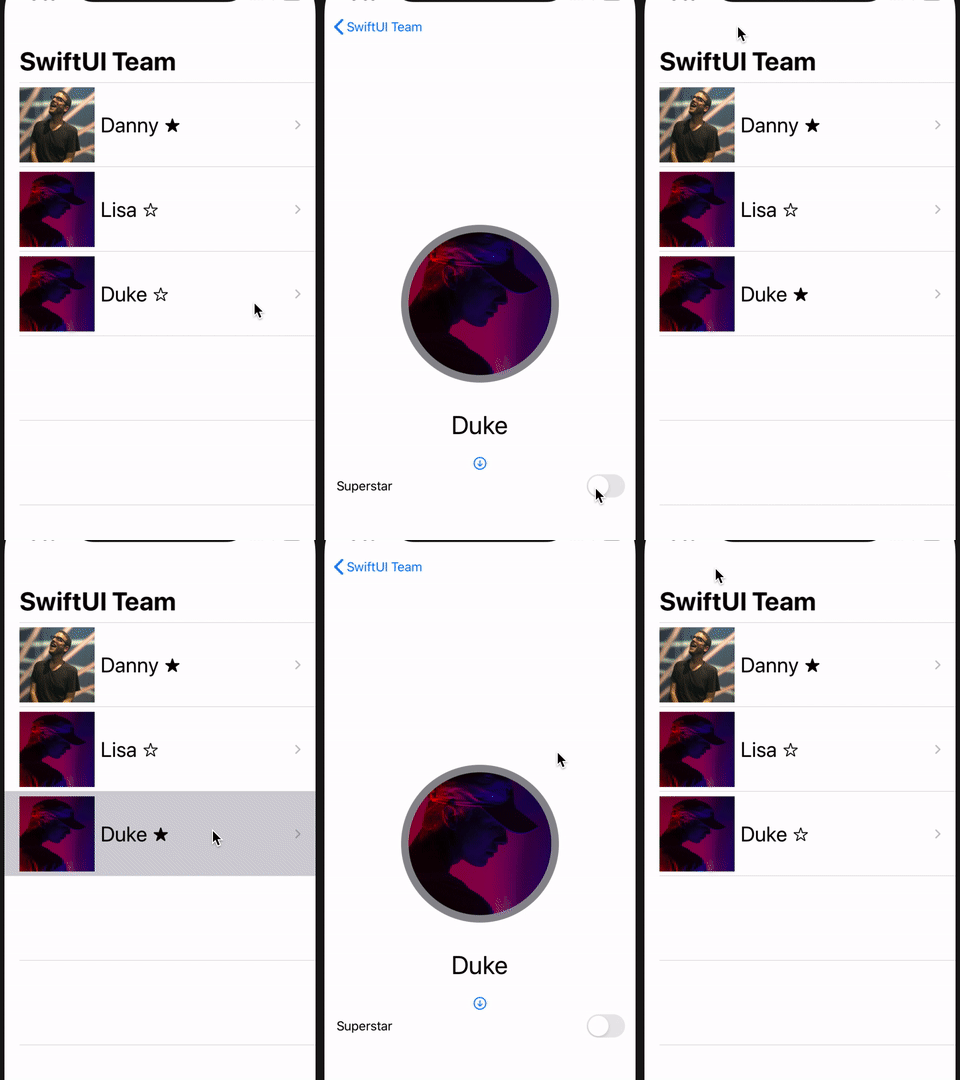
There’s one more thing we can do to prove we’ve successfully passed our binding up and down the hierarchy of views in our app. We can add a simple symbol that will indicate on our List who is a Superstar and who isn’t.
To do this, let’s go to ProfileCell. We’ll add an Image next to profile.name with one of 2 SF Symbols: star or star.fill
Now, when we run our app, we should see stars next to our team members’ names (filled if they are a superstar, hollow if they’re just stars). When we run our test by toggling stardom in our ProfilePage, we should see the changes reflected back on our List! Hence, proof that we’ve passed our binding across the hierarchy of our app successfully (and added a nice visual feature, too).

Where to Go from Here
When I thought about doing this series, my desire was to introduce people of all skill levels to SwiftUI. I’m extremely excited about its potential, and it’s inspired many ideas. My hope is that, having gone through our demo app, you, too, feel inspired to create something of your own using SwiftUI.
There’s so much more we could cover and jump into. And believe me, I don’t plan on stopping writing articles on Swift and SwiftUI anytime soon. But as far as getting our feet wet and building a foundation, you should have more than enough to take some bold steps on your own to create some fantastic apps that you will have dreamed up.
Go forth, and create!
Tip for the Road
We’ve covered a number of topics during this series, and in many cases only scratched the surface. I’d encourage you to play with your own app ideas, but if you’d like to continue building on our demo app, consider what changes or additions you could make.
For an example, what if you hosted the JSON of profiles and their images on a website? How could you pull that data using URL? Or perhaps you’d like to be able to edit the profiles and save it to the local JSON. How could you leverage SwiftUI’s Form and Codable’s Encode to accomplish that?
Give those a shot, and when you feel ready, hit Start a New Xcode Project and build something wonderful.

Comments 0 Responses