Mobile development provides opportunities for ideas and solutions to find their ways into the pockets of millions of users. As phones become more powerful, the possibilities expand exponentially.
That’s why I’m so excited about SwiftUI. Apple’s adoption of declarative and reactive UI design makes it easier for anyone to create great looking and powerful iOS apps.
Simply put, SwiftUI allows you to quickly build great looking apps without having to address all the fine details (unless, of course, you want to). This significantly reduces the learning curve for anyone interested in taking their ideas to the iOS market.
In this article, I’ll walk us through a quick example that’ll demonstrate how you can build a functional app with an amazingly small amount of effort!
All You’ll Need
For iOS development, you’ll need to be on macOS and have Xcode 11 installed (you can find it in the macOS App Store for free).
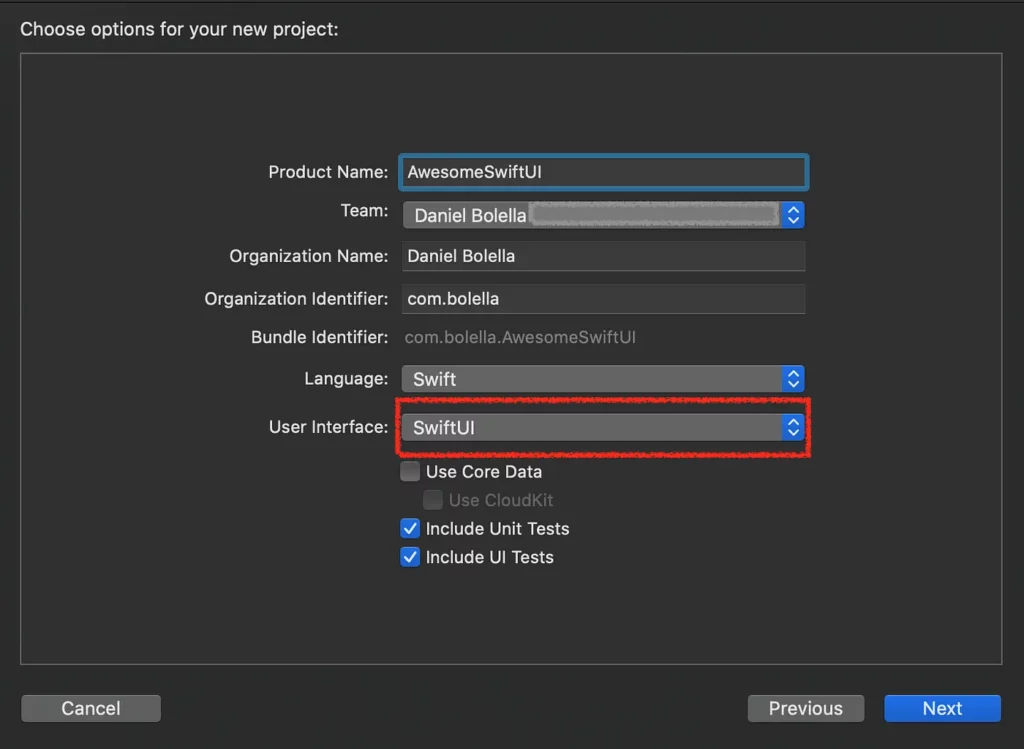
To set up your project, open Xcode and hit Create a new Xcode project. Then choose iOS — Single View App. Lastly, give your app a name and make sure User Interface is set to SwiftUI.

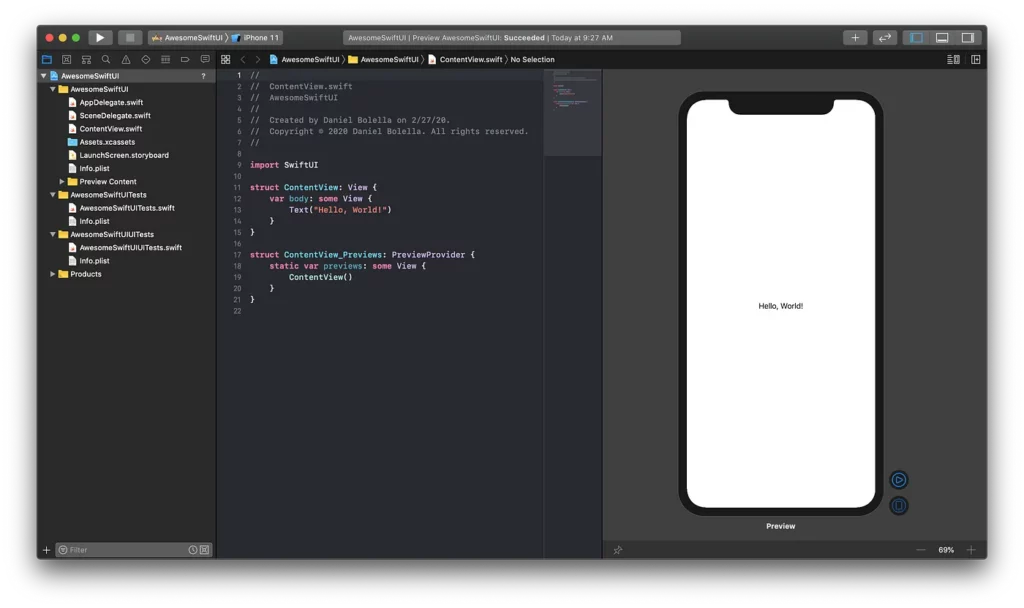
After you’ve decided where to save your project, Xcode should finally load and you should be met with this screen:

A quick breakdown of the screen. The left portion is the project navigator, where you can find all the files for your project. For this article, we’ll be hanging out in ContentView.swift exclusively. The middle portion is where we’ll be writing our SwiftUI code. The right portion is called the live preview window, and it will show us a preview of our UI as we write it. Finally, on the top left, we have a dropdown where we can choose an iOS simulator (or our own connected device!), which, if we hit the play button, will run our app on that environment!
Our First App: Build a Profile Page
While it may seem like an incredibly easy example, building a simple profile page is a great way for us to dip our toes into SwiftUI. It will also demonstrate some of SwiftUI’s strengths with very little code.
First thing first, since this is a profile page, let’s get that “Hello World” out of there and put our names in like this: Text(“Danny Bolella”).
Next, let’s put a smile to the name. The great thing about SwiftUI is that most of our UI is built using Views. A View is a struct that SwiftUI interprets as a UI component. In the project navigator (right side of the screen), you’ll see Assets.xcassets. Grab your favorite pic of yourself and drag it into that folder. Back in our ContentView, add this above our name: Image(“<filename>”).
Here we run into a problem. Our editor will start giving us errors. Why? Because we’re now, technically, returning multiple Views. We’ll need to wrap them inside a containing View. For our profile, we’ll use a Stack.
Stacks
There are three types of Stacks: VStack (vertical), HStack (horizontal), ZStack (depth). Not only do these contain our Views, they also handle how the Views should be displayed with each other. Let’s wrap our Views in a VStack, which will remove our errors and show them stacked vertically in our Live Preview.
Modifiers
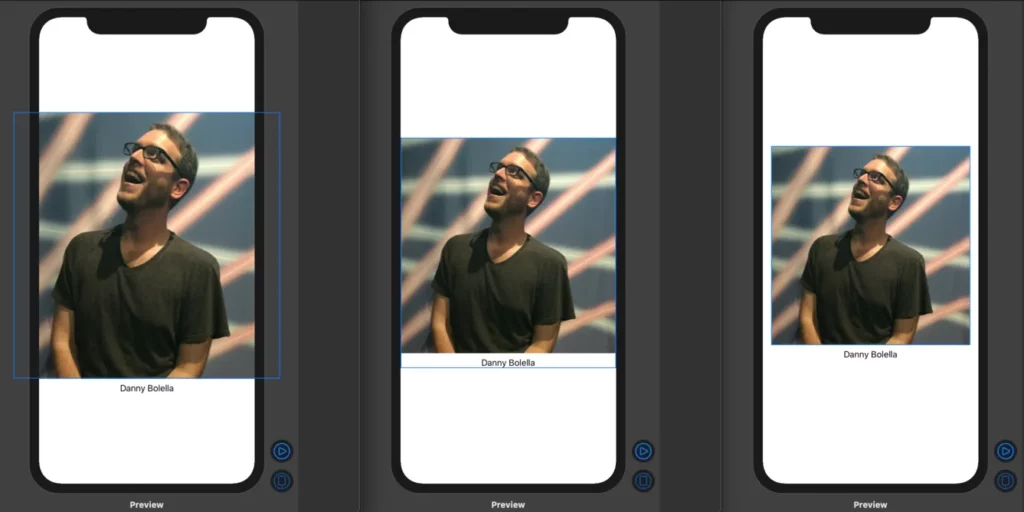
Depending on the size of the image you imported, you may notice that it’s too large for the screen, or maybe a tad small. We want our image to fit on the screen in a fashionable way.
To accomplish this, we’ll add a modifier to our Image View. A modifier is exactly what it sounds like—it’s essentially a property we can call (or even set) that will then be applied to the View we set it on.
To make our image fit, we’ll add two modifiers to our Image by adding two lines just beneath it. First, .resizable(), which allows our image to be, well, resizable. Second, .aspectRatio(contentMode: .fit), which then says that, relative to the screen, set our aspect ratio to one that fits inside those boundaries.
This will make our pic literally fit inside the screen up to the very borders. While this is a success, from a styling perspective, we really should have some padding to have the image fit more comfortably within the screen.
To do this, we’ll add a modifier to our VStack by adding .padding() just below it. This will apply padding to all the Views within our Stack based on Apple’s design style guidelines—no need to provide a value!

There are also modifiers for Text as well, such as font. We can choose fonts either provided by the system based on the Apple guidelines, or create fonts ourselves. For now, why don’t we add .font(.title) to our name. You’ll see how the text changes in Live Preview to a more pronounced style!
Checkpoint
We’ll stop here for now so you can soak in what we’ve accomplished so far. We learned that:
- SwiftUI uses Views to build out the UI
- We can import our own assets (such as images) into our project and UI
- We used the Text, Image, and VStack views
- We learned about modifiers and used them to apply simple design styling conventions
Next, we’ll learn about how we can use a combination of Views to modify each other, as well as how to create our own custom View!
Here’s the completed code for today:
import SwiftUI

struct ContentView: View {
    var body: some View {
        VStack {
          Image("profilepic")
            .resizable()
            .aspectRatio(contentMode: .fit)
          Text("Danny Bolella")
        }
        .padding()
    }
}
Tips for the Road
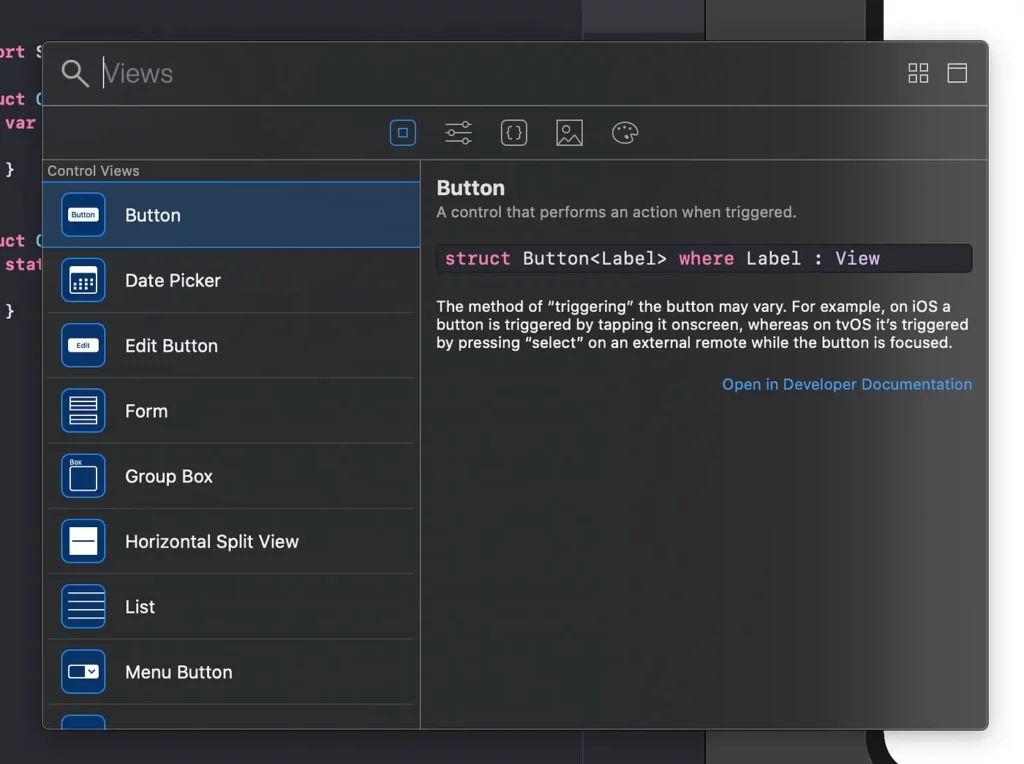
As you start messing around and adding/modifying Views in your new app (whether for practice or to get going on your app idea), a helpful way to see what’s available to you is to use the + button on the top right of the Xcode interface.

This displays a menu that lists all the different Views (first tab) as well as Actions, Effects, and Modifiers (second tab) available for your UI.
Selecting an option will also provide you information from the developer documentation about that item. But the best part is that double-clicking on any of the options will conveniently insert it into your code wherever your cursor’s currently located in the editor!

Comments 0 Responses