Several weeks ago, we all watched as Redditors took on the hedge funds and the price of Gamestop’s stock (GME) rocketed up to $470 at its peak before coming back down to Earth.
During the craze, billions of dollars exchanged hands in a historic short squeeze that left millions of people asking — “do you have diamond hands?” The typical Internet forum lingo suddenly became part of our vernacular (for better or worse), as Redditors banded together to hold out for a moon shot.
During the same time, I was dabbling in AR effects, learning the ins and outs of Lens Studio for Snapchat Lenses. Watching a group of retail investors take on the fat cats, I was inspired by this modern day David vs Goliath battle. So I decided to create a Lens for all those diamond hands out there.
Here’s how I did it.
Lens Concept

The idea was to make the user look like the WallStreetBets mascot, with AR diamonds in their hands. To do that I needed to:
- Change the user’s hair to yellow
- Add sunglasses over the user’s face with “GME” printed in green on the lenses
- Place and anchor a diamond in the user’s hand.
These were the assets I need:
- A 3D pair of black sunglasses (mesh)
- A 3D diamond (mesh + texture)
- A SnapML model to change the user’s hair to yellow
Since I’m no expert in 3D modeling, I relied on finding downloadable assets through marketplaces such as Sketchfab and Free3D—and I used a project template from Fritz AI for the hair color change effect.
Step 1: Hair Coloring
For coloring the user’s hair yellow, there are 2 options immediately available:
- Use the Hair Color Template provided by Lens Studio
- Use the Hair Segmentation SnapML Project provided by Fritz AI
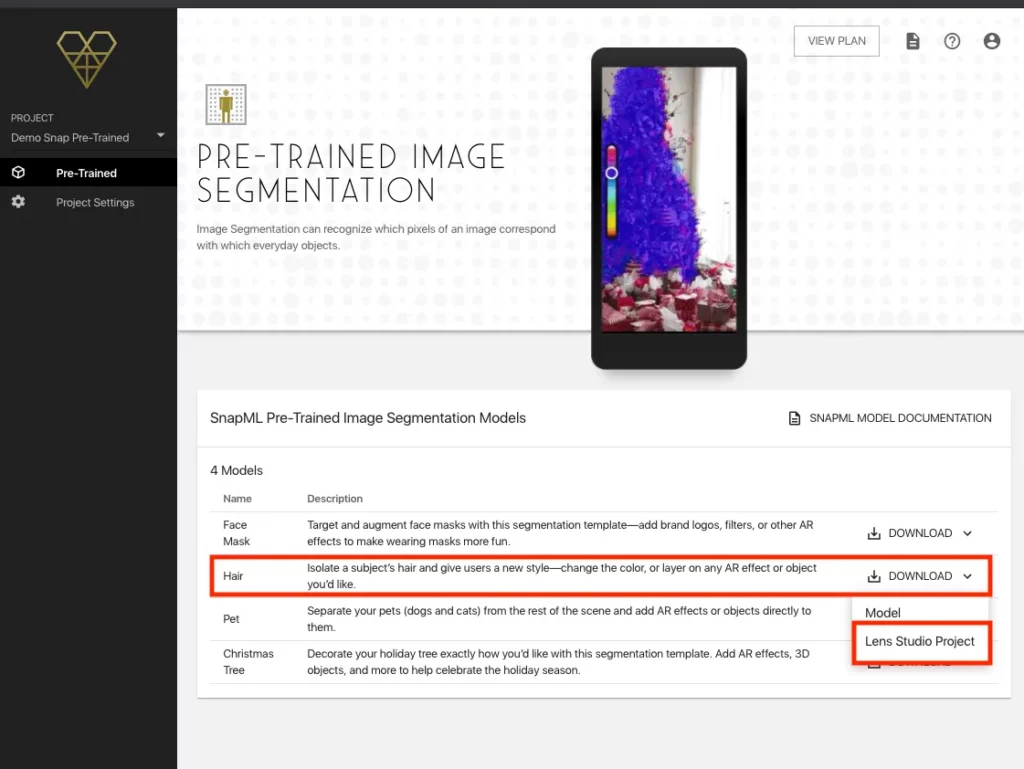
For this project, I decided to download the Hair Segmentation project from Fritz AI. You can sign up for a free beta account (at the time of writing) and download the pre-trained template project if you’d like to follow along.
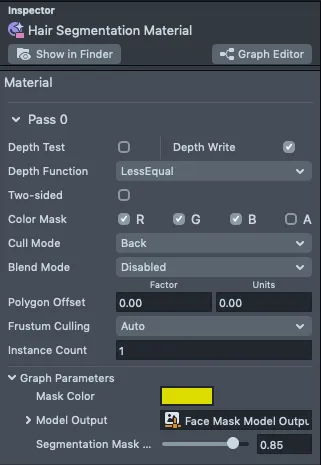
Open up the project in Lens Studio, and then under Hair Segmentation Resources > Hair Segmentation Material > Graph Parameters, set the Mask color to Yellow and remove the color slider from the view.
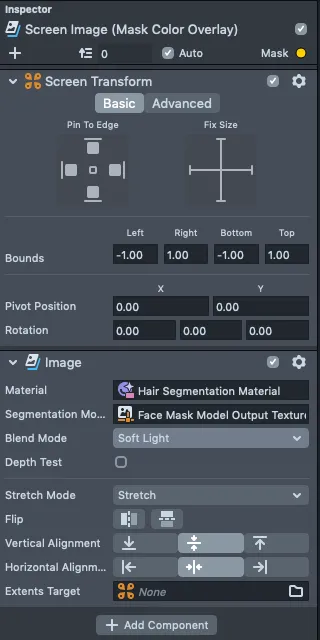
In Mask Orthographic Camera > Screen Image (Mask Color Overlay) > Blend Mode, change the hair color blending to whichever option you prefer (soft light, hue, and color are the most natural looking, in my opinion. But for fun, I’ll use “Realistic” so the color pops).
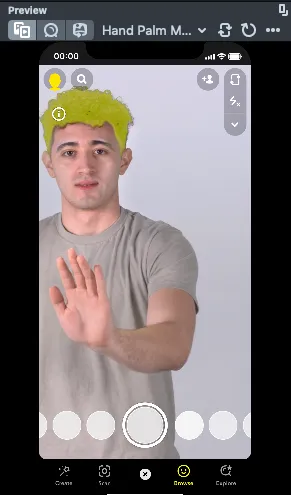
In the preview, you should be able to see the user’s hair colored yellow.
Step 2: Adding WSB Sunglasses
First I wanted to find 3D sunglasses that fit the style I was looking for. I found these ones created by @gamerarena2014 that were free for personal use.
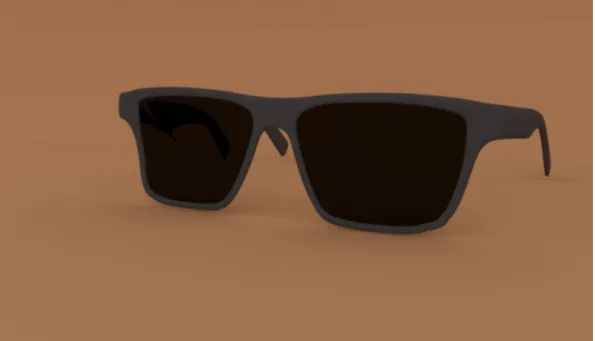
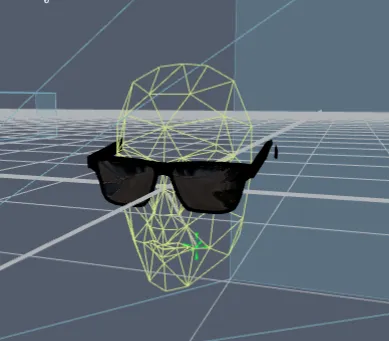
I imported the .fbx file to Lens Studio and added a head binding object to track the user’s head motion (under New Object > Face Effects > Head Binding). I then dragged the imported Sunglasses object under the Head Binding, and adjusted the sunglasses to make sure they fit over the user’s eyes.
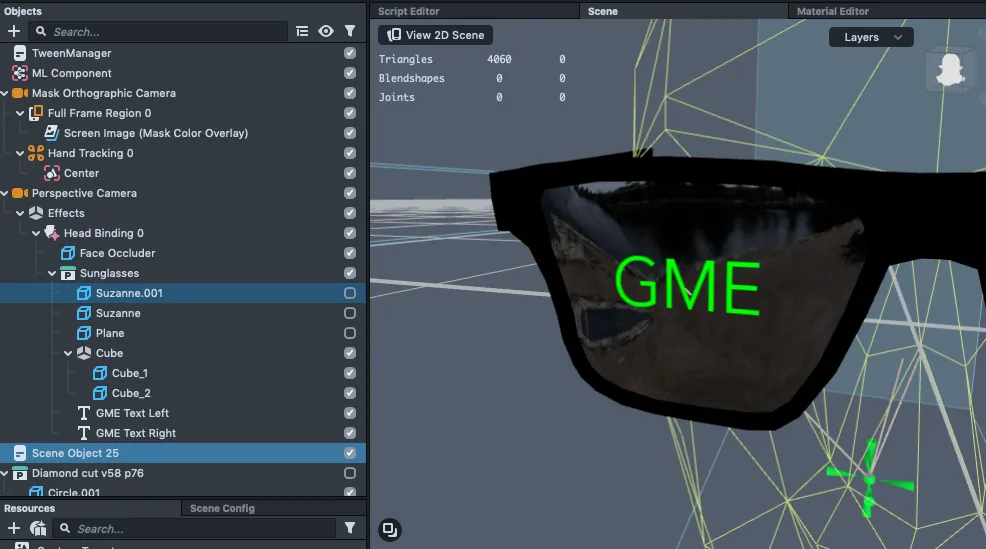
To get the “GME” text to show up on the sunglass lenses, I created 2 Text Objects (one for each lens) and moved them so they appeared to be overlaid on top of the sunglasses.
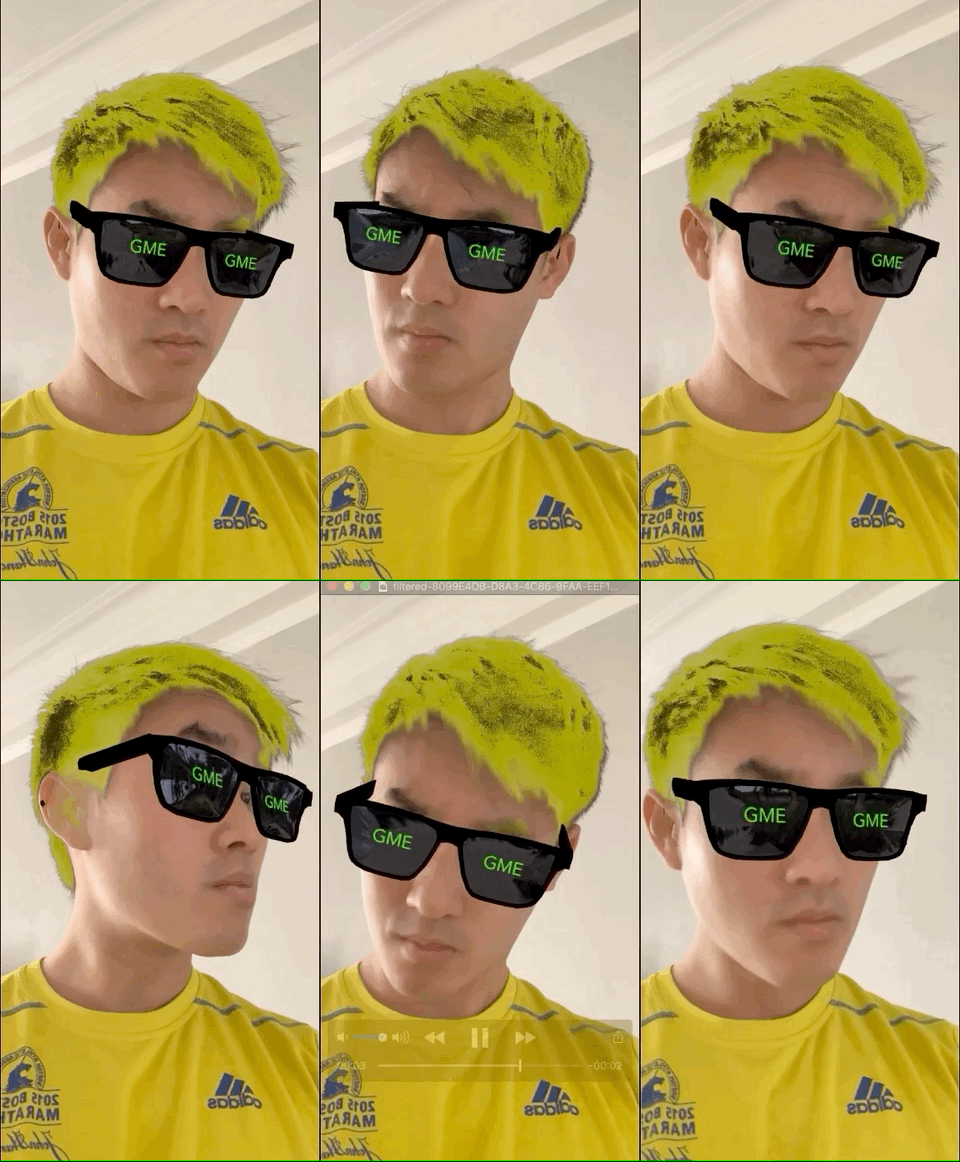
Here’s what the Lens looked like at this point:
Step 3: Add Diamond Hands 👐 💎
Finally, the most important step — adding the diamond hands.
Unfortunately, Lens Studio currently only allows us to track one hand, meaning we can’t put a diamond in each hand if the user has both hands showing. But it’s also fair to assume that most people will be using this Lens in selfie/portrait mode, with one hand preoccupied with taking a Snap or capturing a video.
First, I added a Hand Tracking object to the scene (New Object > Object Tracking > Hand Tracking).
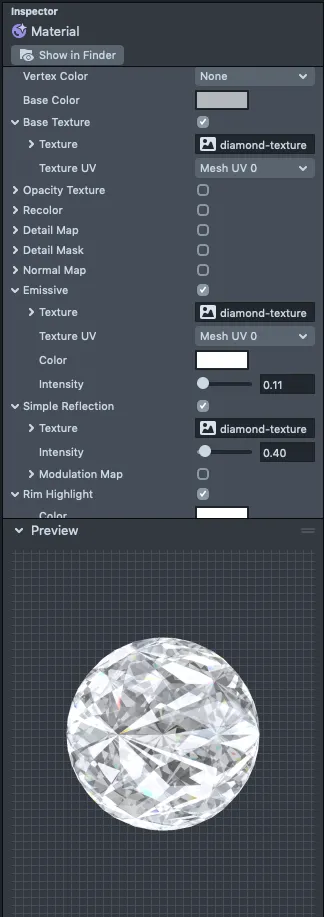
Next, I went looking for a 3D diamond mesh on Sketchfab / Free3D. First, I purchased a diamond mesh from @bescec on Free3D; however, this didn’t contain a texture, so I then found a high-quality diamond texture from ShutterStock and added it as a Base Texture in the diamond’s material.
To give the diamond a sparkly, more realistic feel, I played around with the “Emissive”, “Simple Reflection”, “Lighting”, and “Rim Highlighting” options in the asset’s material.
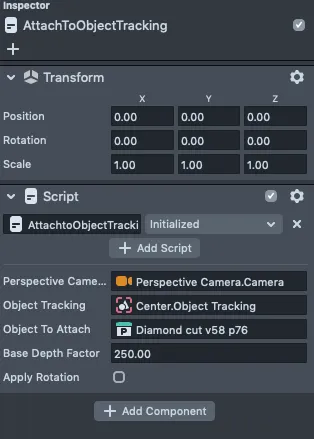
And to attach a 3D object to the hand, I used one of the scripts provided by the Snap team called AttachToObjectTracking.js (for more details, visit their Object Tracking documentation)
Final Result
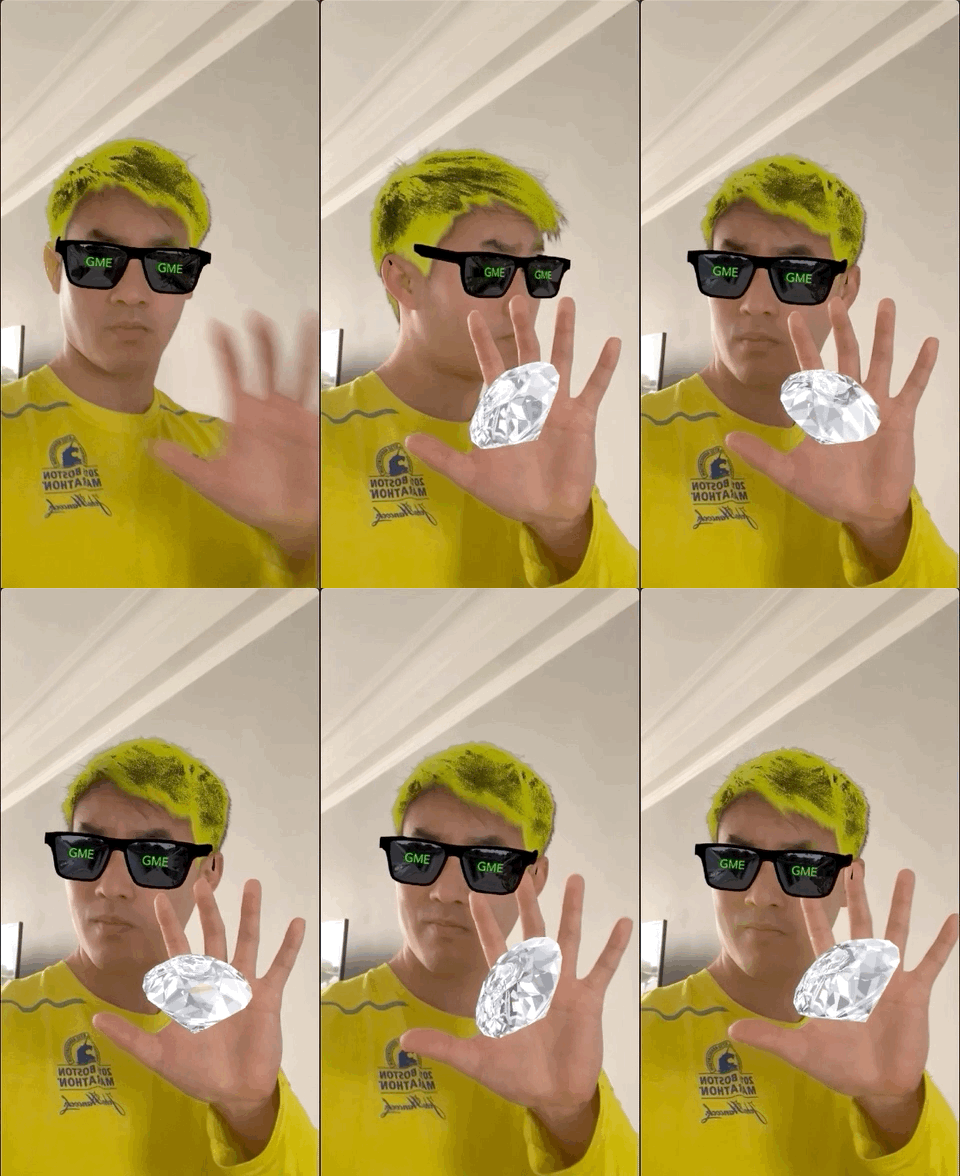
And there you have it. Credit to the Lens Studio team for making it easy for newcomers like myself to quickly launch my first Lens within a day. This was the final result, for all you diamond hands out there.
Snapcode:


Comments 0 Responses