Custom Vision is a platform that allows you to build your own customized image classifiers. If you want to develop a mobile app where you need to classify images, Custom Vision (by Microsoft) offers you one of the fastest ways to go about it.
With Custom Vision, you simply upload your labeled images, train the model on the platform, and then export a Core ML model (for iOS) or TensorFlow model for Android (and even ONNX for Windows ML and DockerFile for AzureML). Yes, you heard that correctly. And it is free for 2 projects, and up to 5000 training images per project.
Now let’s build our own customized model and use it on a mobile device.
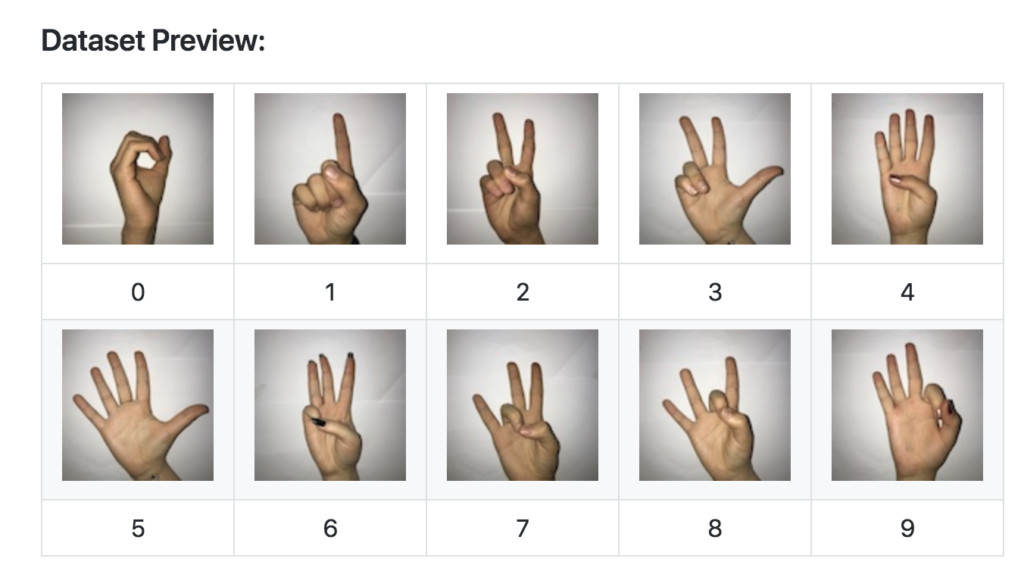
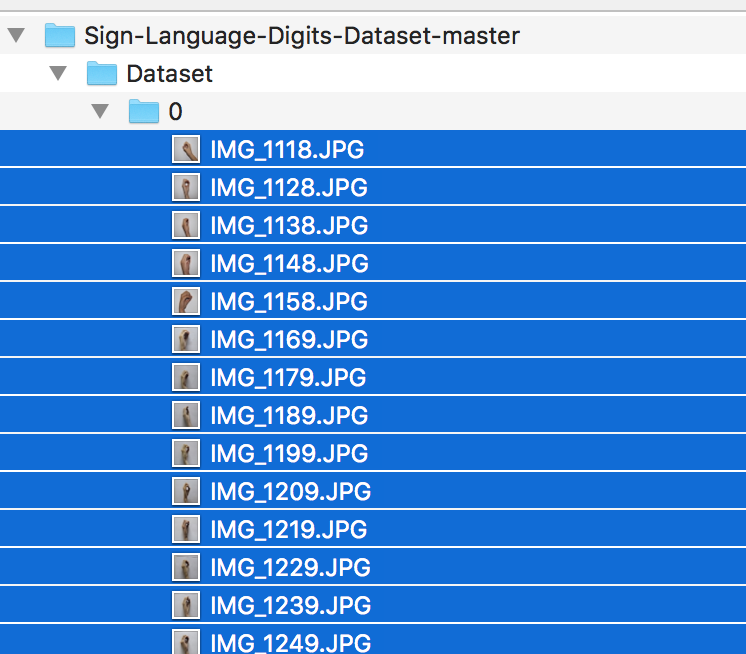
First, we need categorized images for model training. For this tutorial, I’ll be using the Sign Language Digits Dataset, which was built by high school students. So let’s first download this dataset. This dataset has 10 classes that consist of categorized images in separate folders.
Assuming you’ve set up a Custom Vision (Azure) account, head over to the projects page and create your first project on Custom Vision.
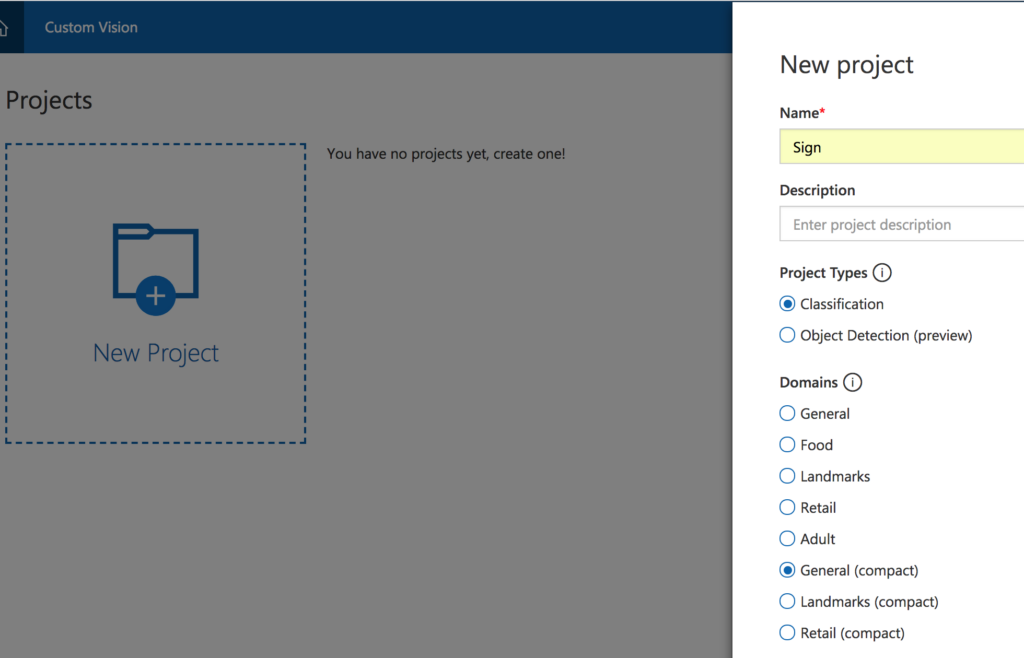
Click “New Project” and enter your project name, and choose you project type as classification. For the “Domains” option, compact models are lightweight models, and only these types of models can be exported for mobile as Core ML or TensorFlow models. So choose “General (compact)” and create your project.
Now we’ll upload our images. Click the add images button.
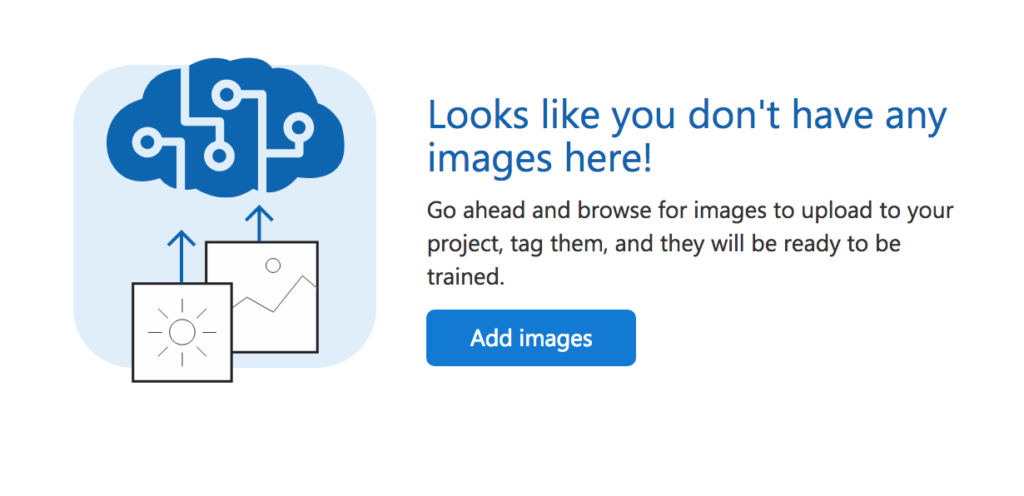
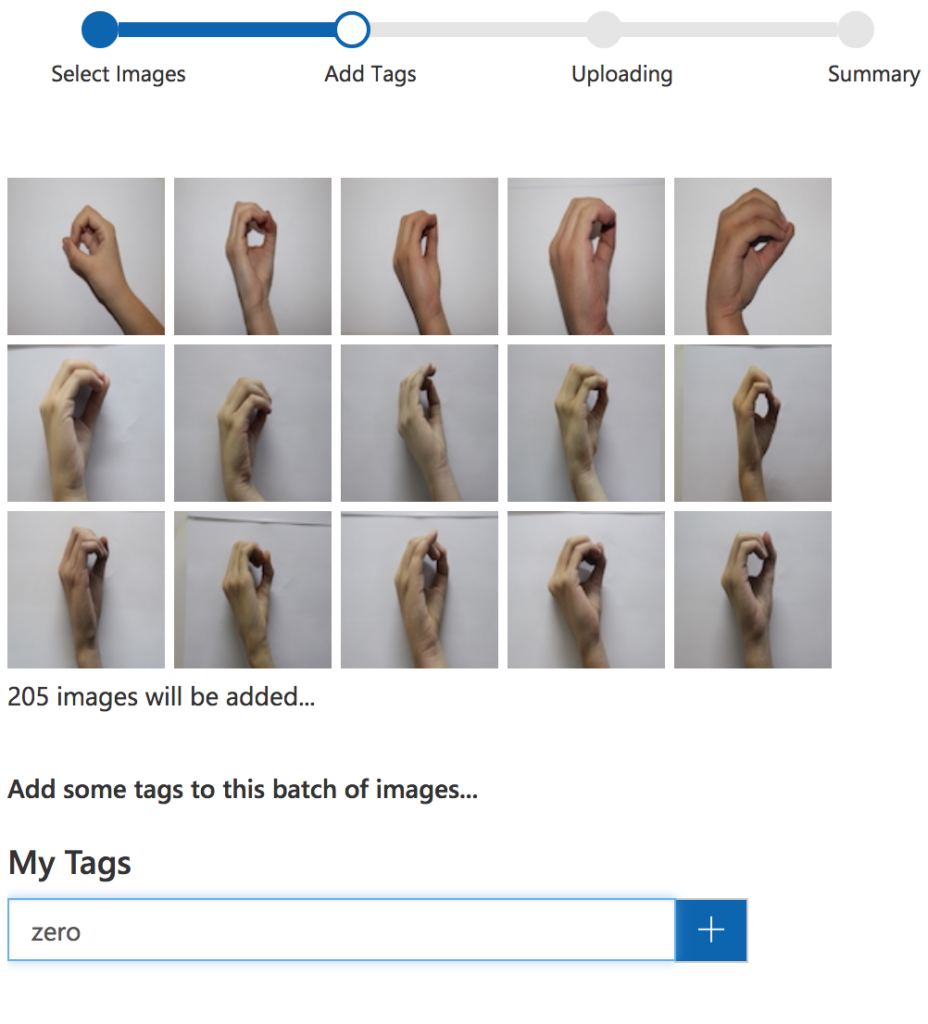
Browse your local files and choose the images under 0 folder. Here, I recommend uploading each folder separately because you will specify the class of the images after uploading. So choose the 0 folder images and upload.
Add the tags of the images and upload them, as well.
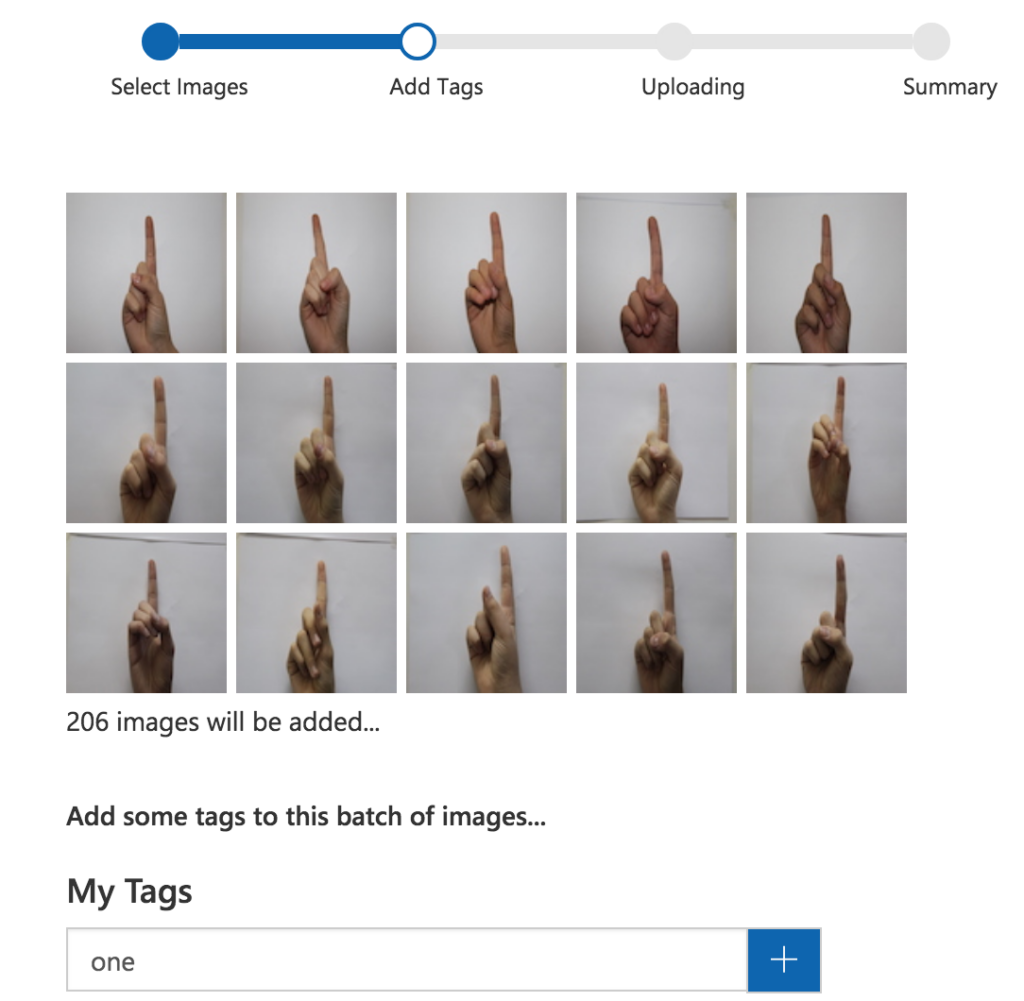
Choose “Add Images” and upload the images in folder 1.

Tag them as “one” and upload. Do the same for the rest of the folders.
After adding and tagging all of the folders, we’re now ready to train our model. Click the “Train” button.

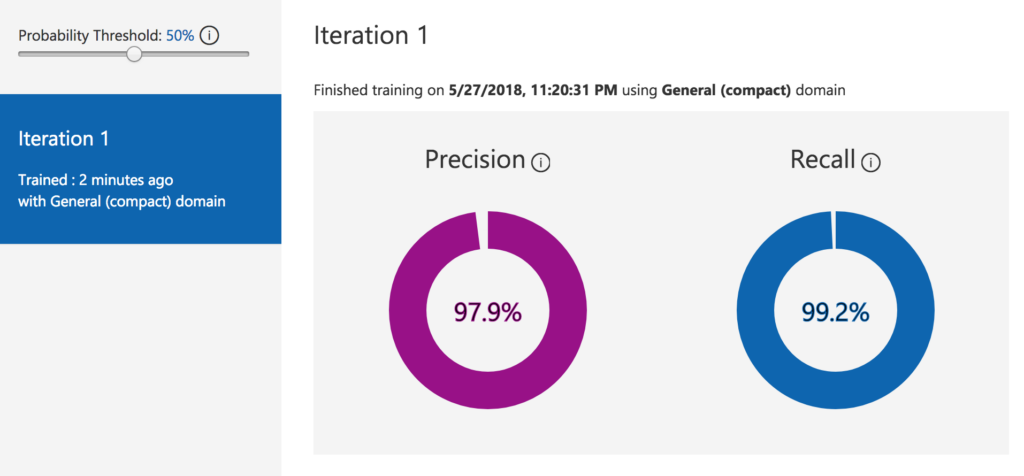
Here you can change the “Probability Threshold”, which defines the minimum probability score for a prediction to be valid.

Training should finish in a few minutes. Here, we can evaluate how well our model is performing.
Precision tells you: If a tag is predicted by your model, how likely is that to be right? Recall tells you: Out of the tags that should be predicted correctly, what percentage did your model correctly find?
So according to these metrics, our model is doing pretty well.
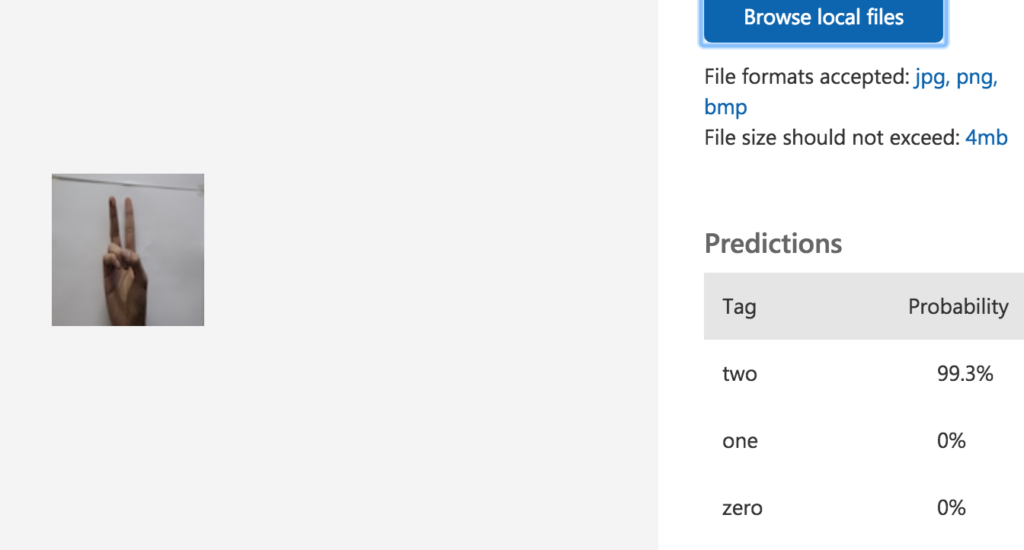
If you want to test the model yourself, just click the “Quick Test” button. Here, you can upload your validation images and check the inference.
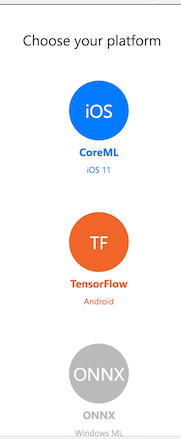
Click the “export model” button and choose your platform. I’ll be using Core ML for this tutorial.
After downloading our model, we’ll download the Azure sample project for iOS (or Android) from GitHub. Download the project from here for iOS or Android.
For iOS, I renamed the downloaded model as Sign.mlmodel. Just drag your model into the Azure sample project and delete the Fruit.mlmodel.
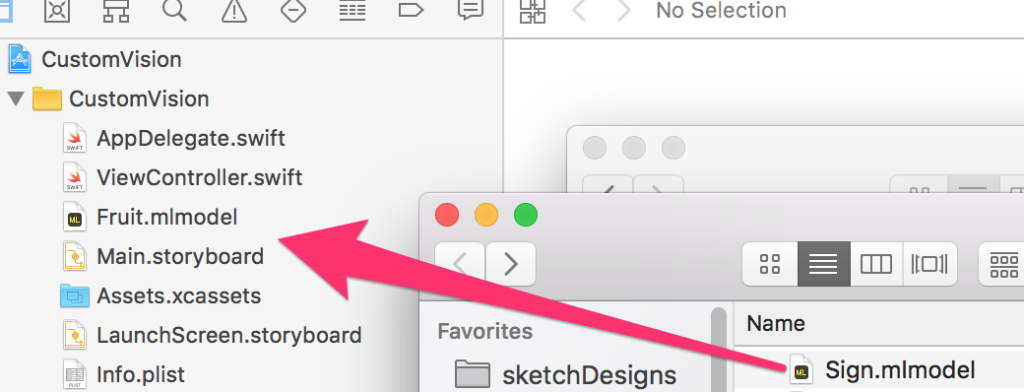
Open the ViewController.swift file and search for “Fruit”. Rename it as “Sign” in order to use your customized model.
For Android, drop your pb file and labels.txt file into your Android project’s Assets folder.


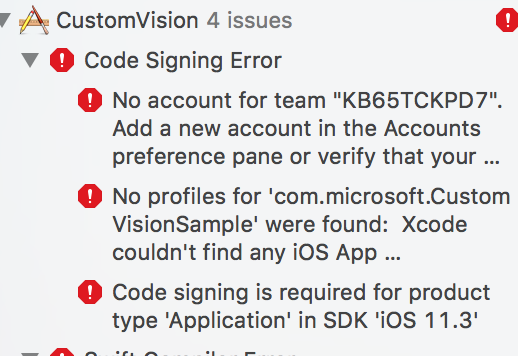
If you get code signing errors like below, select your Team in the General tab of the Xcode Project.
Now build and run the project on a mobile device. Hocus Pocus!

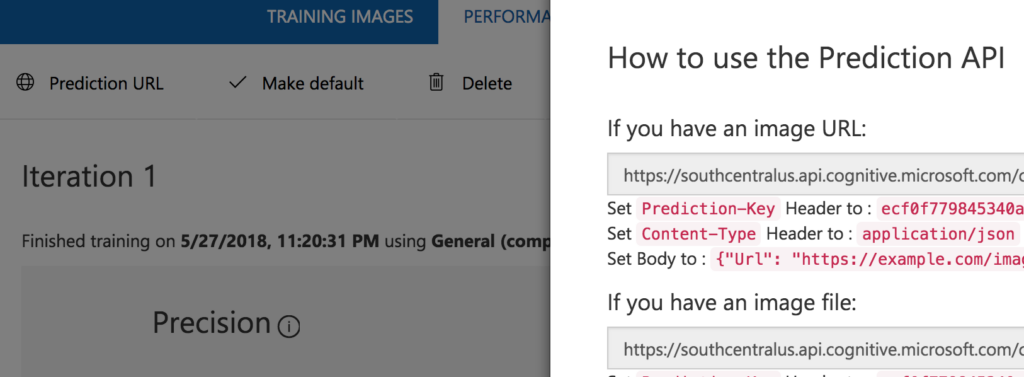
If you don’t want to export the model and just want to use Custom Vision as an API, just click the “Prediction URL” and you can see the urls for your Custom Vision model.
What used to take several days now just takes minutes—the development of machine learning tools is phenomenal.
If you liked this post and want to learn how to build everything from scratch, check this post out: How to Fine-Tune ResNet in Keras and Use It in an iOS App via Core ML
Thanks for reading! If you liked this story, you can follow me on Medium and Twitter. You can also contact me via e-mail for consultancy or freelancing.

Comments 0 Responses