In this part of our tutorial series exploring Unity’s AR Foundation framework, we’ll learn how to detect planes and place objects on those planes. We will also learn how to use C# to create scripts and add programmable behavior to our app. If you have not read the introduction to this series, I suggest doing so, as this is a continuation from our overview.
To summarize in previous part we did setup and prerequisites to develop AR application. We spawned a cube to test our initial setup. That cube was manually placed and was only there to test things. It’s no longer needed from here onward.
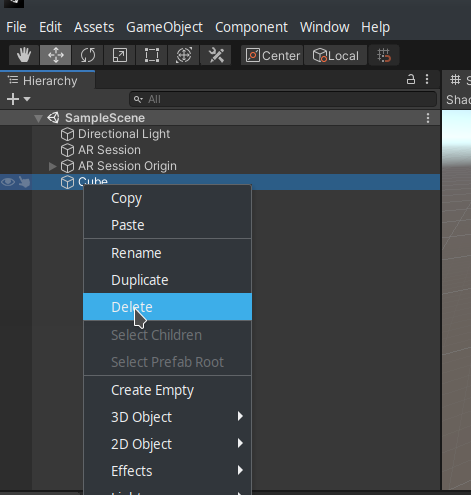
Start by removing the cube that we added in previous part. We don’t need it anymore, as we were just using that for basic demo purposes. Right click on the cube and select delete.
AR Plane
What is an AR plane? An AR plane is basically a plane manager that detects planes (flat surfaces) in the real world scene. A plane is a flat surface represented by a pose, dimensions, and boundary points.
Examples of features in the environment that can be detected as planes are horizontal tables, floors, countertops, and vertical walls. For our use case ( spawning objects on horizontal planes), we only care about horizontal planes, as we’ll place furniture on them.
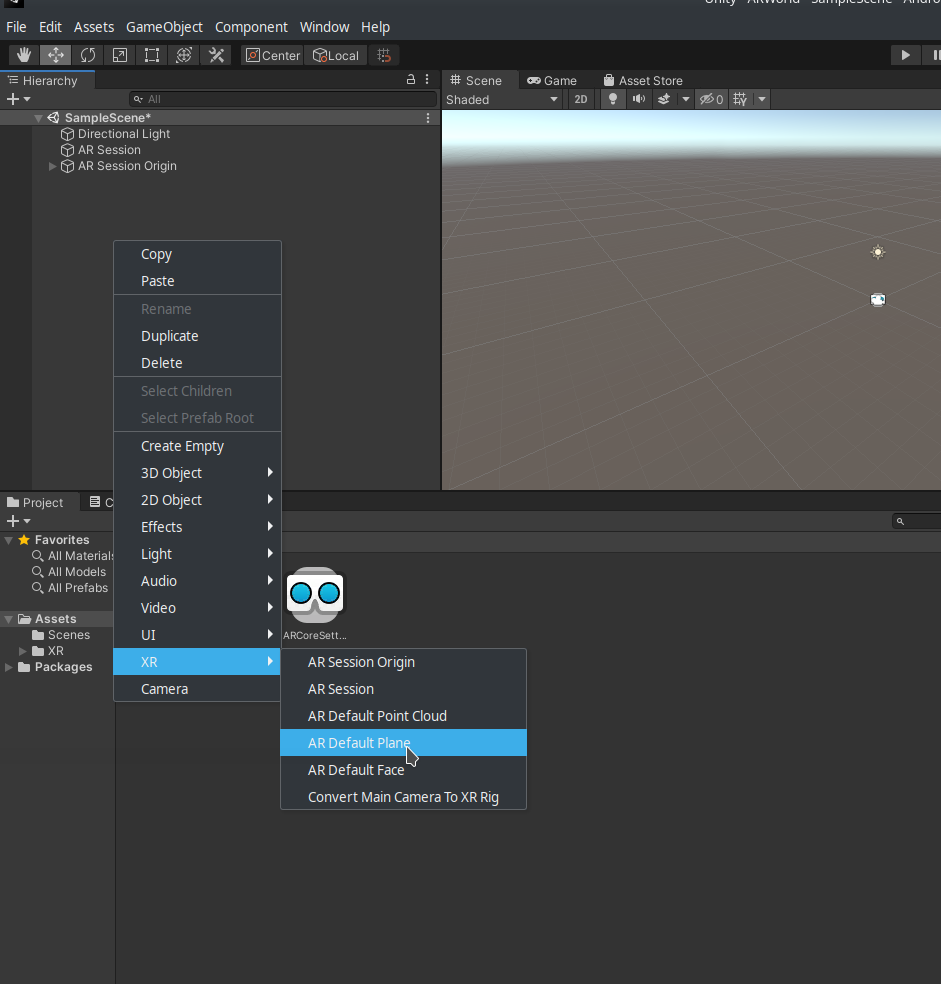
Right click on hierarchy (top left) and select XR → AR Default Plane.
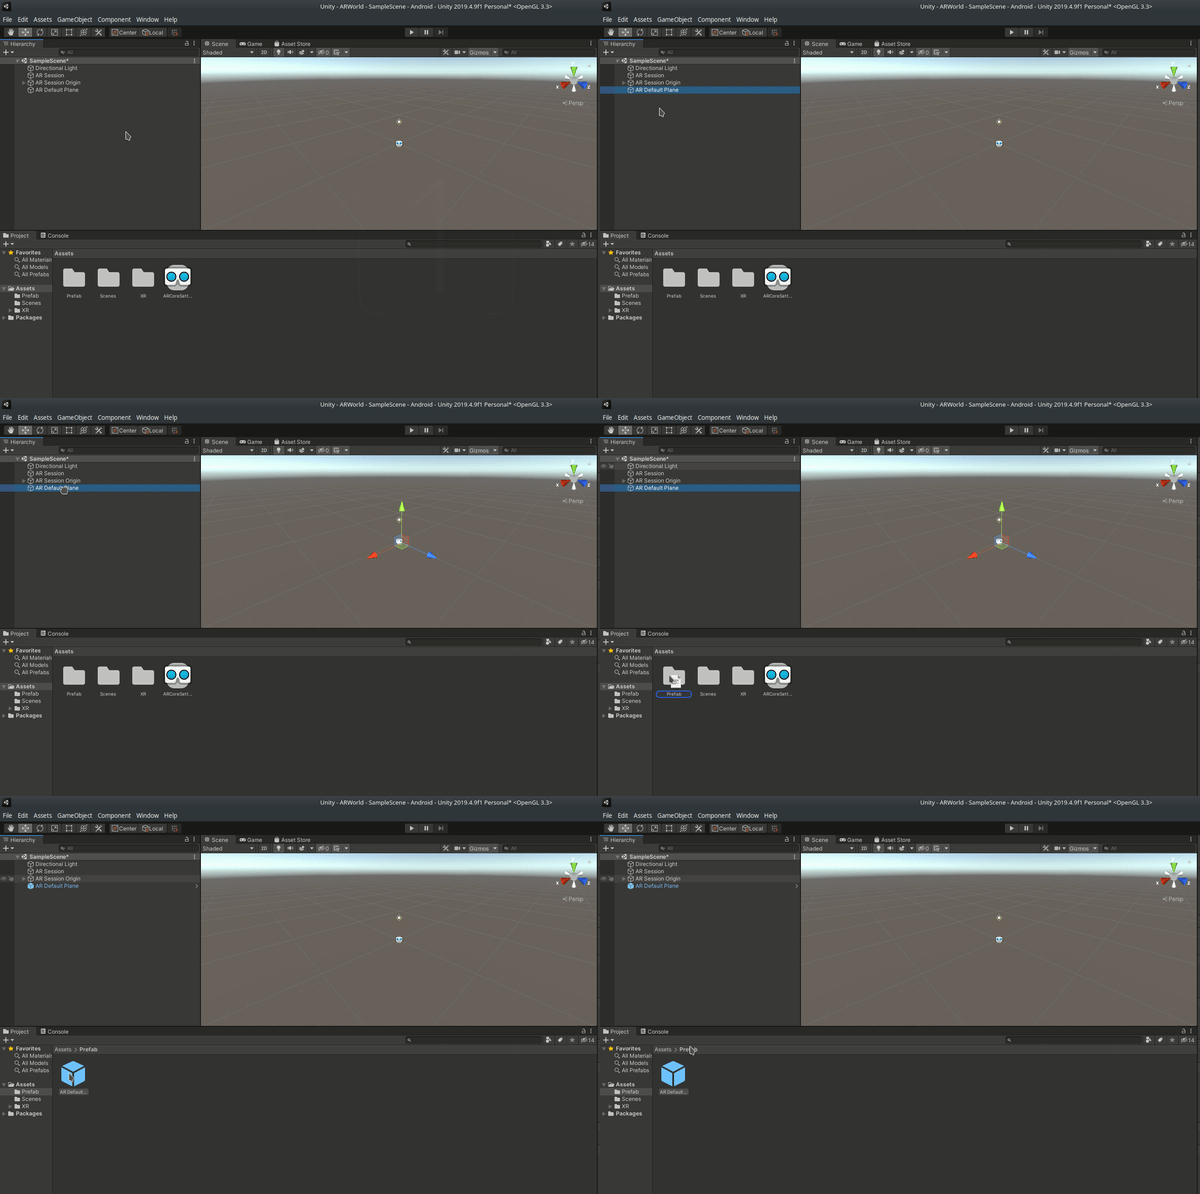
Next, we’ll create a Prefab of our plane. The Prefab asset acts as a template from which you can create new Prefab instances in the Scene. Think of Prefab as a class that holds specific properties, with which you can create as many children from it, all with the same properties.
Why do we need a Prefab?
When you want to reuse a GameObject configured in a particular way — like a non-player character (NPC), prop, or piece of scenery — in multiple places in your Scene, you should convert it to a Prefab. This is better than simply copying and pasting the GameObject, because the Prefab system allows you to automatically keep all the copies in sync.
Create a new folder called Prefab.
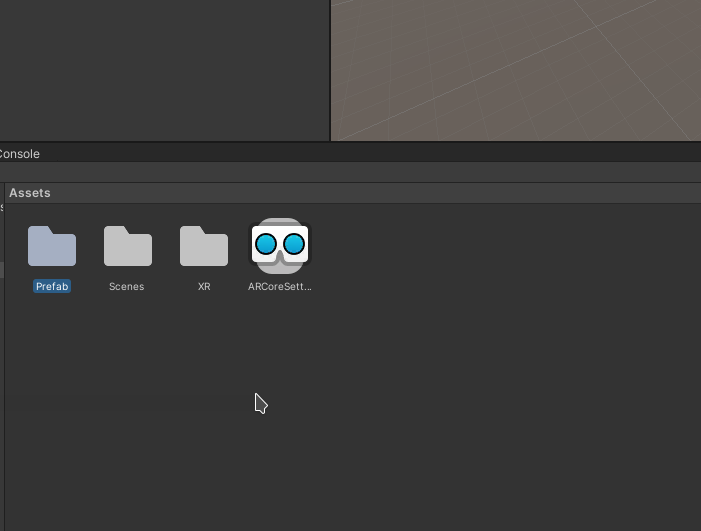
Next, drag the “AR Default Plane” to this Prefab folder. That’s it! Our Prefab has been created. To learn more about Prefabs, head over to Unity’s docs on the subject:
Next, we need to add a Plane Manager. Select “AR Session Origin” and click on the Add Component button. Type “plane” and you will see “AR Plane Manager” component in the search box:

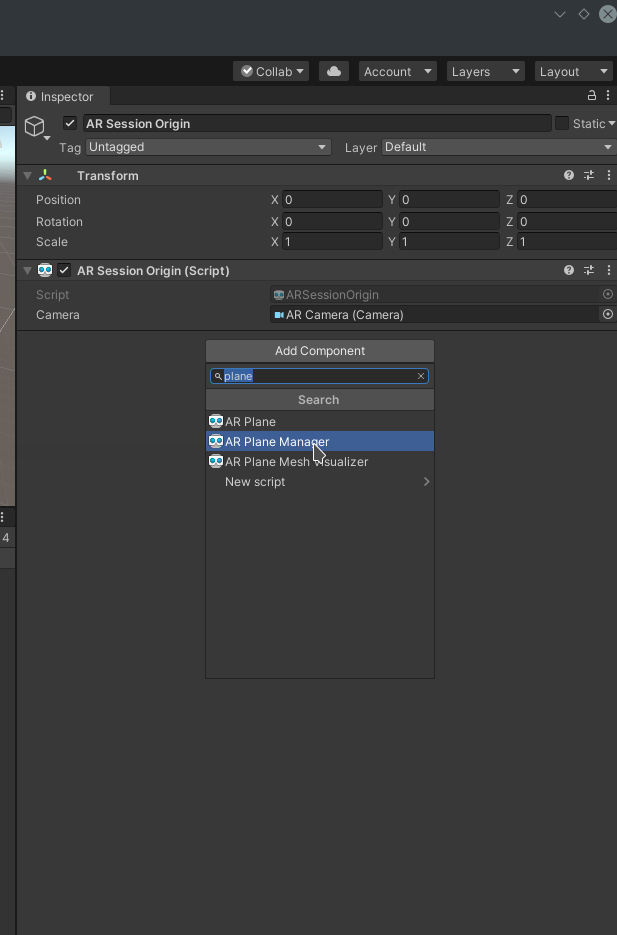
This AR Plane Manager will basically perform all the calculations for plane detection. We don’t have to write algorithms to do that ourselves. Pretty useful stuff.
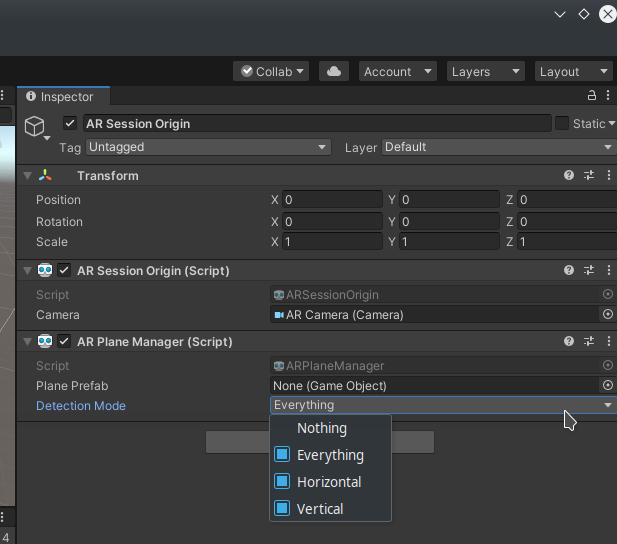
At the beginning of this article, I mentioned that we only want to detect horizontal planes. So from the Detection Mode parameter, select only horizontal detection. In the “Plane Prefab” slot, drag and drop our “AR Default Plane” prefab.

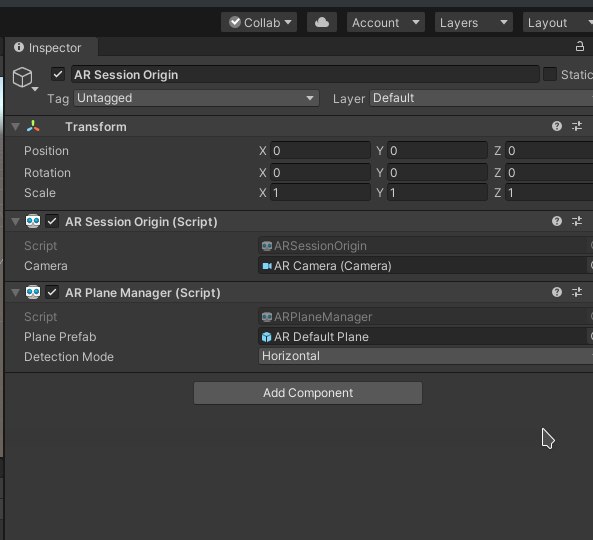
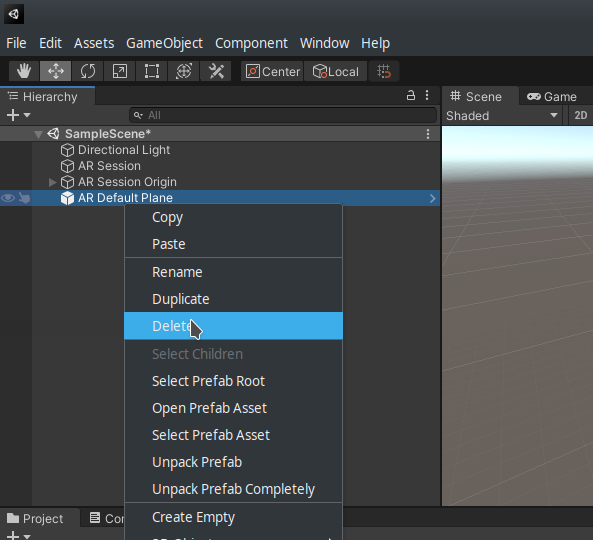
All right—our Plane Detection and Plane Manager components are set up. Since we have a Prefab (AR Default Plane) in our Prefab folder, we can remove it from our hierarchy. We have no need to place it directly in our scene—this is the job of the AR Plane Manager.
3D Models
Now that we have our plane detection set up, we need to tell it what it should do when it detects a plane. For that, we need a script for it to follow (more on that later).
The idea here, essentially, is to project a ray from our camera to our AR plane, and if that ray hits said plane, we’ll spawn an object.
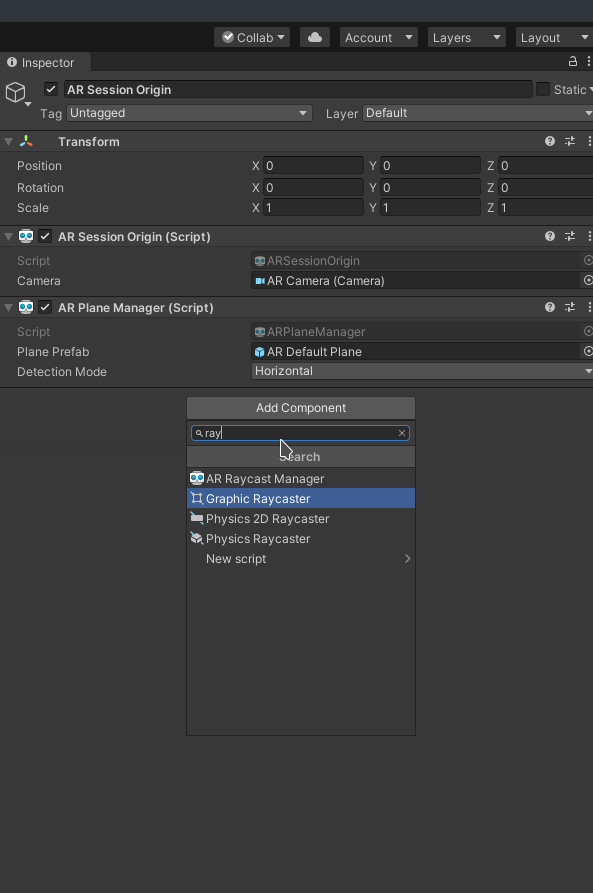
To throw the ray (the proper term is raycasting), we need a raycasting component. Select AR Session Origin, then search for and add a “AR Raycast Manager” component.
Getting models
We need to obtain a few 3D models of furniture to actually spawn. On the web, there are any number of sites like cgtrader, sketchfab , turbosquid etc where you can find some free 3D models for your furniture.
Make sure to check the license and ensure that it’s free download, and always try to credit the creator. I am downloading one from cgtrader by nikos95–95:
Next, we need to create a Models folder, so we can keep our 3D assets clean and organized.
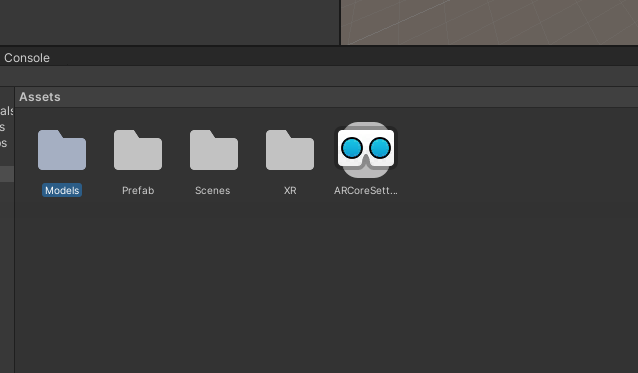
Extract the zip and find the FBX file. Drag and drop it in the Models folder you just created.
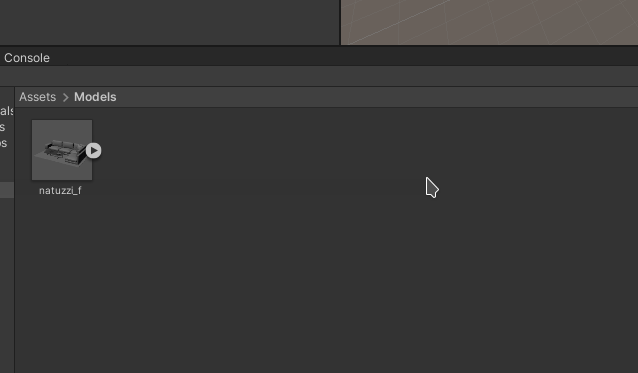
Rename the model to “couch”, or whatever name you’d like, and drop it in the scene to create a Prefab of it.
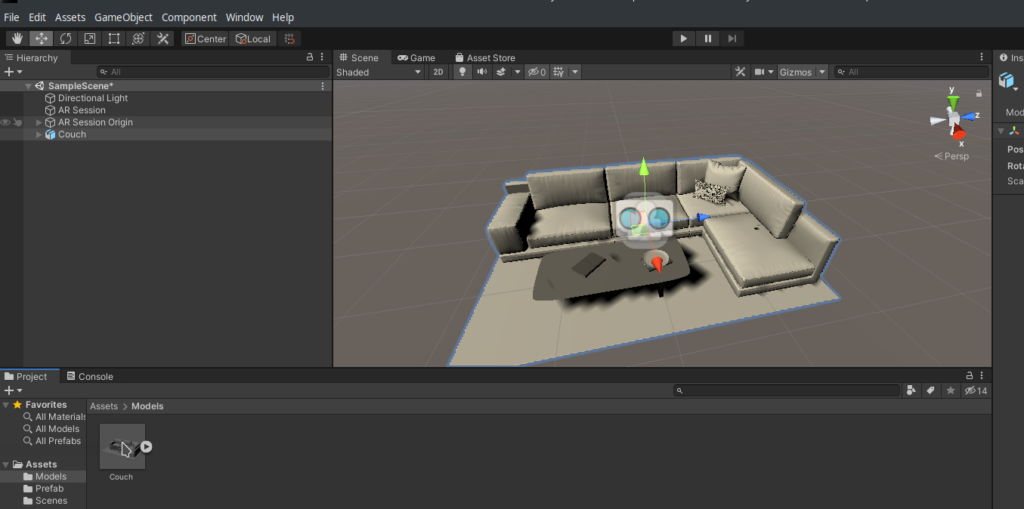
When we’re using these models, we need to make sure their dimensions make sense with respect to real world. Click on your model and open the Inspector tab to check the scaling factor. 1 meter in Unity means 1 meter in the real world, so keep this in mind when you’re using models for these kinds of applications.
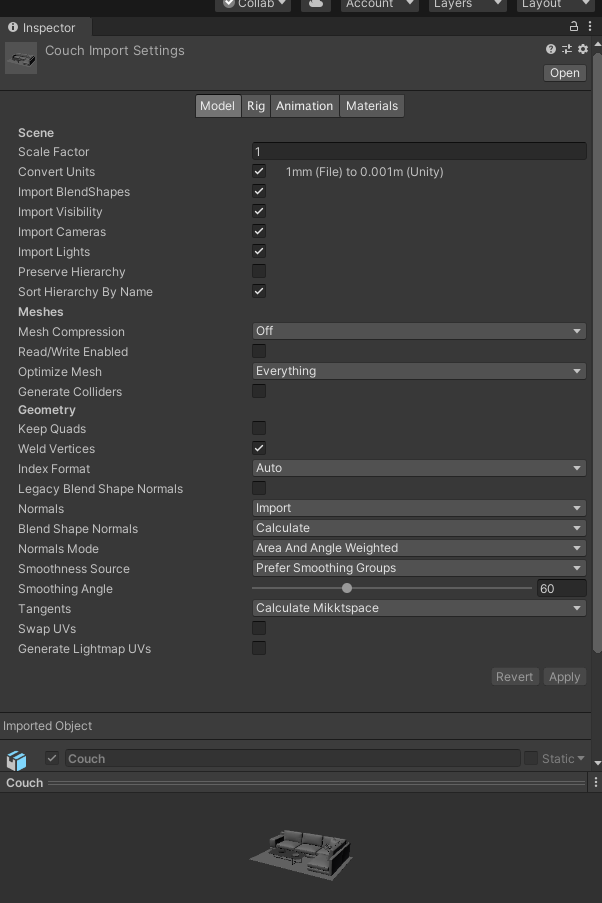
Next, move the couch Prefab to the Prefabs folder and delete it from the scene. We don’t want to place it manually, but we instead want our Plane Manager to spawn it when it detects a plane.
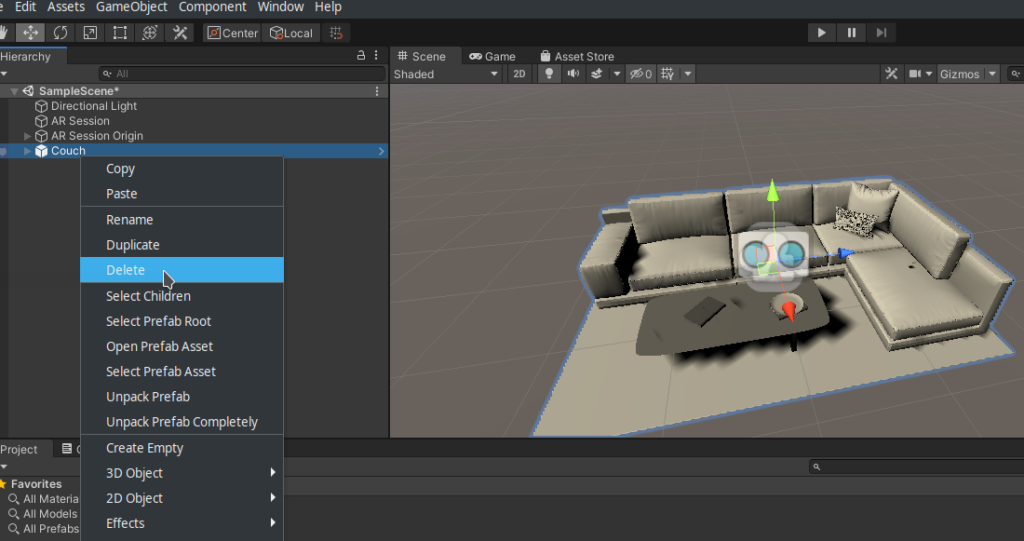
Spawning Objects
Create a Scripts folder and then right-click and create a C# script. Rename it to “InputController”. The idea behind this script is to first detect planes (horizontal planes like floors, table-tops etc) and spawn an object when the user taps on the screen. We will achieve this with script below.
using System.Collections;
using System.Collections.Generic;
using UnityEngine;
using UnityEngine.XR.ARFoundation;

public class InputManager : MonoBehaviour
{
    public GameObject AR_object;
    public Camera AR_Camera;
    public ARRaycastManager raycastManager;
    public List<ARRaycastHit> hits = new List<ARRaycastHit>();
    // Start is called before the first frame update
    void Start()
    {

    }

    // Update is called once per frame
    void Update()
    {
        if(Input.GetMouseButtonDown(0))
        {
            Ray ray = AR_Camera.ScreenPointToRay(Input.mousePosition);
            if(raycastManager.Raycast(ray, hits))
            {
                Pose pose = hits[0].pose;
                Instantiate(AR_object, pose.position, pose.rotation);
            }
        }

    }
}
Let’s break this down a bit. First, we need a GameObject, which will store the information about our model. Think of it as a variable that’s storing our model.
We also need Camera object to manage our camera and a RayCastHit list to store the list of raycast hits, i.e. a list of points where our ray was hit.
We then check for an Input (we’re using a GetMouseButton, given that we’re on mobile because it’s simple and it works with a simple screen tap). We then check for the position of the mouse (tap on screen) and check to see if the point is in the RayCastHit list or not.
If it is, then we take its position and rotation to spawn an object there. We’ll see this in action in a moment.
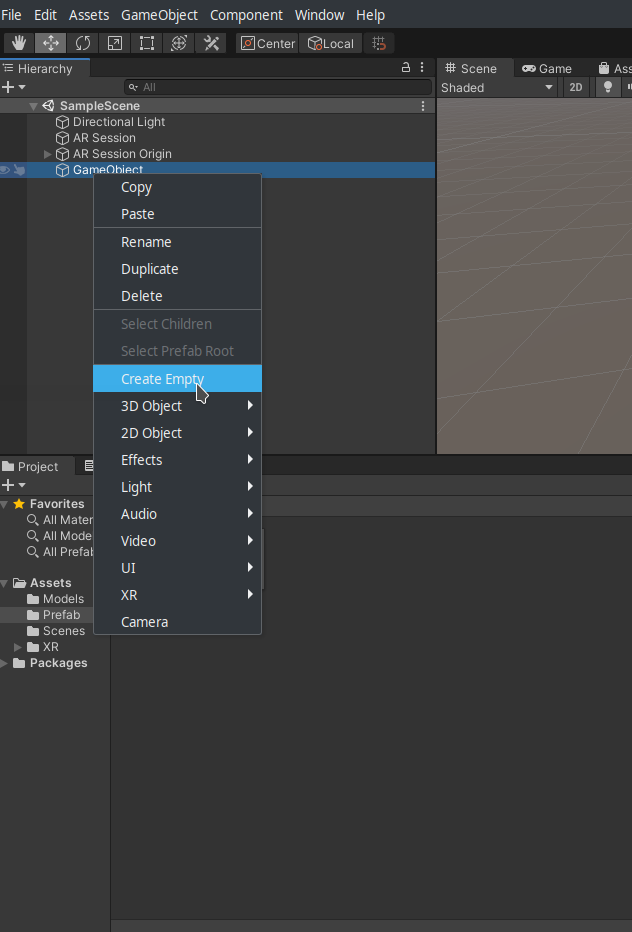
For now, head back to Unity and create an empty GameObject. I have already created it, which you can see in the image below:
Click on “Add Component” on the Inspector tab and type add an Input Handler.
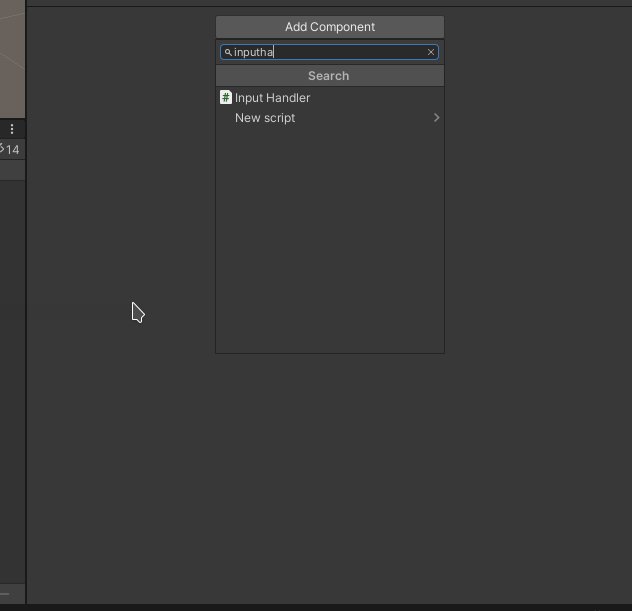
You will see 3 slots: AR_object, AR_Camera, and RayCast Manager. Drag and drop these from the Hierarchy section. Here, we’re basically telling our script which camera to select, which object to spawn, and which Raycast Manager to use—the variable we defined above in our script.

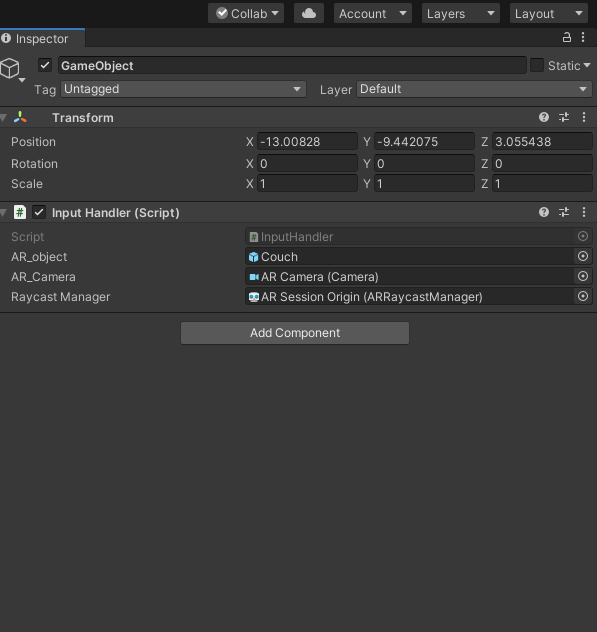
Our script is now ready. It has all the information we need it to have. Time to test things out!
Connect your Android device, and click on File → “Build and Run”:
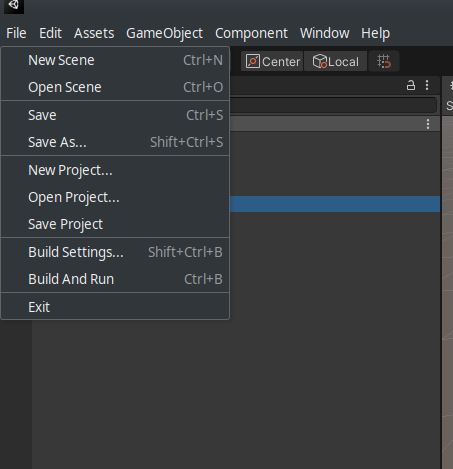
Unity will automatically launch your app. Now point the camera at the floor where you’d like to place your 3D model. You’ll see the yellow plane/grid, and if you tap on it, it will spawn the object (the couch, in this case).

What’s next
That’s it for this part of our tutorial series! In the next part, we’ll work more on the UI and also learn how to spawn more than one object in our world/scene. Stay tuned!
Have some suggestions ? Let’s connect Twitter, Github, LinkedIn

Comments 0 Responses